Received an invitation to collaborate on a project using Streamlabs Video Editor? Stepping into a new collaborative environment, especially in video editing, is an exciting venture. Our guide is tailored to help project collaborators like you navigate through the initial setup and basics of Streamlabs Video Editor, ensuring a smooth start to your creative journey.
Getting Started
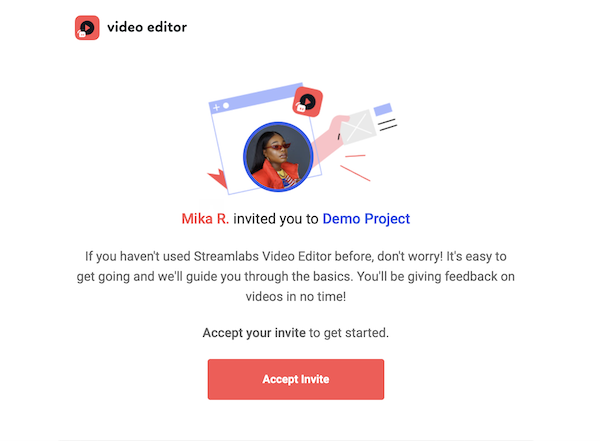
You will first receive an email invite from the admin of your team to activate your Video Editor account. Click on Accept Invite in the email and login to Video Editor with your Google account.
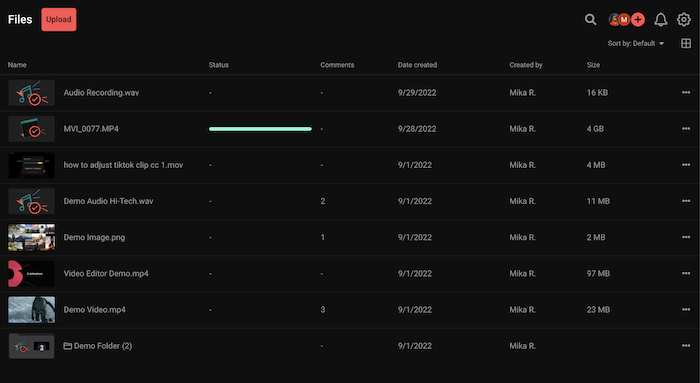
You will land on the main Project workspace. On the left sidebar, you will see all the projects you are a part of organized by name.

Uploading New Media
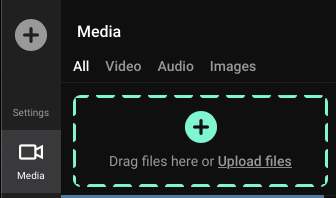
Add new media by dragging them from a folder anywhere onto the project. Or, click the plus sign next to Media to browse and select files to upload. Feel free to move around to explore more of Video Editor. Your upload will continue to process in the background. Pause or cancel your upload at any time.
Request Files

Need an easy way for external partners to add media to your project? Create upload links that allow others to add files to your project securely. You can set a link expiration date as well as a passphrase to ensureonly the right people have access.
Organize and Sort Files
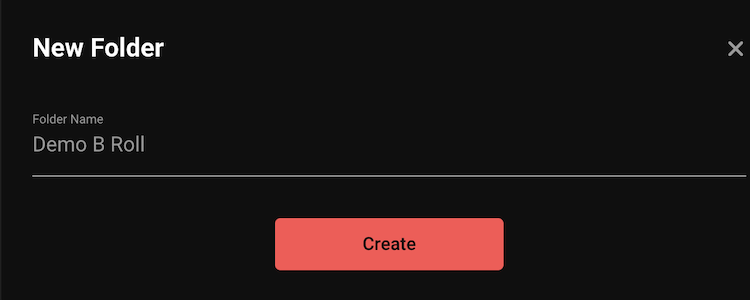
Give your account some structure by creating Folders and sub-folders. Easily organize your media by dragging and dropping them into their respective folders.
Toggle between list and tile views by clicking on the icon. You can also sort your media assets by date, name, file, or folder.
Share Media Assets
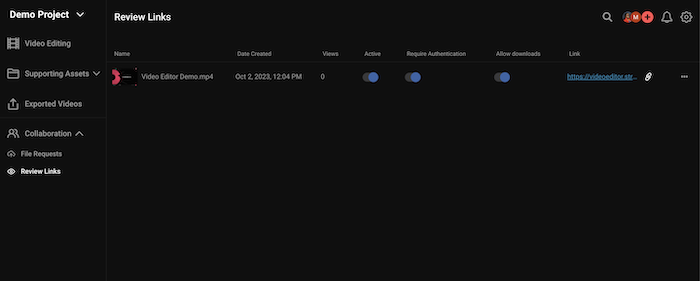
Easily share review links with your video editors and clients with just one click. Review links share files with an external reviewer, allowing them to review and provide feedback without needing to create a Video Editor account. Review links are also free and unlimited. Right-click on any of your media assets to share. Name your link (optional) and customize your permissions. You can choose to allow reviewers to download files or leave comments without logging in.
Keep track of existing review links through the Review Links tab.
Pro Tip: As reviewers comment, you'll be alerted via email. The frequency of emails depends on your notification settings.
Leave and Review Feedback
Play the video by clicking on the play button. When typing a comment, by default, the video will pause so you can complete your sentence and also timestamp your comment at a specific frame. Drag the handle if the comment is for a video range. To submit your comment, click Send or press the Enter key. Comments can also be sent without being timestamped if needed by clicking the checkmark box. Further, communicate your idea with annotations by selecting the paint tool brush to draw directly on the video with different shapes and colors. FYI, drawings will not affect the original uploaded file.
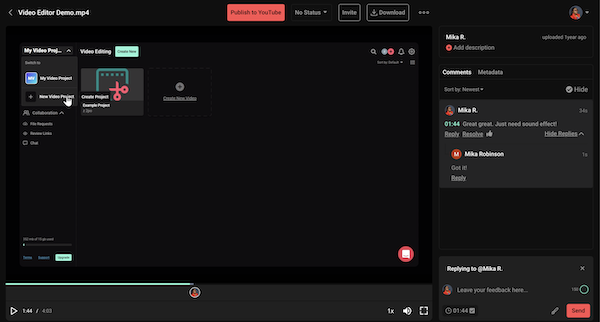
You can reply to specific comments in threaded conversations and resolve them once the feedback has been addressed. Hide resolved comments to easily keep track of outstanding feedback.
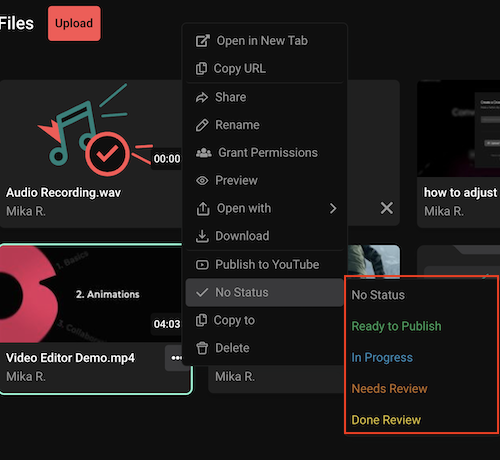
Keep track of the progress of your project by changing the status of your file.
Version Management
Keep track of all your media versions and feedback with Video Editor’s version management feature. Upload revisions in two ways:
- Directly in the specific media file view by expanding the file menu options and clicking on Upload Revision.
- Uploading a new file in your project and then dragging and dropping it on top of the original file.
Publishing to YouTube
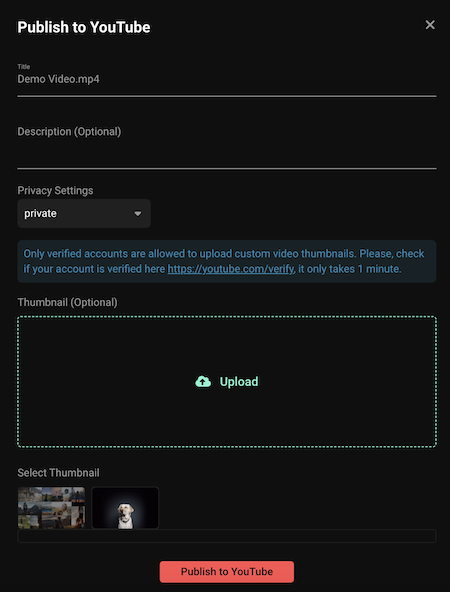
Completed the final review and ready to share your video with the world? Click on the Publish to YouTube button (from the review link) and fill out the video information. Select an image from your project library or upload one from your computer to use as a thumbnail.
By default, your videos will be uploaded as private videos to your channel until you are ready to share them publicly.