If you’re a live streamer on Twitch, YouTube, or Facebook, you know that using chatbots can be a great way to automate tasks and engage with your audience. In this blog post, we’ll show you some of our favorite commands for Cloudbot, the chatbot built by Streamlabs. With these commands, you’ll be able to keep your chatroom organized and functioning smoothly!
What is Streamlabs Cloudbot
Cloudbot from Streamlabs is a chatbot that adds entertainment and moderation features for your live stream. It automates tasks like announcing new followers and subs and can send messages of appreciation to your viewers. Cloudbot is easy to set up and use, and it’s completely free.
How to Enable Cloudbout
Enabling Cloudbot is as simple as toggling it on and making Streamlabs a mod.
First, navigate to the Cloudbot dashboard on Streamlabs.com and toggle the switch highlighted in the picture below.
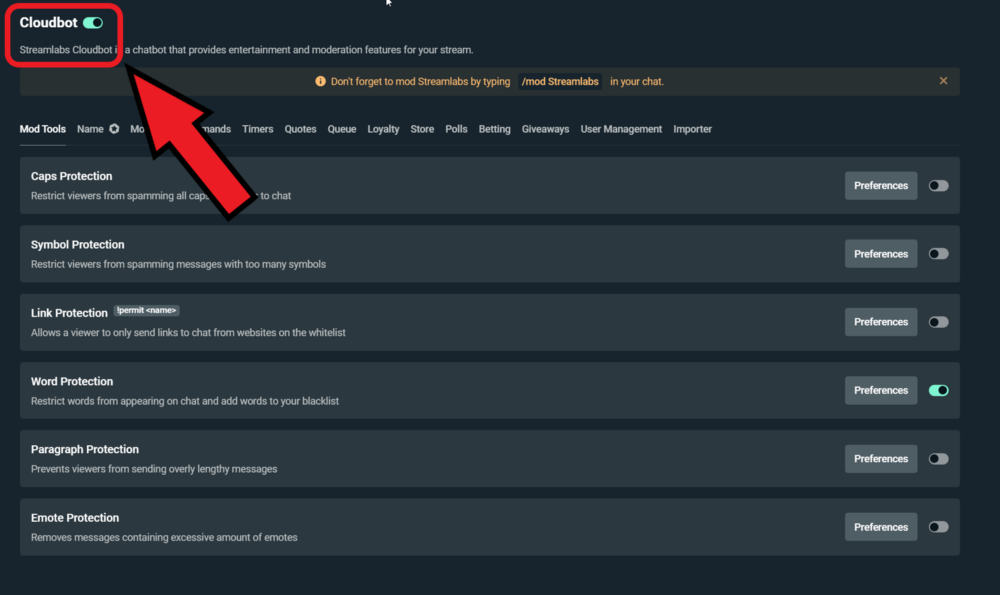
Next, head to your Twitch channel and mod Streamlabs by typing /mod Streamlabs in the chat.
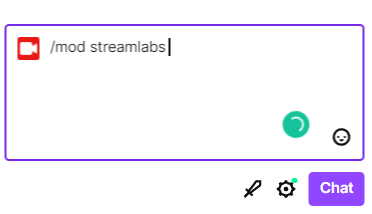
If you are streaming to YouTube, you can mod Streamlabs by going to your YouTube Studio -> Settings -> Community and adding https://www.youtube.com/channel/UCNL8jaJ9hId96P13QmQXNtA as a moderator.
How to Add Custom Cloudbot Commands
To add custom commands, visit the Commands section in the Cloudbot dashboard.

Now click “Add Command,” and an option to add your commands will appear.
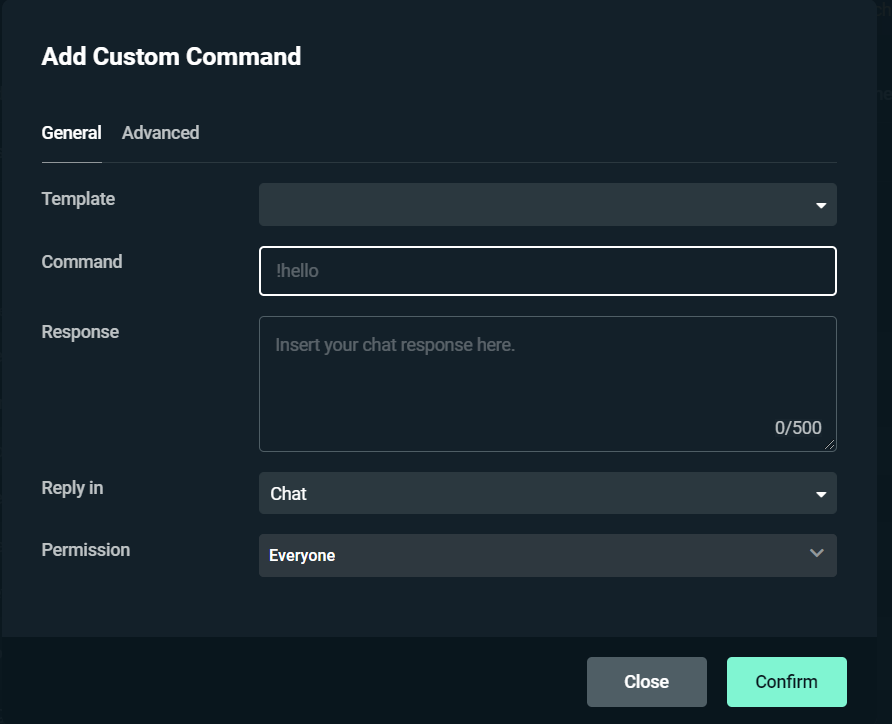
Learn more about the various functions of Cloudbot by visiting our YouTube, where we have an entire Cloudbot tutorial playlist dedicated to helping you.
Top Cloudbot Commands
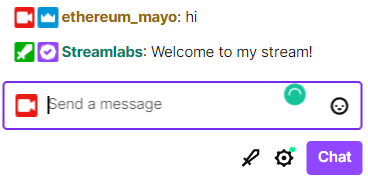
- !Welcome — A welcome message is a great way to make your viewers feel invited. You can customize your message here to include any pertinent information you want your viewers to know, such as links to your accounts, what your channel is about, etc.

You can also add an Alias. An Alias allows your response to trigger if someone uses a different command. In the picture below, for example, if someone uses !Hi !Hey !Hello, the same response will appear. Customize this by navigating to the advanced section when adding a custom command.
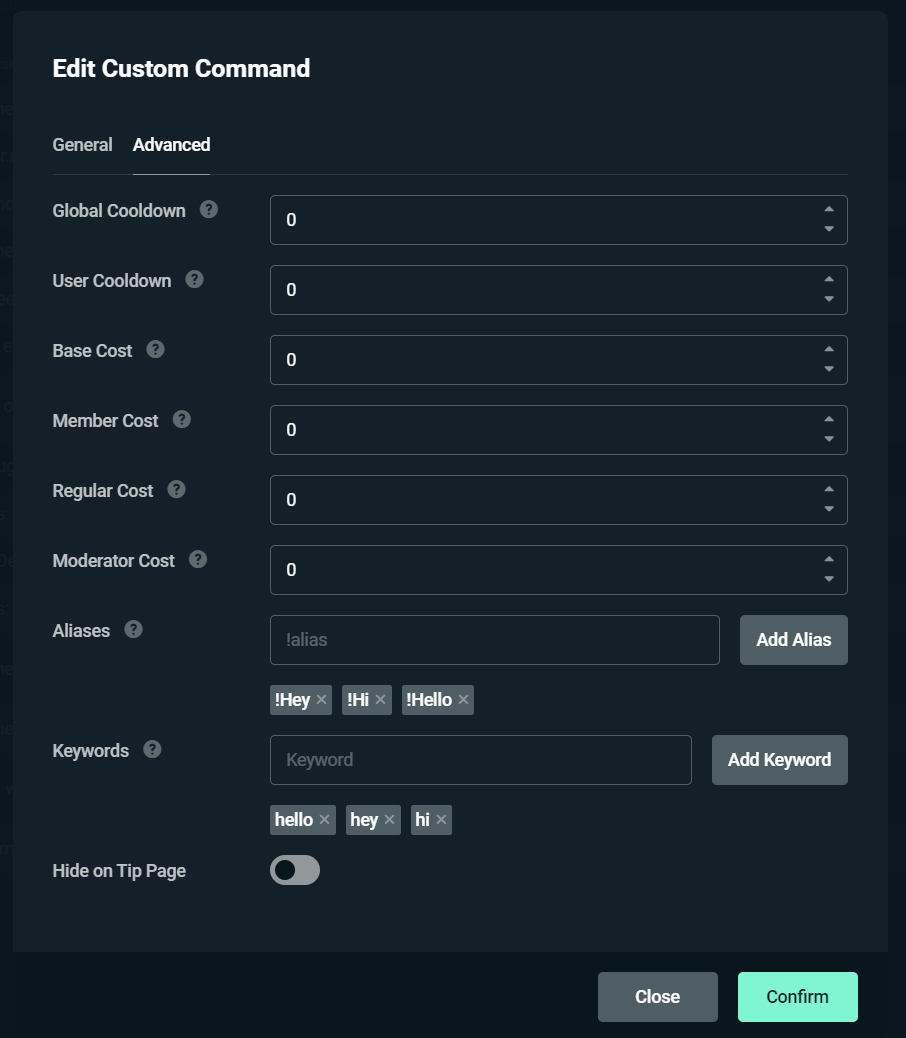
Example of Aliases and Keywords that will trigger a welcome message
Keywords work the same way. The biggest difference is that your viewers don’t need to use an exclamation mark to trigger the response. All they have to do is say the keyword, and the response will appear in chat.
2. !Socials — We recommend adding a command specifically for your social media. You can add all of your links in one message. Alternatively, you can create specific commands for each account: ex: !Twitter, !Insta, !Facebook, etc.
3. !Tip — While not necessary, tips can go a long way in improving your stream. If you’d like to include a link to your tip page, you can use this variable: {donation.link}. Click here to learn more about Cloudbot variables.
If you have a Streamlabs tip page, we’ll automatically replace that variable with a link to your tip page.

4. !request — This is used for Media Share. If you are unfamiliar, adding a Media Share widget gives your viewers the chance to send you videos that you can watch together live on stream. This is a default command, so you don’t need to add anything custom. Go to the default Cloudbot commands list and ensure you have enabled !request in the media share section.
Click here to learn how to set up Media Share in Streamlabs.

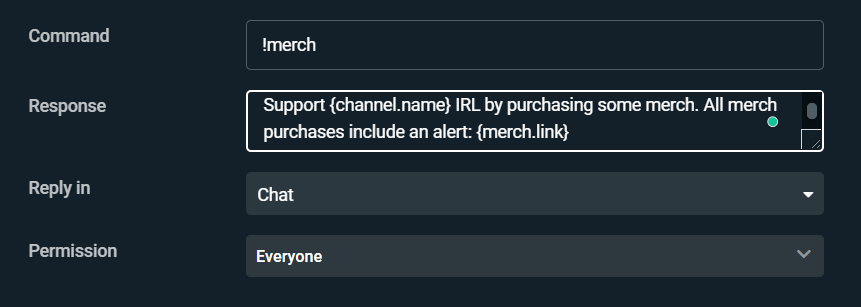
5. !merch — This is another default command that we recommend utilizing. If you have a Streamlabs Merch store, anyone can use this command to visit your store and support you.
6. !shoutout — You or your moderators can use the shoutout command to offer a shoutout to other streamers you care about. Add custom commands and utilize the template listed as !so to accomplish this.
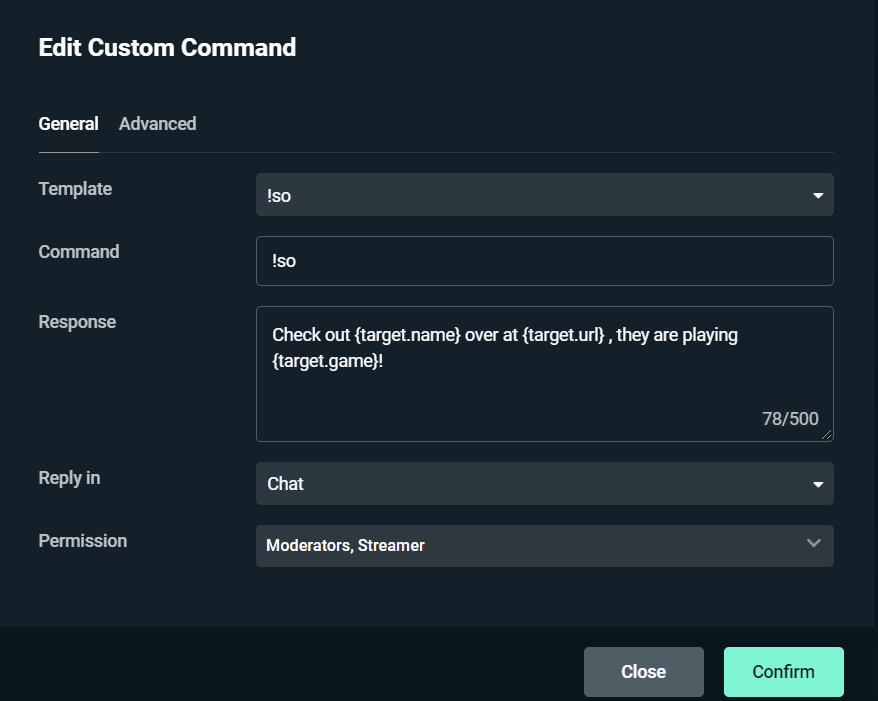
Now, when you type “!so USERNAME”, a shoutout to them will appear in your chat.
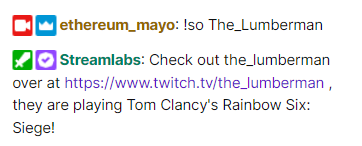
Example of a shoutout in Twitch chat
Please Note: This command should only be available to streamers and moderators!
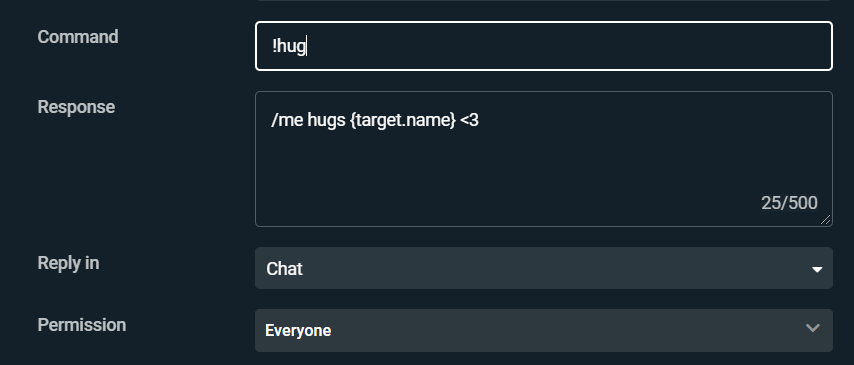
7. !hugs — This command is just a wholesome way to give you or your viewers a chance to show some love in your community.
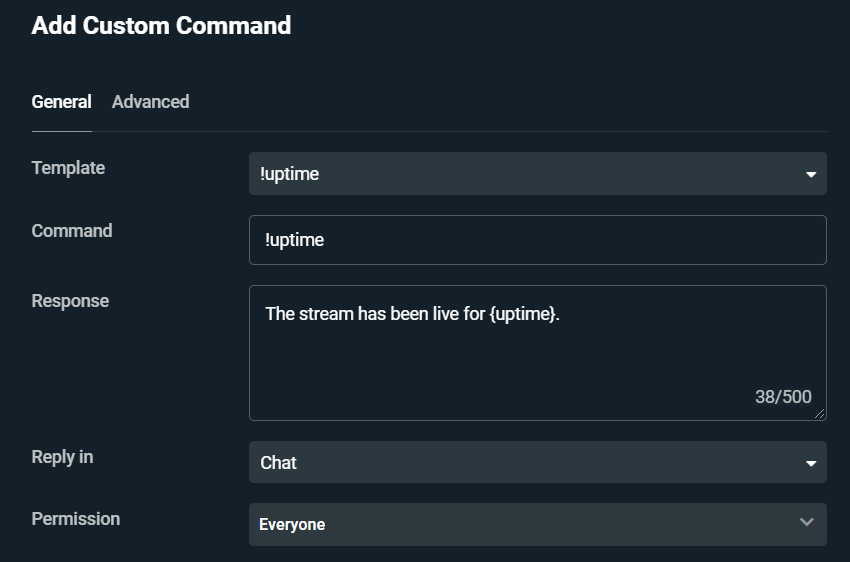
8. !Uptime — Shows how long you have been live. Do this by adding a custom command and using the template called !uptime.
9. !Death — Shows how many times you have died in-game. Add this by adding a custom command and typing: Deaths: {getcount deaths}

If you want to reset your counter, you can add another custom command and type this: {count deaths 0}. Make sure you set permissions to streamer and moderator only for this.

Example on how to reset death counter
10. !Wins — record how many wins you’ve achieved. do this by typing {channel.name} has won {getcount wins} games today.

Reset your wins by adding another custom command and typing {count wins 0}.

Remember to edit the permissions so that only you or your moderators can use this command.
Don’t forget to check out our entire list of Cloudbot variables. Use these to create your very own custom commands. You can get as creative as you want.
If you have any questions or comments, please let us know by contacting us.