Audio quality is an extremely important part of your live stream, especially when it comes to microphones. Remember, you are trying to capture and hold the attention of a viewer that has an infinite amount of options to entertain them. If any muffled, hushed, or in-audible audio is present, they are more likely to watch someone else. When you are speaking into the mic, your voice should be crisp, clear, and free from any background noise.
Luckily with Streamlabs Desktop, there are a variety of different audio filters you can use to give your viewers a rich and pleasant sound when you are speaking into the microphone.
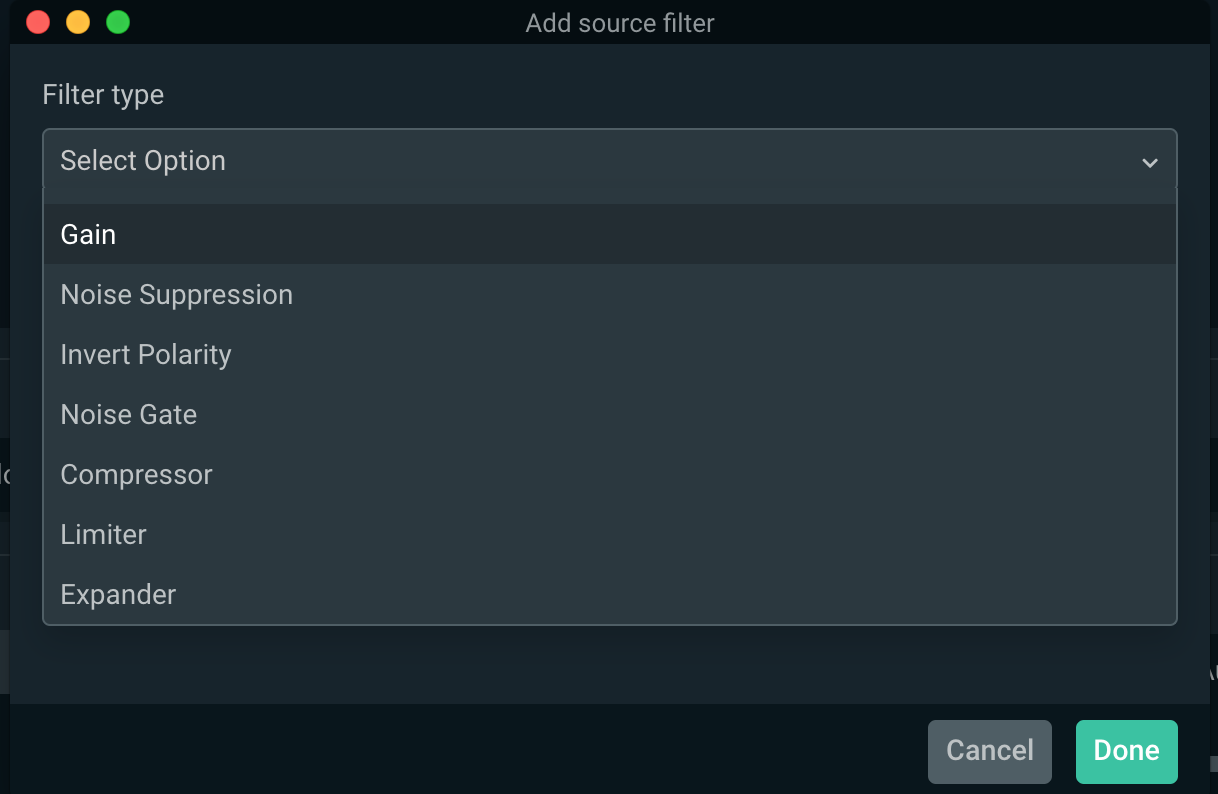
When it comes to audio filters in Streamlabs Desktop, there are seven different options. In this article, we’ll go through each one and describe what they do so that you can experiment with each one and find out what works best for you.

Audio Levels
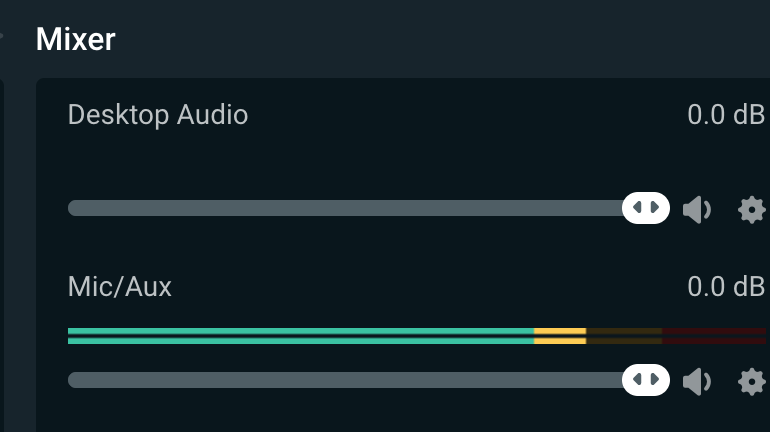
Before we get into audio filters, we must first cover what an optimal audio level for your microphone looks like. Generally speaking, you want your microphone audio level to peak in the yellow section. When you start reaching the red level, your viewers may start to notice distortion and can be unpleasant to listen to. The image below indicates what an optimal audio level for your microphone should look like. A good way to test this is to simply speak into your microphone at about the same loudness as your normal talking voice. If you are peaking around the yellow section then your audio level should be good.
Remember, you don’t want your desktop audio to overpower your voice when you are speaking. We recommend lowering the desktop audio slightly so that your voice still comes out clean and clear even when there is a lot of desktop audio present.

Pro Tip
A great way to monitor the effect of the filters is to open the advanced audio settings by clicking the settings cog in the mixer section. Change your Audio Monitoring for you microphone to “Monitor Only”. This will let you hear exactly what your viewers will be hearing from your microphone and give you greater control to fine tune your audio settings.
And now, on to filters….
Gain
The first filter we are going to discuss is called “Gain”. Gain simply refers to the loudness of the audio. The gain filter gives you finer control to adjust your audio levels. Turn the gain down, and your audio levels go down. Turn the gain up, and your audio levels go up. A lot of microphones already have a built-in gain control on them. The effect of the built-in gain control and the gain filter in Streamlabs Desktop is the same.
If you find that your audio levels are still to low after turning up the gain control on your mic and the audio control in Streamlabs Desktop, don’t worry; some mics are naturally more quite than others. The gain filter in this instance will come in handy to make sure you are hitting those optimal levels.
Please note that as you turn up the gain you are more likely to hear background noise. This leads me to our next filter: Noise Suppression.
Noise Suppression
A good microphone is going to pick up a lot of background noise. It is inevitable. You may hears cars driving in the background, air condition units, the fan from your computer, etc. If you stop talking, pay attention to your audio levels in the mixer, you will notice some sort of background noise being picked up by your microphone. By introducing a Noise Suppression filter you can get rid of these annoying background noises.

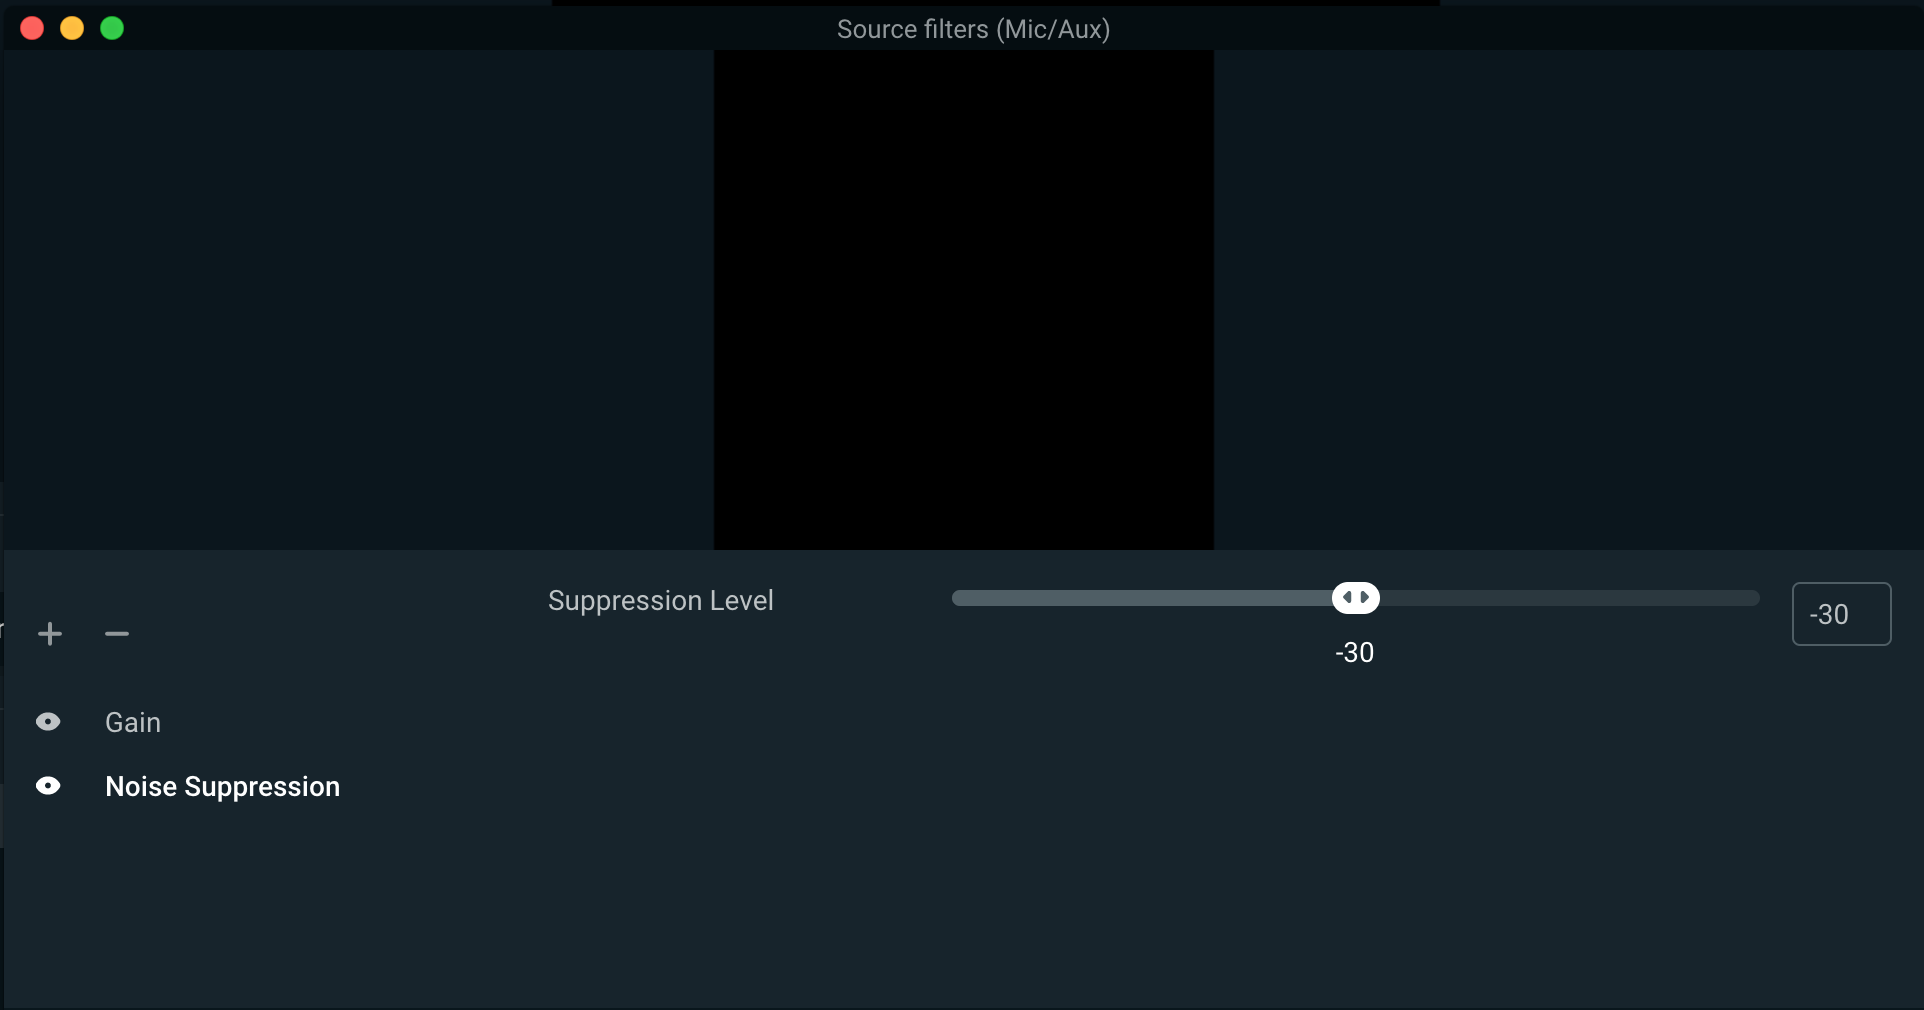
When you add the filter, the suppression level will automatically be set to -30. In most cases, this level of suppression will actually be to much and may affect the quality and sound of your voice. We recommend starting at a suppression level of 0 and actively monitoring your audio levels in the mixer until the background noise is no longer being picked up.
Noise Gate
The Noise Gate filter works in a similar way to Noise Suppression in that it gets rid of background noise, but it also offers a bit more customizability. If you are a gamer with a mechanical keyboard, the sound of typing on the keyboard can be pretty loud and be picked up in the mic fairly clearly, even with a Noise Suppression filter already added. In this case, adding a Noise Gate filter can prevent this from happening.

When you add the Noise Gate filter, you will see several options that you can customize.
- Open Threshold: Allows you to set a specific decibel threshold that must be met in order for the microphone to turn on and pick up the sound. In the image above, anything below -26 Db will not be picked up by the mic. This means that the clicking of your mechanical keyboard will have to be louder than -26 decibels in order for you microphone to pick it up.
- Close Threshold: Refers to the point when the noise gate will turn off your microphone once the mic audio drops below your set Db threshold. We recommend setting your close threshold about 5Db below your open threshold. Each person will have different settings here. Please play around with both settings here to find out what works best for you.
- Attack Time: Measured in milliseconds and refers to how long it takes for the Noise Gate to initiate when the Db threshold is met.
- Hold Time: How long the mic should stay on after the volume has dropped below the close threshold.
- Release time: How long it takes for the microphone to mute again once the Db goes below the Close Threshold.
In general, the default settings here will work just fine, but again, please play around with each one to find out what works best for you.
Compressor
A compressor is very handy tool to ensure that loud noises coming in through your mic do not exceed a certain volume on your live stream. This can be useful in case there is any shouting, yelling, or breaking of keyboards or controllers.
Adding a compressor filter will automatically lower your microphones volume to try and prevent it from peaking above 0dB and causing distortion. After the loud noise has passed, it will then turn it back up.
The Compression Filter can be customized with the following options
- Ratio: The amount of compression or gain reduction to apply to a signal that is above the threshold. A lower number will apply less compression, while a higher number will apply more.
- Threshold: Once the audio reaches the set threshold, the compressor will begin to apply at the ratio you’ve set. When the audio is below this threshold no compressor filter will be applied
- Attack: How quickly, in milliseconds, you want the compressor to reach full gain reduction when levels exceed the threshold.
- Release: How quickly, in milliseconds, you want the compressor to return to zero gain reduction after levels drop below the threshold.
- Output Gain: It’s not unusual that your compressed audio ends up quieter than your average level of sound. Applying Output gain brings the average level of the source back up which can help improve its presence over-top of other audio sources.
- Sidechain compression: Can be used to lower the volume of your desktop audio when you are speaking. When you are done speaking, the desktop audio will return to normal.
Expander
An expander is another type of Noise Gate that can be used to reduce background noise. It is similar to a compressor, except it applies gain reduction to an audio signal below a certain threshold instead of above it.
In short, an expander makes quiet sounds quieter.
When you add this filter there are two different presets you can choose from:
- Expander: Low ratio and release time, good for light noise reduction.
- Gate: High ratio and release time, will reduce an audio signal in a similar way to a gate.
Customizable options for the Expander Filter include:
- Ratio: The amount of expansion or gain reduction to apply to a signal that is below the threshold. A lower ratio such as 2:1 is good for light noise reduction, a higher ratio such as 10:1 will completely reduce the volume of an audio signal. A nice balance is 4:1, this should provide an adequate amount of gain reduction without fully gating the signal.
- Threshold: Once the input reaches this level the expander will stop gain reducing the signal. Adjust the threshold until the noise you are trying to reduce is gone, but don’t go too far or your voice will begin to get cut off.
- Attack: How quickly, in milliseconds, you want the expander to stop gain reducing once the threshold is exceeded. An attack between 5–10ms is recommended.
- Release: How quickly, in milliseconds, you want the expander to reach full gain reduction once the input drops below the threshold. A release between 50–120ms is recommended.
- Output Gain: Increases the output level of the expander by applying gain, generally not needed but can be used to increase your microphone level before outputting it.
- Detection: Changes how the input level is measured, affecting the sensitivity of the threshold detection. RMS is recommended.
- RMS: Averages the input level measurement over the last 10ms to reduce the sensitivity of the threshold detection, helps smooth out and prevent the expander from opening due to quick little peaks of noise.
- Peak: Input level measurement is not averaged over time, expander is quicker to react to peak level changes.
Limiter
Limiters are used to prevent an audio signal from peaking above 0dB which can cause clipping and distortion. A limiter is a special type of compressor with a very fast attack and a very high ratio.
- Threshold: Sets the maximum output level an audio signal can hit, no signal can exceed this level.
- Release: Similar to other filters, this is how quickly it will stop reducing the volume after the level drops below the set threshold.
Those are all of the audio filters available in Streamlabs Desktop. Hopefully, after reading this article you have a greater understanding of the different filters and how to apply them to sounds a good as possible.
Download Streamlabs Desktop. If you have any questions or comments, please let us know. Remember to follow us on Twitter, Facebook, Instagram, and YouTube.
Read more from Streamlabs