

Whether you want to countdown to jumping on camera, are completing a timed challenge, or running a subathon, there are plenty of reasons you may want to add a timer to your stream. In this guide, we’ll walk through some of the types of timers and the value they add to your stream, share some timer options, and show you how to add them to your live stream setup.
Table of Contents
- Types of Stream Timers and When to Use Them
- Stream Timer Options
- How to Add a Timer to Streamlabs Desktop via the App Store
- How to Add a Timer to Streamlabs Desktop or OBS via Browser Source
Types of Stream Timers and When to Use Them
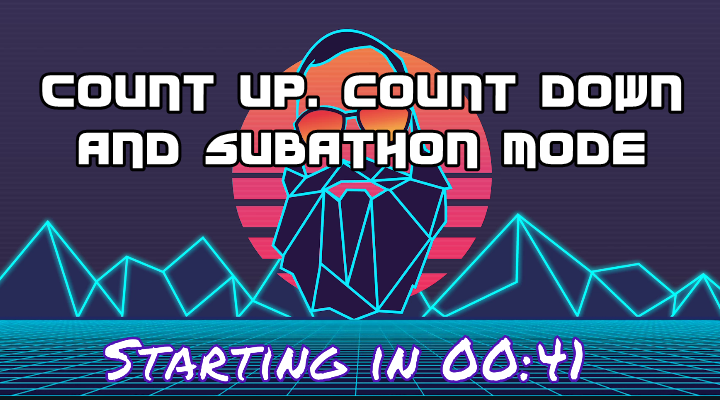
Stream Starting Soon Timers
If you’ve been watching other streamers for any time, you’ve likely run into a stream starting timer. These timers start after a creator clicks Go Live but before swapping to the live scene to kick off the stream.
Benefits of Stream Starting Soon Timers
Stream starting timers are great for:
- getting settled in and ready before appearing on-stream. Don’t forget to grab your snacks and water!
- giving viewers time to see that you have gone live and join your stream. This allows viewers to join without missing the beginning of your stream, lets excitement start building in chat, and helps you avoid talking to an empty room.
- making time to run ads before your stream officially starts, giving viewers a break from pre-roll ads during the first part of your livestream.
- sharing announcements or social channels you want viewers to check out alongside the timer.
How Long Should a Stream Starting Timer Be?
This will vary some depending on your audience and goals (usually between 3 and 10 minutes). A 5 minute countdown is a good place to start. Play around with different times to see what works best for your audience.
As of the time of writing, a 3 minute ad break on your Twitch channel will disable pre-roll ads for an hour, so if reducing ads for your viewers is a goal, make sure to include enough time for a longer ad break.
How Can I Keep Viewers During the Stream Starting Timer?
If you worry that viewers may leave before your timer is up, give them something to do alongside the countdown! For example, the Streamlabs Twitch Extension lets viewers keep an eye out for chests to earn loyalty points (plus has built-in games). You can also engage with chat directly during this time or set up timers with Cloudbot to send automated messages.
Subathon Timers
Subathon timers are perfect for building hype with your audience and encouraging new subscribers. With Subathon timers, you can extend the length of your stream based on various audience interactions such as follows and subs. Running a subathon is a great idea when you want to help build your community and have the time and energy for an extended stream. Get more ideas for your next subathon in our guide on how to host a subathon on Twitch.
Speedrun Timers
If you’re involved with speedrunning, you’ll already be familiar with speedrunning timers. Whether you are a new or experienced speedrunner, having a timer on your screen is crucial in letting your viewers follow along with how your run is going and make it easy to track progress.
Stream Timer Options
Now that you have a full understanding of why you should use stream timers, we’ll outline some options to get you started.
Stream Timer by GhostlyTuna
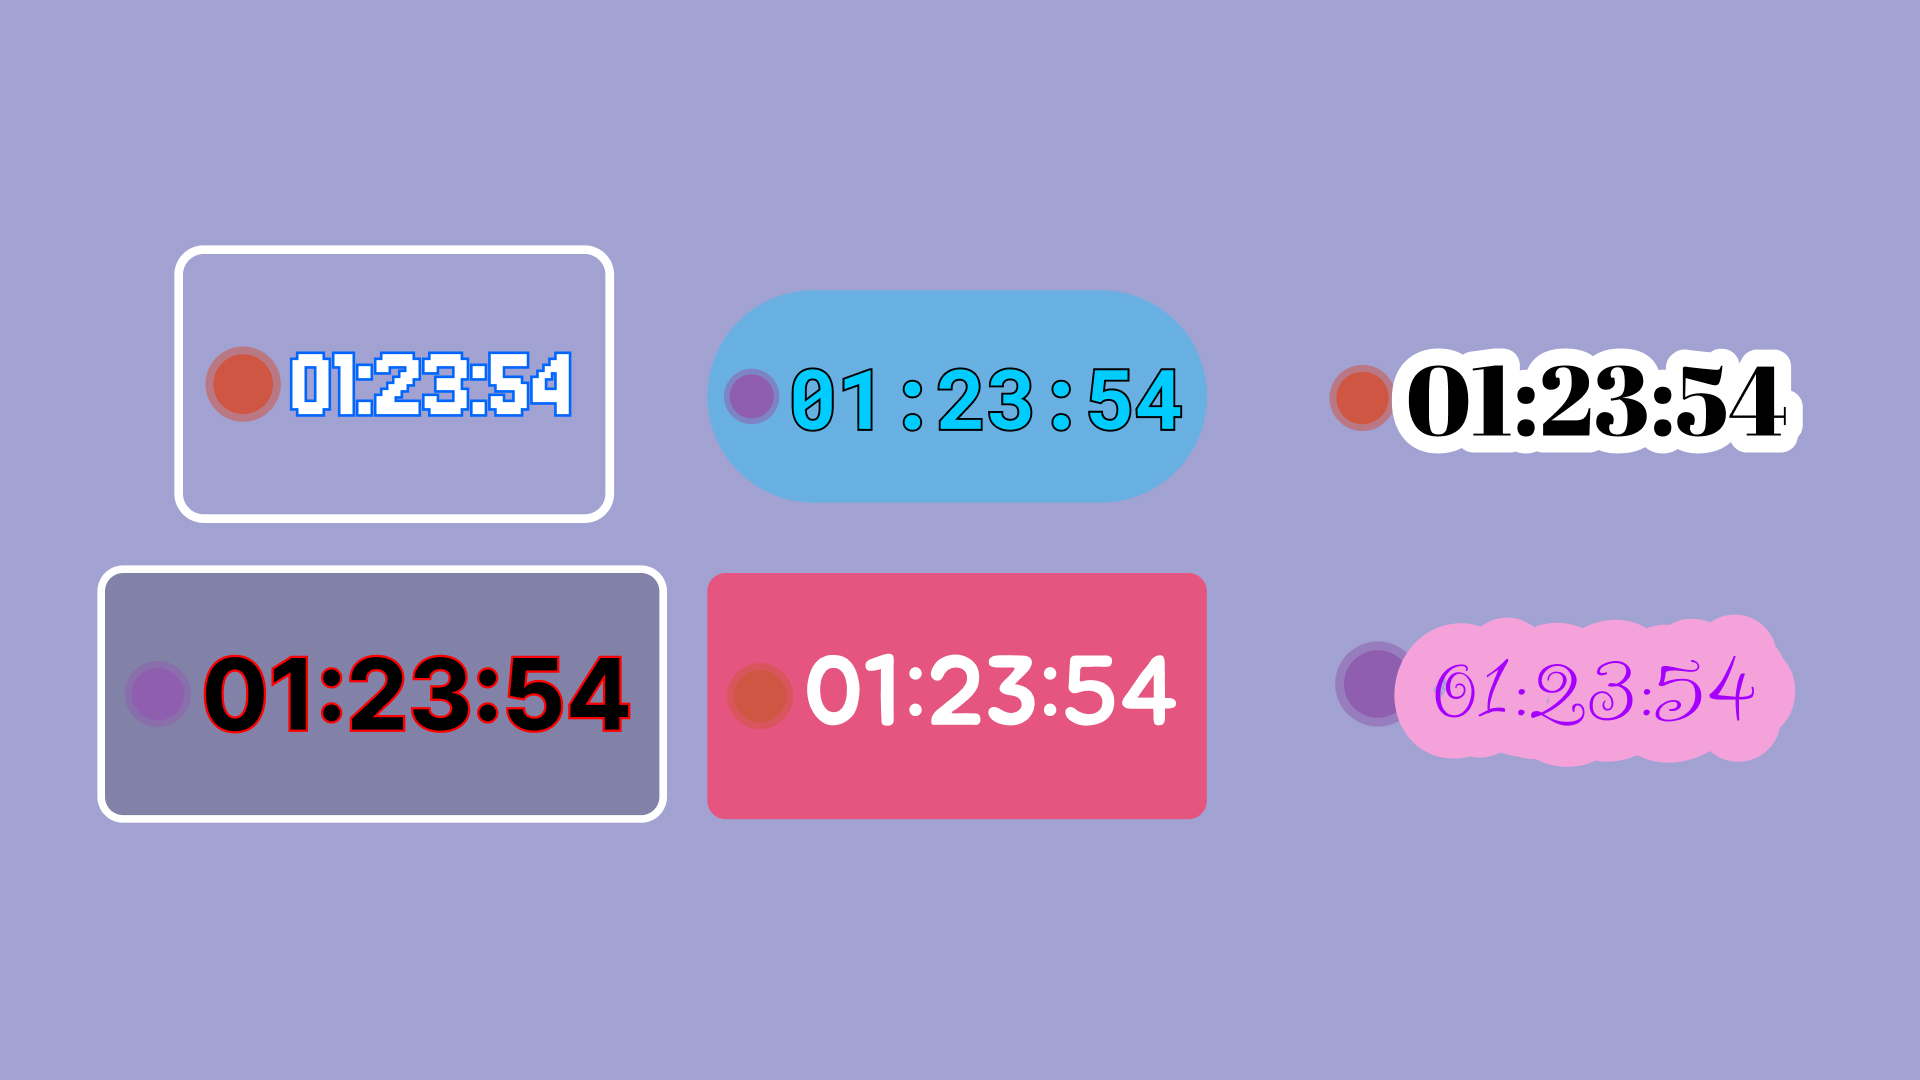
Stream Timer from developer GhostlyTuna is a multi-functional timer available in Streamlabs Desktop through the Streamlabs App Store. The app features three timer modes:
- Count Up: Starting at 0 and working up, this setting is perfect for timed challenges.
- Count Down: This option is perfect for your Stream Starting Soon scenes.
- Subathon: Build hype and customize how much time is added to your subathon for events like Twitch subs, follows, and cheers plus add time based on Streamlabs tipping donations or merch sales.
In addition to multiple timer modes, you can also customize your timer’s style with custom fonts, colors, and text flourishes.
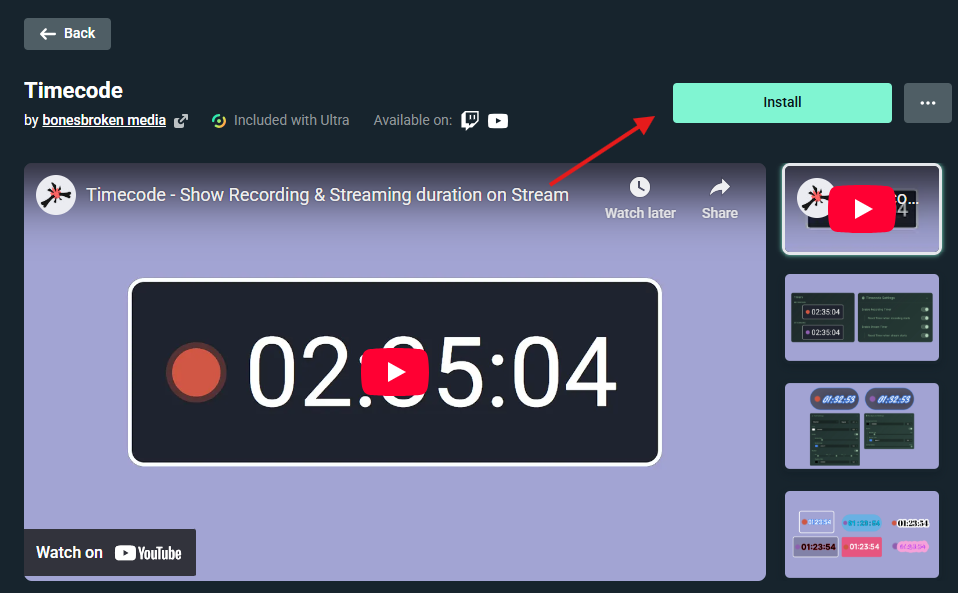
Timecode by bonesbroken media
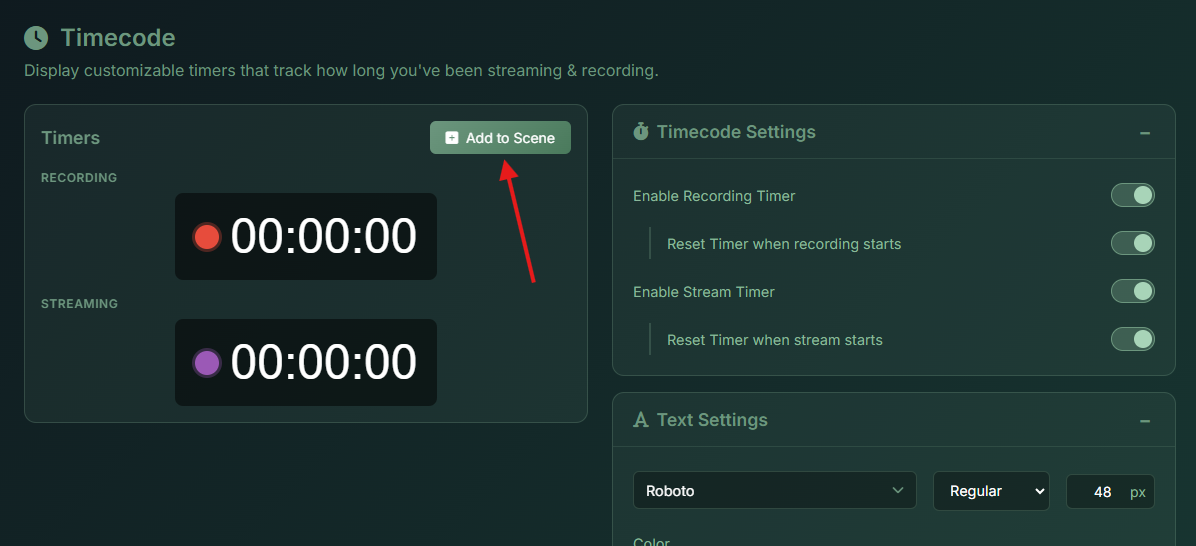
Another offering from the Streamlabs App Store, the Timecode app from bonesbroken media allows you to visually display how long you have been streaming or recording in Streamlabs Desktop. You can customize the styling with colors, fonts, borders, and much more! You can choose to keep a timer that runs continuously or resets when you start a new recording or stream.
LiveSplit
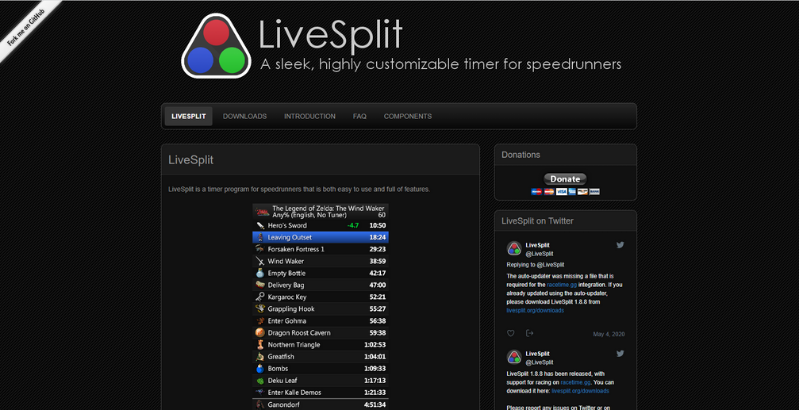
LiveSplit is a popular timer option that is perfect for your next speedrunning stream. It’s completely free and has tons of features including:
- Integration with Speedrun.com for leaderboards, splits, and run submission
- Layouts for customizing LiveSplit’s appearance
- Comparison options that let you compare your current run to past runs or auto generated comparisons (like your average or the sum of your best runs).
- Automatic splitting for supported games
- and more!
As a bonus, we already have a guide on how to add LiveSplit to your next stream.
How to Add a Timer to Your Stream
In Streamlabs Desktop via the App Store
Adding a timer to the Streamlabs Desktop via the App Store is incredibly simple!
Step 1: Visit the App Store either directly in Streamlabs Desktop via the App Store option or in a browser here.
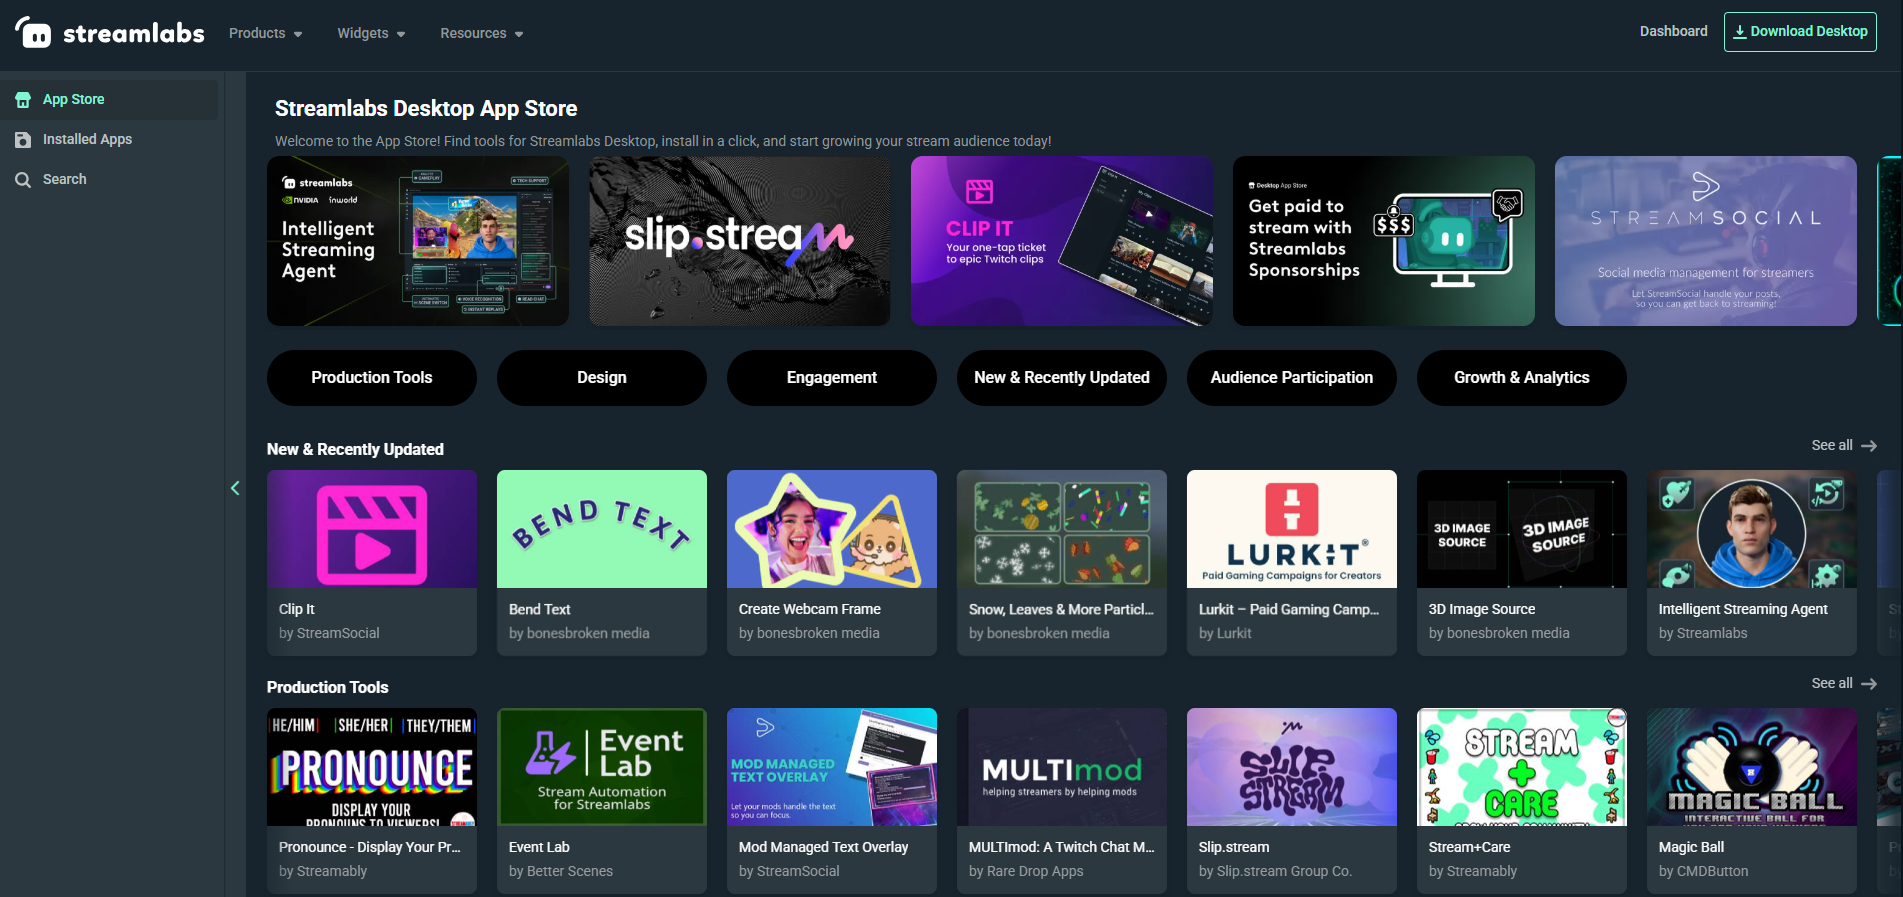
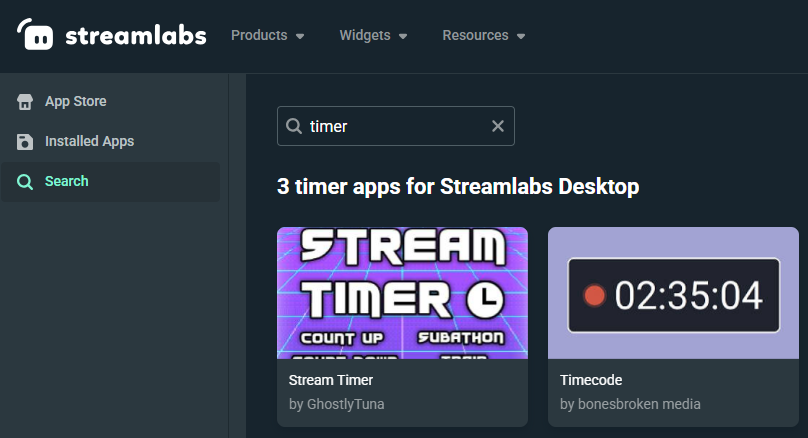
Step 2: Use the Search option on the left to search for “timer” and select the timer app you would like to add to your stream.
Step 3: Click Install in the top right and click Open Streamlabs Desktop when prompted (if adding from a web browser).
Step 4: Click Add to Scene or whatever similar option is available in the app you chose to add the stream timer to your stream.
Step 5: Adjust the size and position of the timer on the selected scene and you’re done!
In Streamlabs Desktop or OBS via Browser Source
If you have found a browser-based timer that supports individualized URLs, such as StreamRSC Timer, you can add it to your stream via Browser Source in either Streamlabs Desktop or OBS. Steps are very similar between the two tools.
Step 1: Open Streamlabs Desktop or OBS and click the + icon in the Sources section.
Step 2: Select the Browser Source option and name the source.
Step 3: Input the URL from the timer tool into the URL field.
Step 4: Adjust the sizing and position of the timer until you’re happy. You will need to control the timer via the URL in a web browser.
We hope you feel empowered and excited to implement timers into your next stream! If you have any questions or comments, please let us know by contacting us or joining our Discord server.