Streamlabs Desktop is a free and easy-to-use broadcasting software that creators can use to stream or record content. The team has designed Streamlabs Desktop to be as user-friendly as possible so that anyone can pick it up and start creating content quickly and easily.
However, there are many features that the software has to offer that many people do not use or may not know to exist. These features are optional but do add some quality of life improvements when used. If you’re interested in learning how to broadcast, check out our guide to learn how to set up Streamlabs Desktop.
Today, we’ll outline some tips and tricks for those looking to maximize their experience with Streamlabs Desktop.
How to Use Streamlabs Desktop in Discord
Discord is a great way to build your community and open a direct line of communication between yourself and your viewers. We highly encourage you to set up a Discord server for your community. We even have an integration with Discord allowing you to add a Streamlabs bot to a Discord server.
Many people don’t know this, but you can actually live stream to Discord using Streamlabs Desktop. The process is simple:
Step 1: Open Streamlabs
Step 2: Go to the settings.
Step 3: Click on Virtual Camera, Install and click start
Step 4: Now go to Discord.
Step 5: In your group chat or call, click the webcam and choose Streamlabs Desktop Virtual Camera
How to Add Filters to Your Webcam
Another neat feature that many people don’t know about is adding filters to your webcam. This feature is great because it allows you to change filters during your stream quickly. For example, some filters sharpen the contrast; others turn your webcam into black and white. There is even a filter to add sepia tone.
Here’s how to change the filter for your webcam in Streamlabs Desktop:
Step 1: Right-click on your camera source
Step 2: Click on filters
Step 3: Choose which filter you want and click “Done”
With filter presets or even ways to create your own, the possibilities are endless!
How to Switch the Angle of Your Webcam
Switching the angle of your webcam can be helpful if you’re facing the wrong direction on your screen. If you have positioned your webcam to the left or right, your face will appear angled on the screen. Adjusting this isn’t necessary, but professional broadcasts will generally have the streamer facing the middle of the screen instead of facing the edge.
To change the angle of your webcam:
Step 1: Right-click your webcam source
Step 2: Click on “Transform”
Step 3: Click on “Flip Horizontal”
And now the person is facing the correct way on screen!
How to Transition Connections
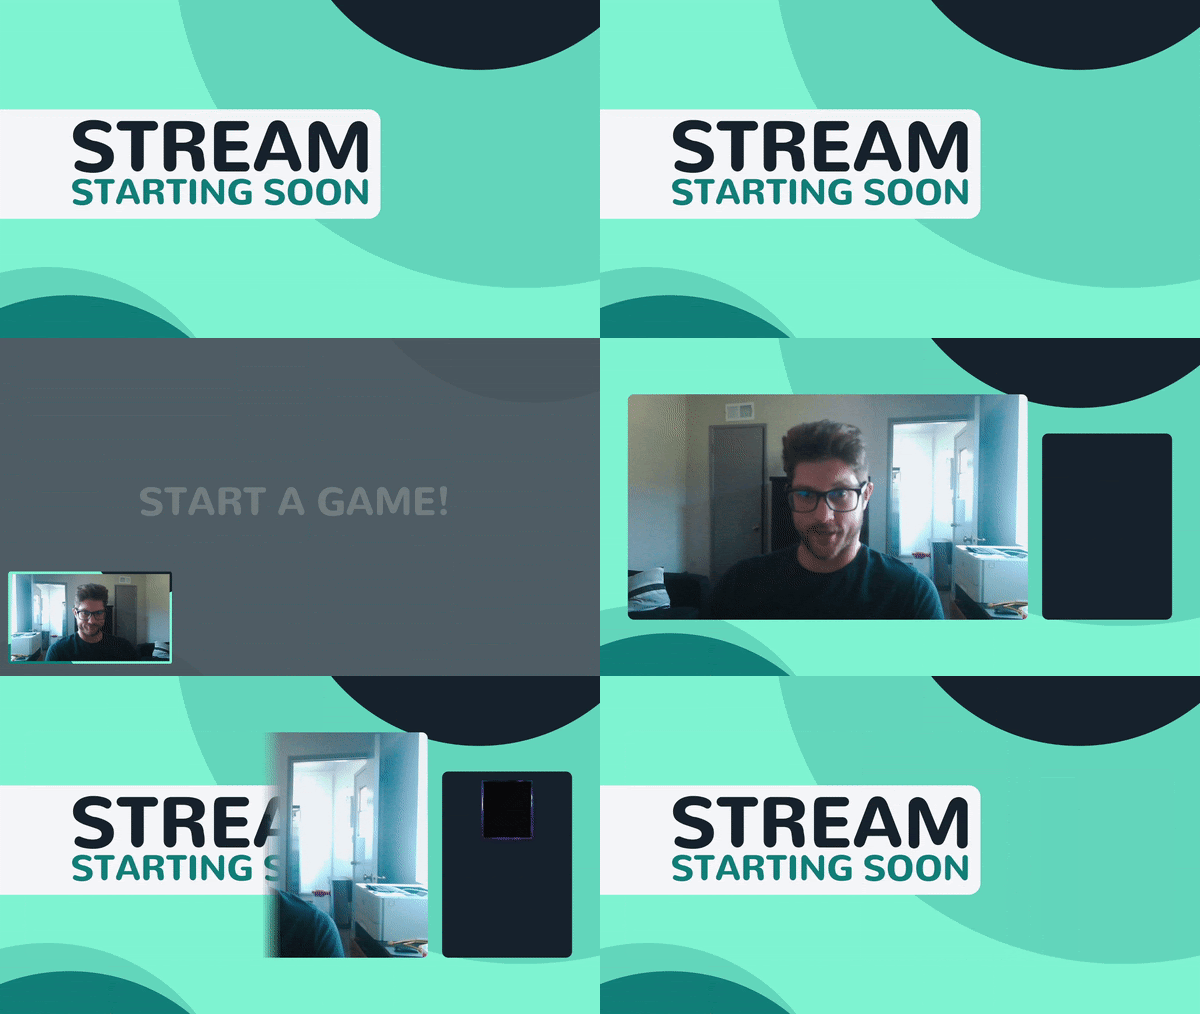
You can manually edit the transition when you switch scenes. Adding transitions gives your stream a more professional look and feel that engages your viewers.
If you have a custom overlay theme installed, you’ll likely already have scenes transitions enabled, but if you can always change these yourself by following the steps below:
Step 1: Head to your Scenes and click the arrow in between the two lines to open the Scene Transitions menu.
 pic 1.png)
Step 2: Click “Add Transition” and browse our selection of pre-existing transitions.
Step 3: Click on the one you want and press done.
And now you’ll have custom transitions for all of your scenes!

How to Use Selective Recording
To end this first part of the series, we will talk about Selective Recording, a fantastic feature exclusive to Streamlabs Desktop. It essentially allows you to remove specific sources from appearing in a recorded video. This feature is handy when you’re trying to create highlights for your stream, and you may not want alerts popping up every few seconds.
Step 1: Navigate to the Sources window and click on the Selective Recording Icon.
 pic 2.png)
Step 2: Once enabled, new icons will appear next to your sources in the list upon hover.
 pic 3.png)
Step 3: These icons indicate which output that source is being displayed on. They default to appear on both the live stream and the recording. Simply click this icon to change the source’s destination.

And that's going to wrap us up on this first part of Streamlabs Desktop tips and tricks. More tips are coming out soon, so be sure to check back here soon.
If you have any questions or comments, please let us know by contacting us.