There are many different methods of adding subtitles to your video. However there are only two common methods how subtitles are added to videos nowadays. You can either add SubRip Subtitles known as SRT files or burned-in and hardcoded subtitles.
This guide is all about hardcoded subtitles and how you can easily create them.
But before we go through the step-by-step guide let's see what the advantage of hardcoded subtitles is.
Why you should add permanend hardcoded subtitles to your videos
Even many platforms like (YouTube, LinkedIn, Vimeo, Facebook) allow adding SRT files for subtitling your videos, there are many that do not allow it. In addition many video player on the web don't support these subtitles. So you can't be sure if people have the option and will turn on subtitles. The only and safe way is to burn them right into your video.
Hardcoding captions to your video brings a bunch of advantages with it. Let me give you a quick overview why you should burn subtitles permanent in your video.
#1 Increase attention
The first seconds of your video are the most important. This is especially true for fast-moving content on social media platforms. When people scroll through the newsfeed, you only have a brief moment to present your content interestingly enough. Subtitles help you to catch the attention and make sure people understand what you are talking about. This results in more engagement, increasing of watch time and user interaction with your video. Also the chance of getting comments on it also increase as more people can understand what you’ve covered.

#2 No matter where you content is displayed
Subtitles play for everyone regardless of their player settings. Whether your audience is on YouTube, Vimeo, Facebook, TikTok, or LinkedIn they can enjoy subtitles without having to extra enable them. If you have an international audience, you can also burn in the subtitles in another language.
#3 Create one time use it everywhere
Create your video once with subtitles and use it everywhere. Save time to deal with each platform separately and add subtitles manually. Repurposing your content at its best. Create your video once with subtitles and use it everywhere. Save time to deal with each platform separately and add subtitles manually. Reuse your video at its best.
Now that we've highlighted the benefits, let's get into how you subtitle hardcodes!
How to hardcode subtitles online with Streamlabs Podcast Editor
In the past it was not so easy to burn subtitles into your video, because you needed advanced video editing tools that are not easy to use. Also, it was a lot of manual work to write each sentence individually in the right time slots.
But no worries we have a solution where you can create burned-in subtitles automatically. Streamlabs Podcast Editor not only creates them for you automatically, but also renders the video for you online in the cloud. So you don't even need a high-end PC. Just follow this 5 easy steps subtitles are permanent in your video.
#1 Signup & Upload video content
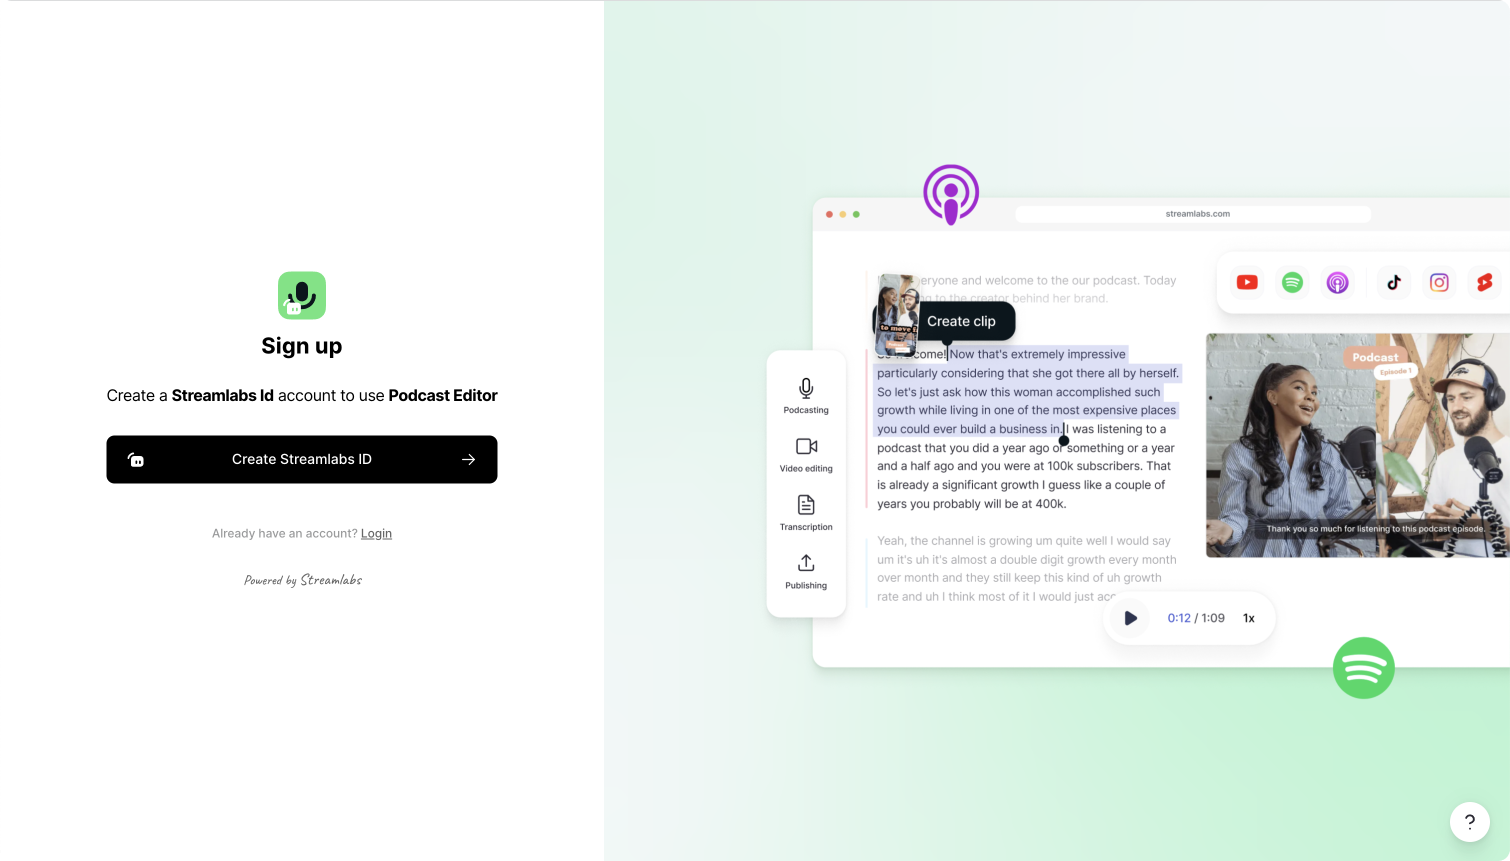
First off all you'll have to go to Streamlabs Podcast Editor's signup page and create an account which takes you literally 1 minute and only requires your name, email and password. You can also signup with you Google account. No worries it'S free though!
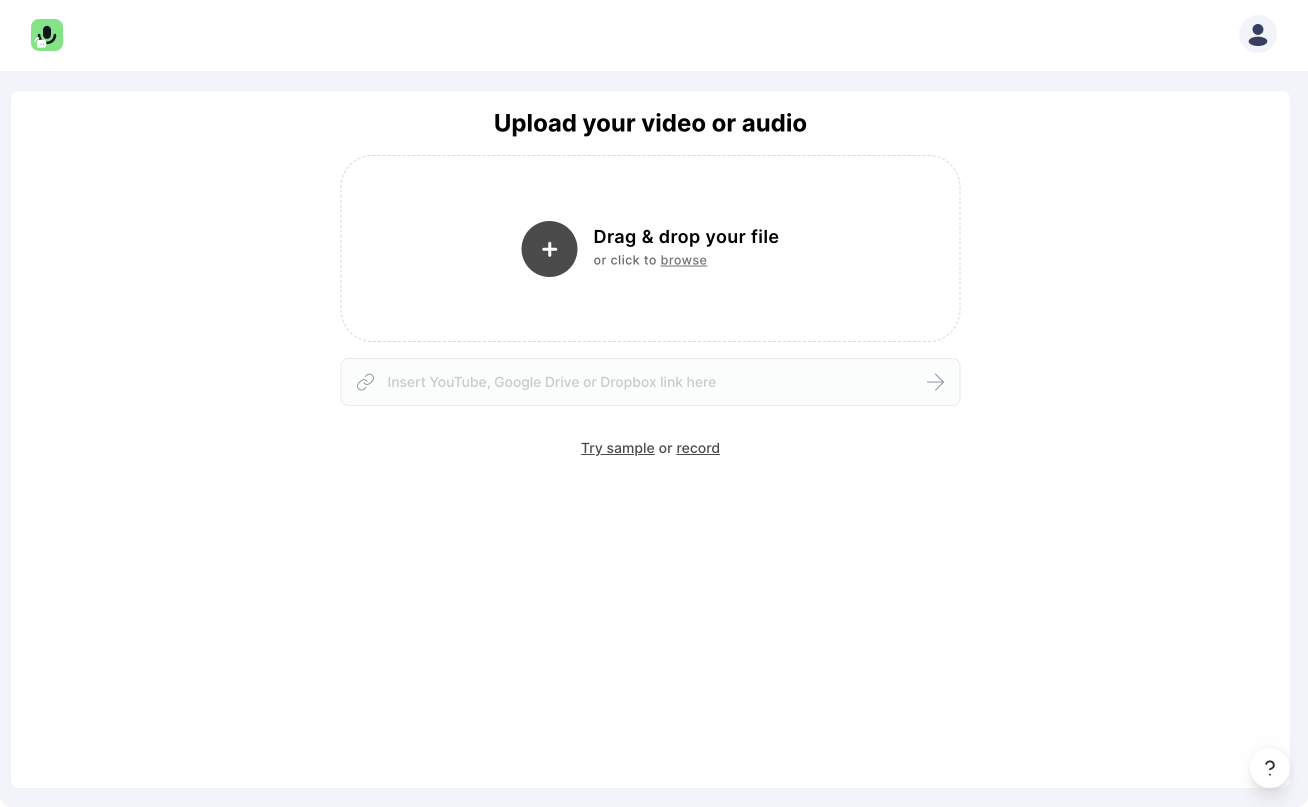
Once you have registered, you can start uploading your video. Simply drag and drop your video from your device into Streamlabs Podcast Editor. If you want to create a new video first, we have built a webcam and screen recorder for you.
#2 Activate subtitles
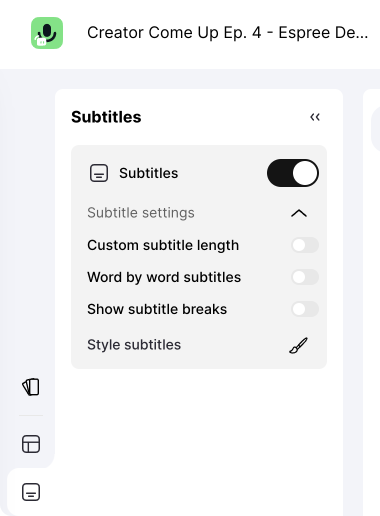
After your video is uploaded and automatically transcribed, you'll land directly in Streamlabs Podcast Editor's video editor. There you can activate the subtitles by clicking on "Subtitles" in the top menu bar. You can either choose between static or dynamic subtitles. Which mean they will be shown up sentence for sentence or will be generated dynamically word by word.
#3 Style and customize your subtitles
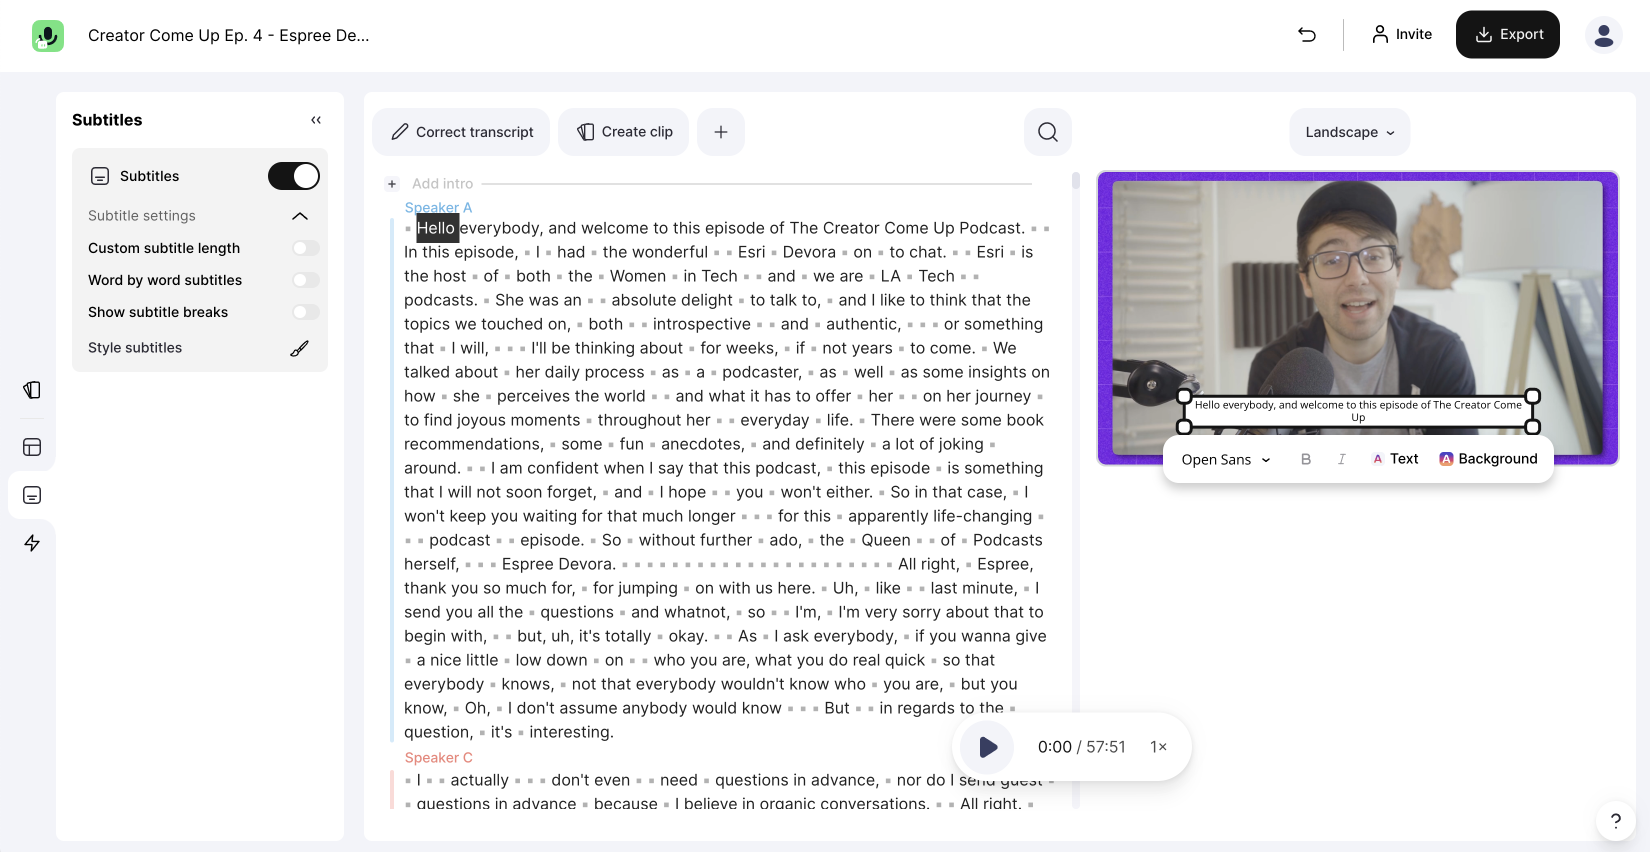
Once the subtitles are activated you can continue and give them the perfect styling. Streamlabs Podcast Editor allows you to customize the subtitles the way you need them to be. Start with the right position and size. Simply drag and drop the subtitle box at the right place and scale it up to the right size. After that you can choose between many different fonts and also change the font and background color or make it transparent. Don't worry even if the subtitles end up hardcoded into your video, you can always come back and make changes.
#4 Text correction and subtitle breaks
Our transcription engine is really accurate and recognises your words really well. We currently support over +30 different languages. However from time to time there will be some words that will not be transcribed right. But this is not a big deal since you can jump through the transcribed text on the right and correct misspelled words. Double click on a word and you will switch from the editing in the text correction mode. Correct the word and click enter. Pro tip! Use the arrow keys on your keyboard to jump through the text. All changes will effect the displayed subtitles on your video.
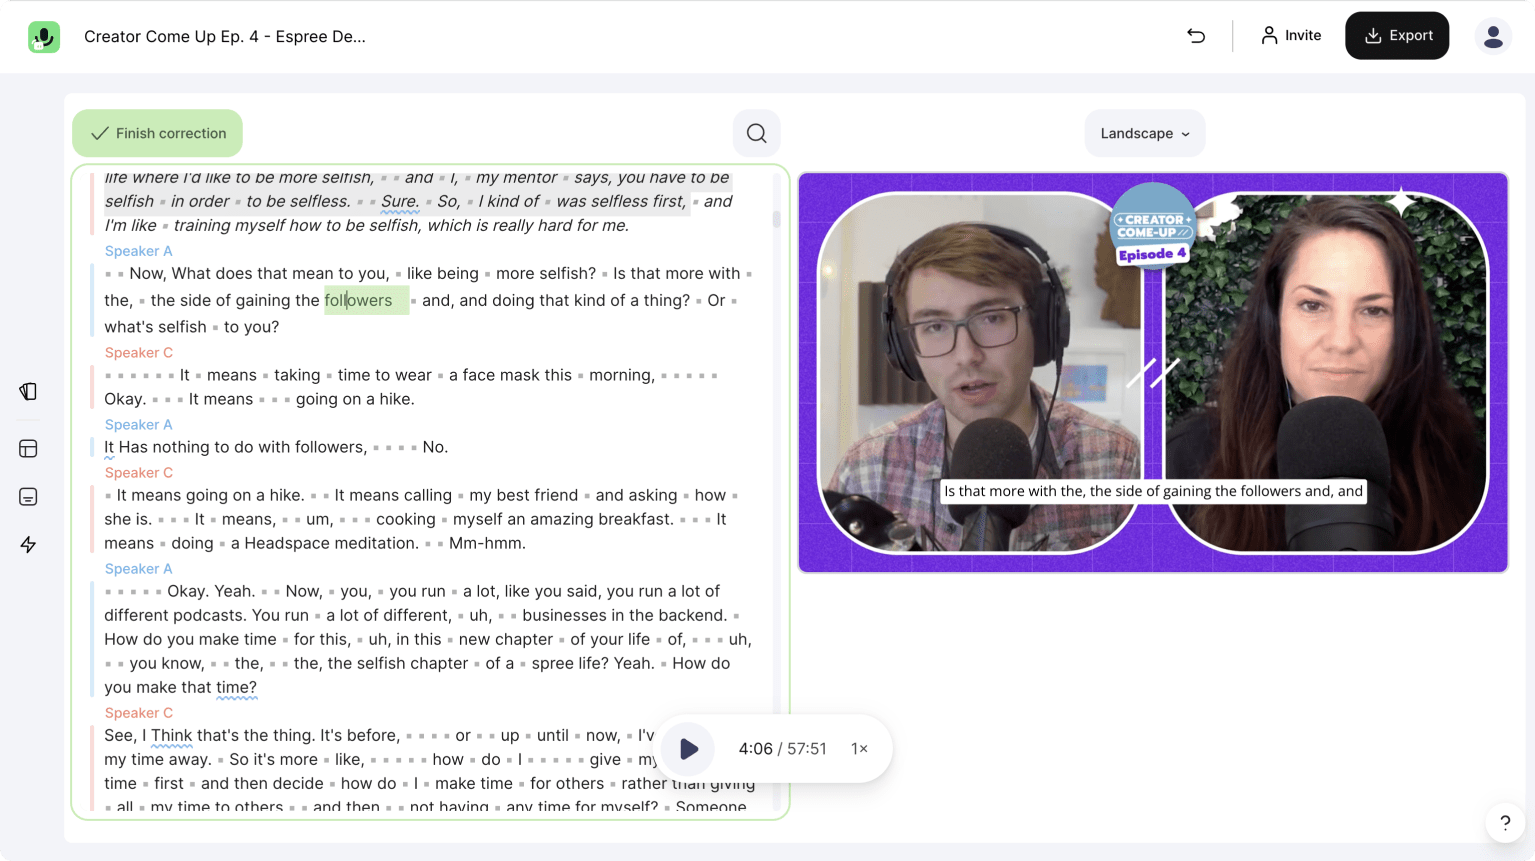
If you want to force a subtitle break or want to change the amount of words that will be displayed in one subtitle box you do so by letting you show the subtitle breaks. Drag and drop the little triangle in the text to a different place and determines the subtitle length.
Note: If you create content for different platforms with different aspect ratios you should make sure to that your subtitles are always displayed in the right size!
With that in mind, you want to avoid placing subtitles at the extremities of a video where they can get cut off from the sides. Also avoid long sentences. Rather go for a few words that a displayed in a decent size.
But now your video is ready for the subtitles to be burned in irrevocably. One more step is missing.
#5 Rendering and export video
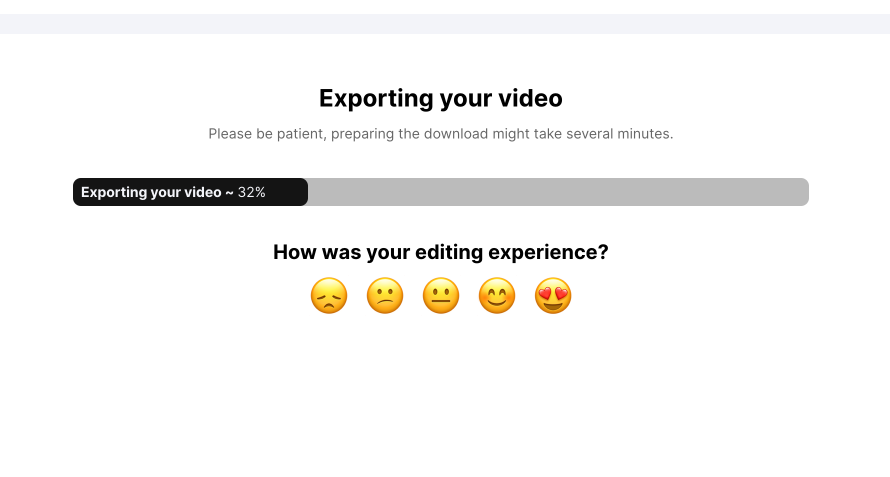
Streamlabs Podcast Editor does the heavy lifting for you. The rendering of your video will be done in online in the cloud. That means you don't need a high-end PC neither you don't need hours until your video is ready to go. Simply click on the "Export" button in the top right corner of the menu and choose the video download. You can wait until the rendering is done or wait for the conformation e-mail we will send you once your video is ready to be downloaded. Optionally, you can also post it directly from here to various platforms we have connected.
Conclusion
And that’s a wrap, folks. To recap, you definitely should use burned-in subtitles for better video engagement, particularly, if you’re using social media to market your content outstanding. Hardcoded subtitles are much easier to create today, thanks to new technology like Streamlabs Podcast Editor is providing.