Adding subtitles to your video brings two major advantages! Besides more accessibility you automatically increase your viewer engagement wherever you publish your video. So in this article we go through the process how you can add subtitles or closed captions to your video in a few easy steps. If you want to know the difference between subtitles and closed captions I encourage you to read this article first.
But before we start with the tutorial, let's first come back to the two advantages of adding subtitles I mentioned at the beginning. I have not invented these advantages, but they have been proven by studies from scientists.
Boost Engagement and viewer retention
Subtitles are valuable in that they help capture the attention of your audience. No matter if you want to grow you YouTube, Instagram, Facebook, or TikTok with video content. Subtitles are the secret sauce to get more engagement. Be smart and take advantage, because many people still don't add subtitles to their videos.
This is perhaps because a common misconception that adding subtitles is complicated, time-consuming, and expensive, or people simply don't know how it works. However we at Streamlabs Podcast Editor automated the process of adding subtitles to a video. It only requires a few clicks and no video editing skill at all and the best thing is that it is completely free.
But back to the reason why subtitles are so important for your videos. Let me show you the reasons with two facts and figures.
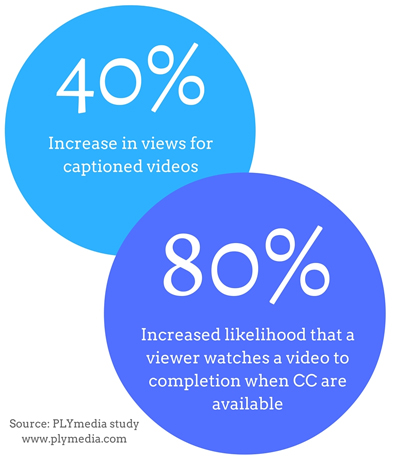
Most videos are watched without any sound. In fact 80% of people watch videos especially on social media without turing the sound on. Which makes sense when you think about situations where people are in a public places and scroll through their social media with of course sound off.
Simply adding subtitles to your videos can increase views by up to 40%. Today's viewers are impatient and picky. We live in an information overload, which means your content has to stand out. People want to know what the video is about before they decide to watch the whole clip.
Now that we've highlighted why subtitles or closed captions are important, let's look at how you can easily create them.
5 Easy steps to add subtitles to your videos using Streamlabs Podcast Editor
Streamlabs Podcast Editor is an online video editor built to be simple yet powerful. You don't need any editing experience to operate our tool. In fact it is the fastest way to add subtitles to your video. We automated the process so you can use Streamlabs Podcast Editor every day for your videos without wasting your time.
#1: Signup and Upload your video
First off all you'll have to go to Streamlabs Podcast Editor's signup page and create an account which takes you literally 1 minute and only requires your name, email and password. You can also signup with you Google account.
Once you have registered, you can start uploading your video. Simply drag and drop your video from your computer into Streamlabs Podcast Editor. Alternatively, you can of course upload videos from YouTube, Google Drive or Dropbox with a link. Note that you selected the languages of your video beforehand.
If you want to create a new video, we have built a webcam and screen recorder for you.
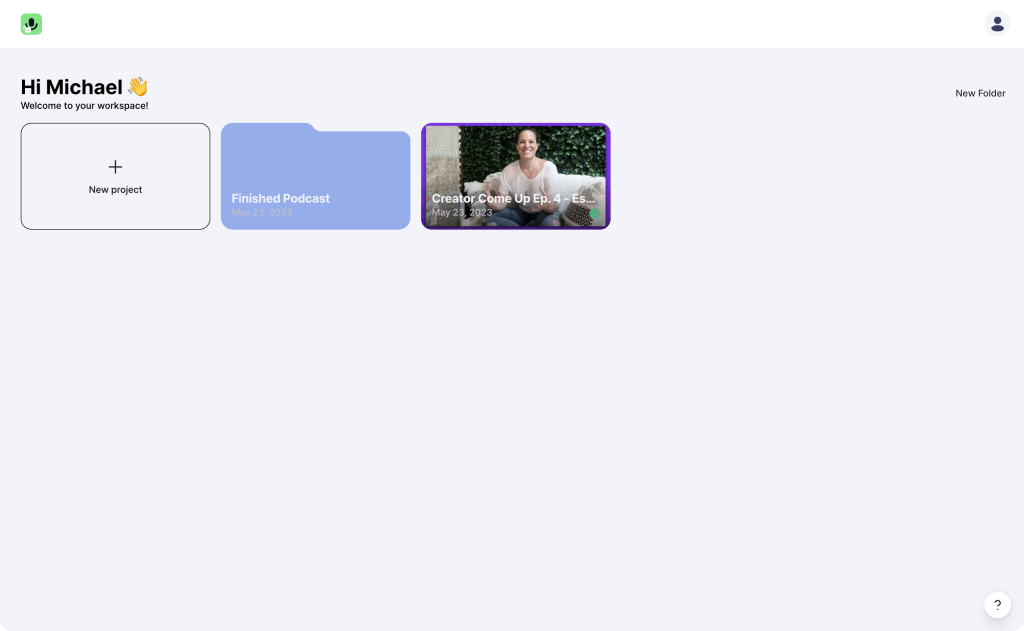
#2: Click on the subtitle menu and turn them on
After your video is uploaded and automatically transcribed, you'll land directly in Streamlabs Podcast Editor's video editor. There you can activate the subtitles by clicking on "Subtitles" in the top menu bar. You can either choose between static or dynamic subtitles. Which mean they will be shown up sentence for sentence or will be generated dynamically word by word.
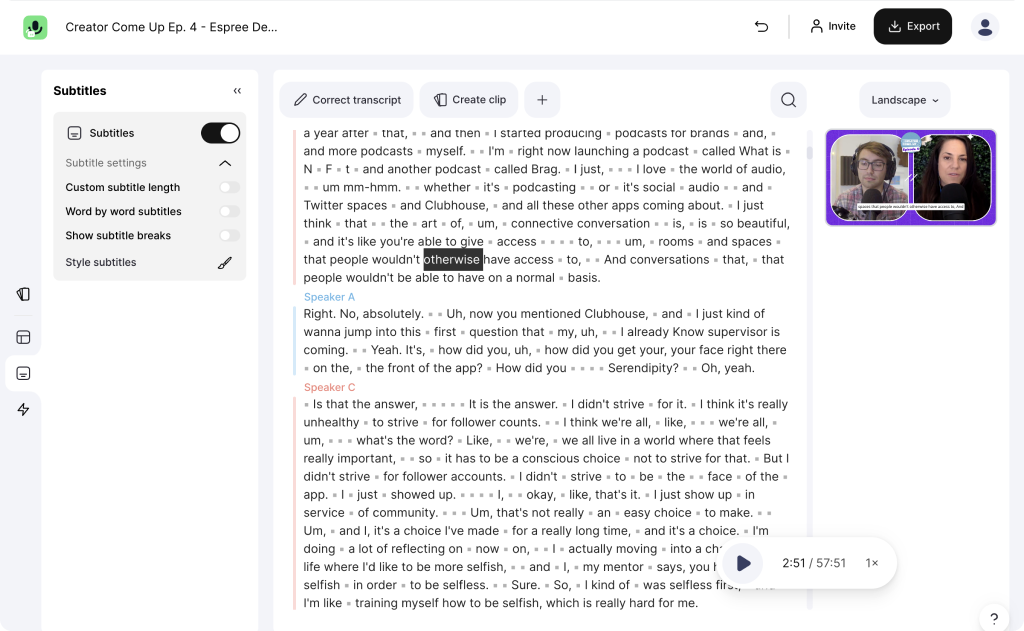
#3: Subtitle styling
Once the subtitles are activated you can continue and give them the perfect styling. Streamlabs Podcast Editor allows you to customize the subtitles the way you need them to be. Start with the right position and size. Simply drag and drop the subtitle box at the right place and scale it up to the right size. After that you can choose between many different fonts and also change the font and background color or make it transparent.
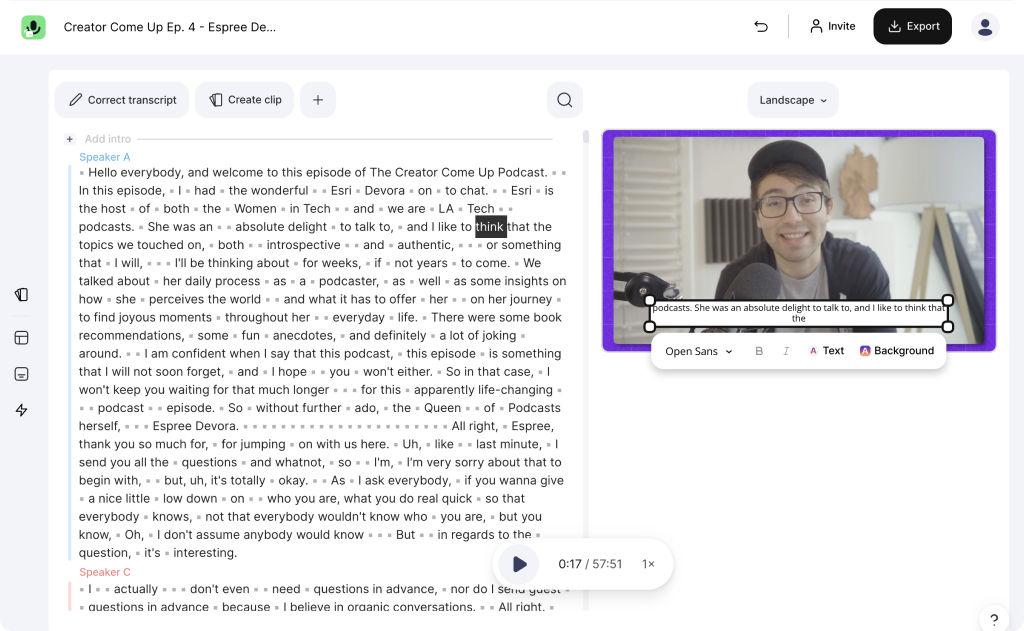
#4: Text correction and subtitle breaks
Our transcription engine is really accurate and recognizes your words really well. We currently support over +30 different languages. However from time to time there will be some words that will not be transcribed right. But this is not a big deal since you can jump through the transcribed text on the right and correct misspelled words. Double click on a word and you will switch from the editing in the text correction mode. Correct the word and click enter. Pro tip! Use the arrow keys on your keyboard to jump through the text. All changes will effect the displayed subtitles on your video.
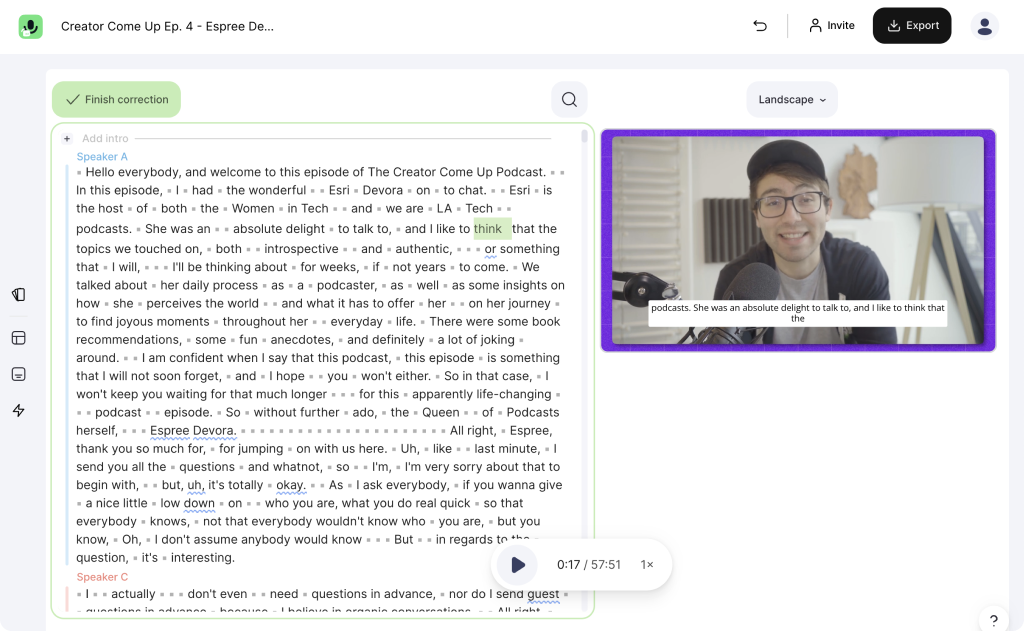
If you want to force a subtitle break or want to change the amount of words that will be displayed in one subtitle box you do so by letting you show the subtitle breaks. Drag and drop the little triangle in the text to a different place and determines the subtitle length.
Note: If you create content for different platforms with different aspect ratios you should make sure to that your subtitles are always displayed in the right size! Especially when you create vertical videos for example 9:16 for Instagram Reels, TikTok, or YouTube Shorts.
With that in mind, you want to avoid placing subtitles at the extremities of a video where they can get cut off from the sides. Also avoid long sentences. Rather go for a few words that a displayed in a decent size. But no worries you can always readjust them in Streamlabs Podcast Editor and the preview will show you how they will look like.
#5: Export Video
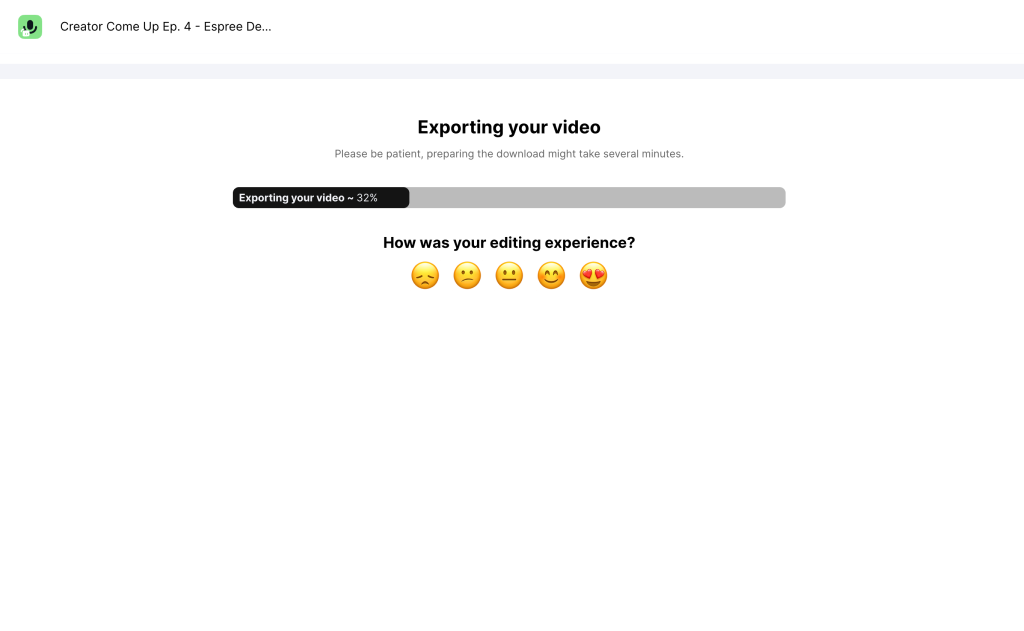
If you are ready with the editing and your video is good to go, simply click on the "Export" button in the top right corner of the menu and choose the video download. The rendering will start and your video will be processed automatically. After a few minutes depending on long your video is you can access the finished video and either download it your local PC or share it with Streamlabs Podcast Editor's online sharing options.
Additional: Translation and SRT/VTT files
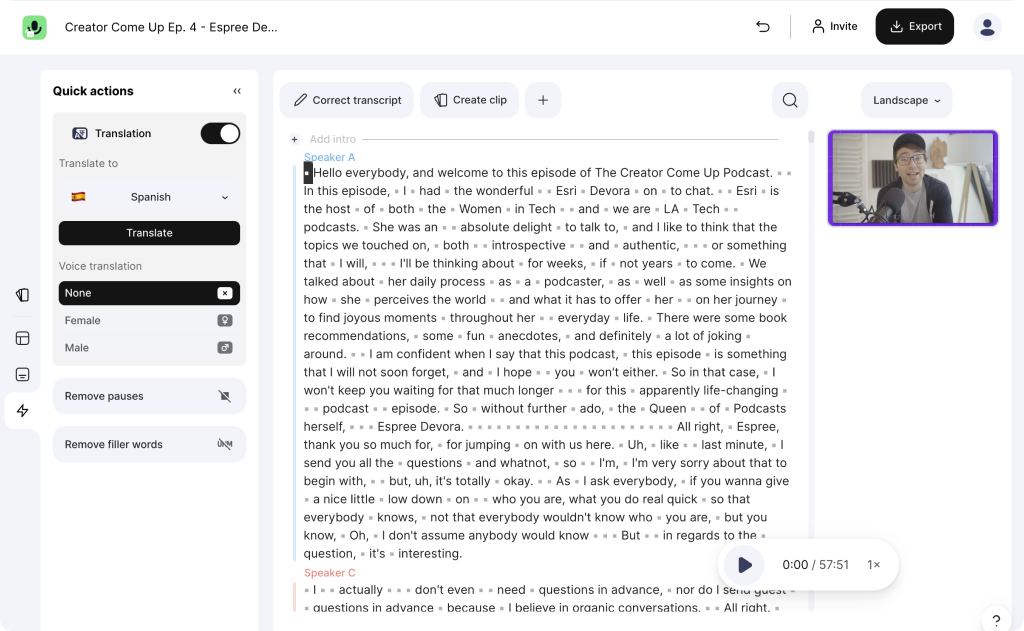
Besides subtitling you can also translate your video into multiple languages. This way you can make your content even more people accessible. Streamlabs Podcast Editor supports over +30 different languages that you can translate your subtitles in. If you run an international audience and people don't speak your language you can help them to understand your videos by adding subtitles in their mother tongue. Click on the "Translate" button in the top menu bar and select the language you want to translate your video in.
Another export option besides burned in subtitles is the export of .srt or .vtt files. These files are specific subtitles formats that you can apply on some social media platforms like LinkedIn, Facebook, YouTube to add native subtitles. That means people can decide if they want to turn on or off the subtitles when they watch your video.
Conclusion
Adding subtitles to your videos isn’t complicated anymore! With video editors like Streamlabs Podcast Editor, you can easily add automatically-generated subtitles to your video without any hustle. Go the extra mile and add closed captions and subtitles to your videos to gain more viewers and meanwhile help your audience to better understand your content.
Some of the frequently asked questions
What are the best subtitle fonts to use for your videos?
The best subtitle fonts to use for your videos are ones that are easy to read. YouTube for example uses a Sans Serif font for its subtitles. We have curated a list of our favorite fonts that are of course all included in Streamlabs Podcast Editor.
- Inter
- Open Sans
- Roboto
- Work Sans
- Poppins
Where can I use .srt files and how do I download them?
You can easily export a .srt file using Streamlabs Podcast Editor by clicking on the "Export" button and chose the subtitle export menu. Streamlabs Podcast Editor supports .srt and .vtt files. You can use these files to upload them together with your video to get native captions on YouTube, LinkedIn, Facebook, etc. You can also upload them to other video editor if you run a project in Adobe Premiere for example.
What’s the difference between captions and subtitles?
We covered this topic in a separate article. We highly recommend you to check it out since there are some major differences between subtitles and close captions even though they look almost the same of the first glance.