Today, we are excited to announce the availability and open beta of Streamlabs Desktop on macOS! ?
Download Streamlabs Desktop for Mac here.
Live streamers on Mac can now access dozens of features and deep customization tools to create professional broadcasts, engage with audiences and monetize across platforms like Twitch, YouTube, Mixer, and Facebook.
Today, we are providing a basic start-up guide to get you set up, add donation alerts and start live streaming in minutes.
Getting Started
Setting up Streamlabs Desktop is easy. The onboarding process will provide you with the essential components you’ll need to start live streaming right away. Here is what you can expect:
Onboarding:
- Grant Permissions
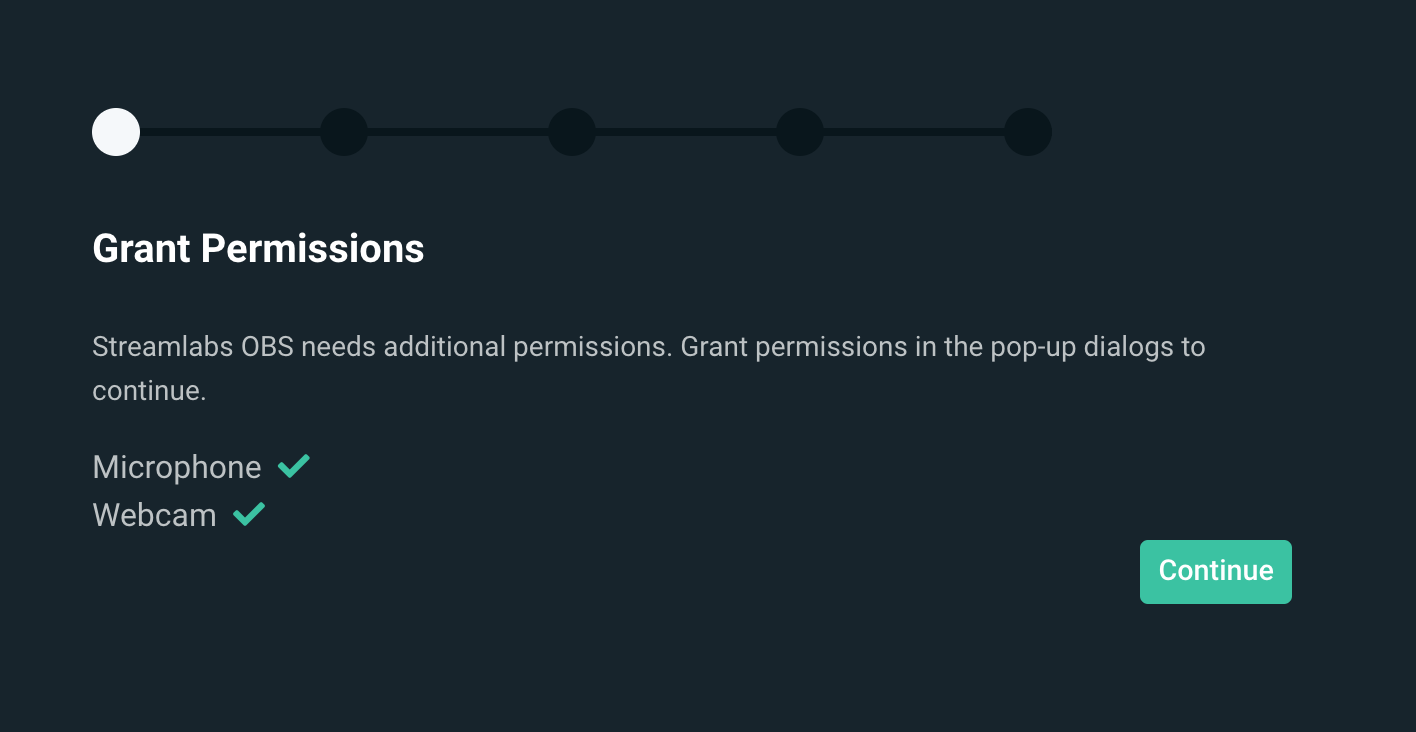
2. Connect Account
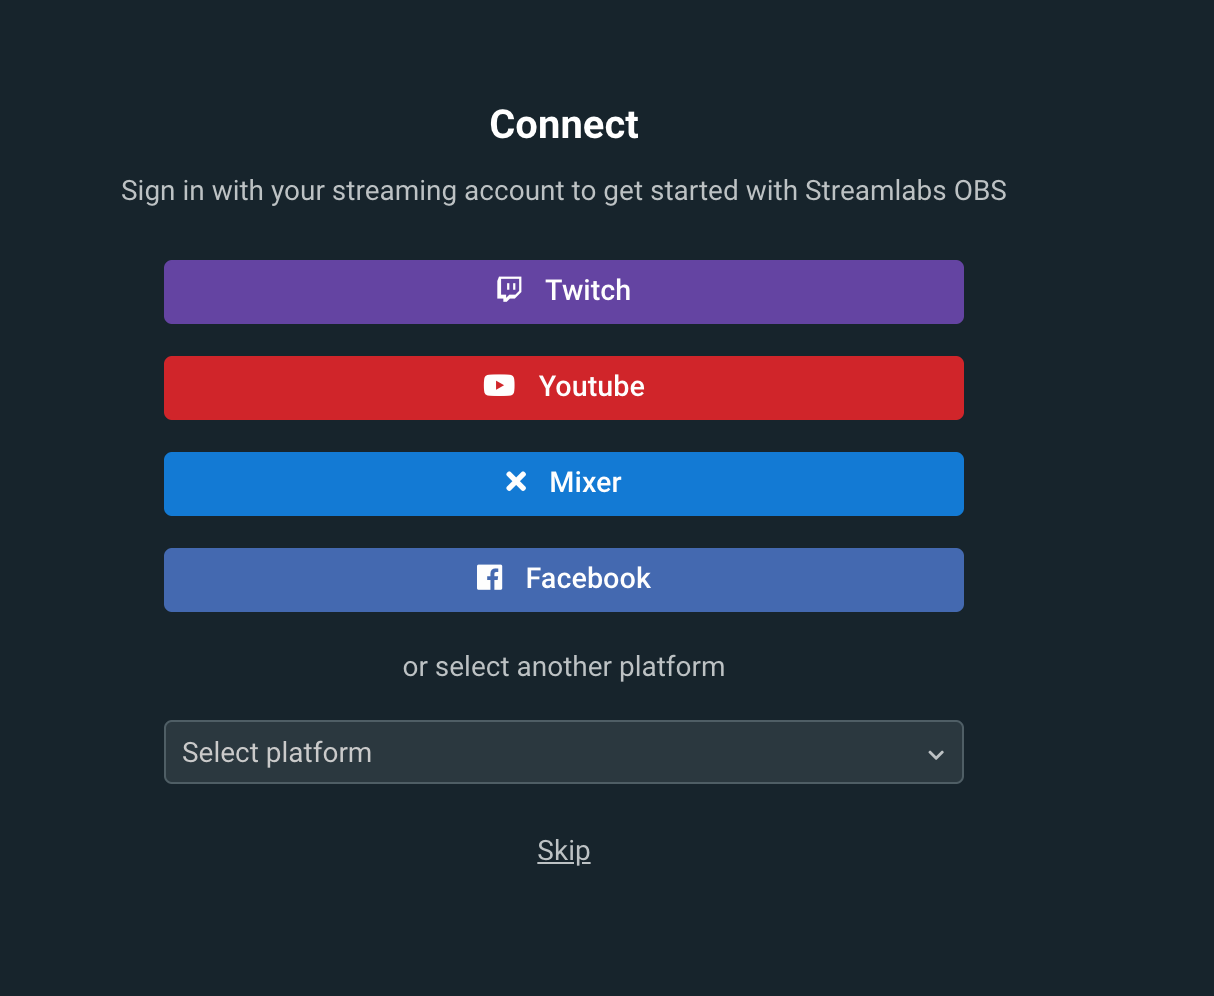
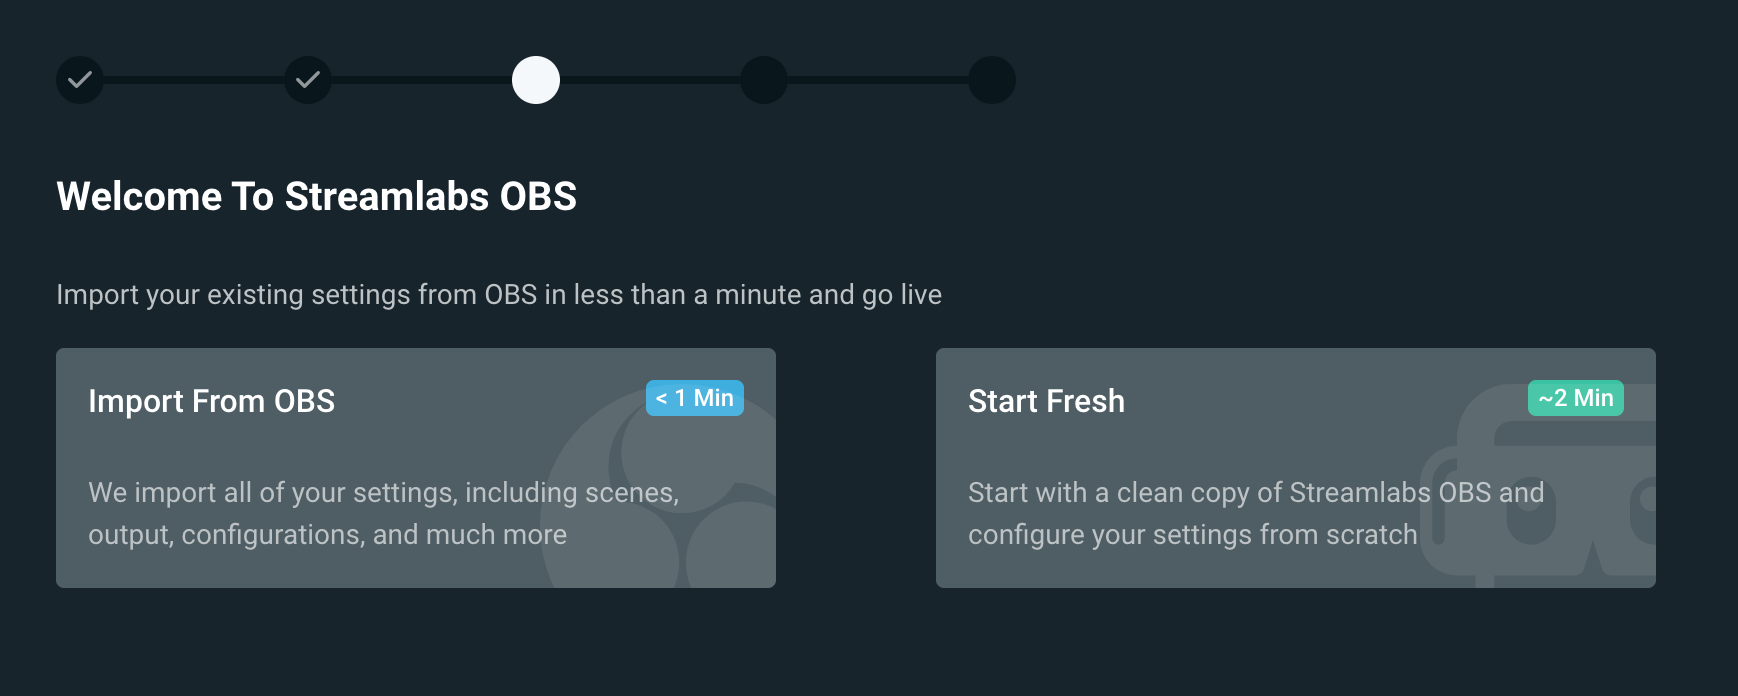
3. Import Settings: After logging in, the import settings function in Streamlabs Desktop allows you to transfer settings from other broadcasting software in less than a minute. You can also start fresh, and configure settings manually.
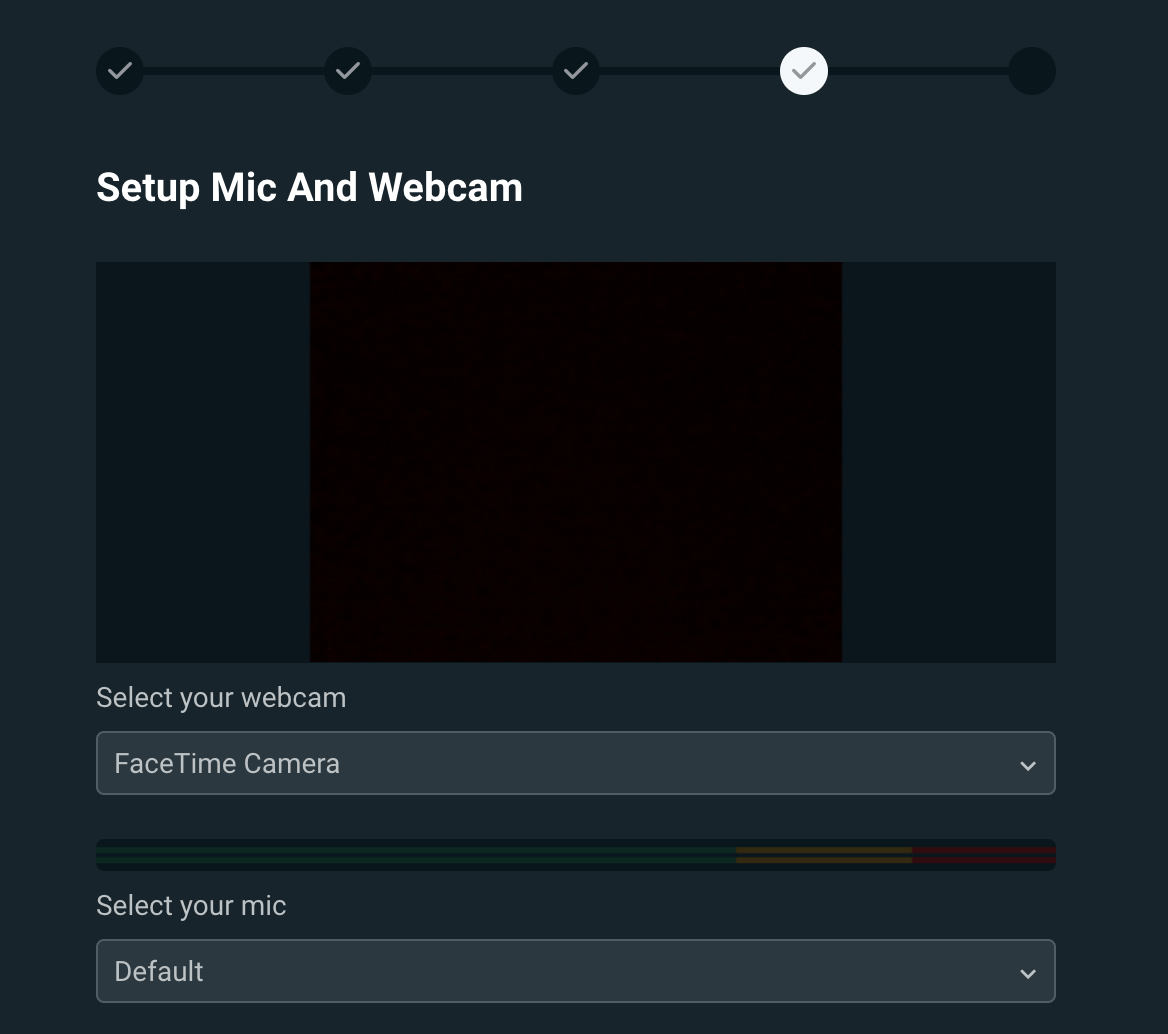
4. Add Your Microphone and Webcam: If you already have a webcam and a microphone connected to your computer, Streamlabs Desktop will automatically detect it so you can choose which device you’d like to use. You can also change these devices later on.
5. Optimize: Streamlabs’ Auto Optimizer will analyze your internet speed and computer hardware to get the best settings possible.

Overlay Themes
Now that you’ve finished the onboarding process we recommend adding a theme to add a professional look and feel to your stream.
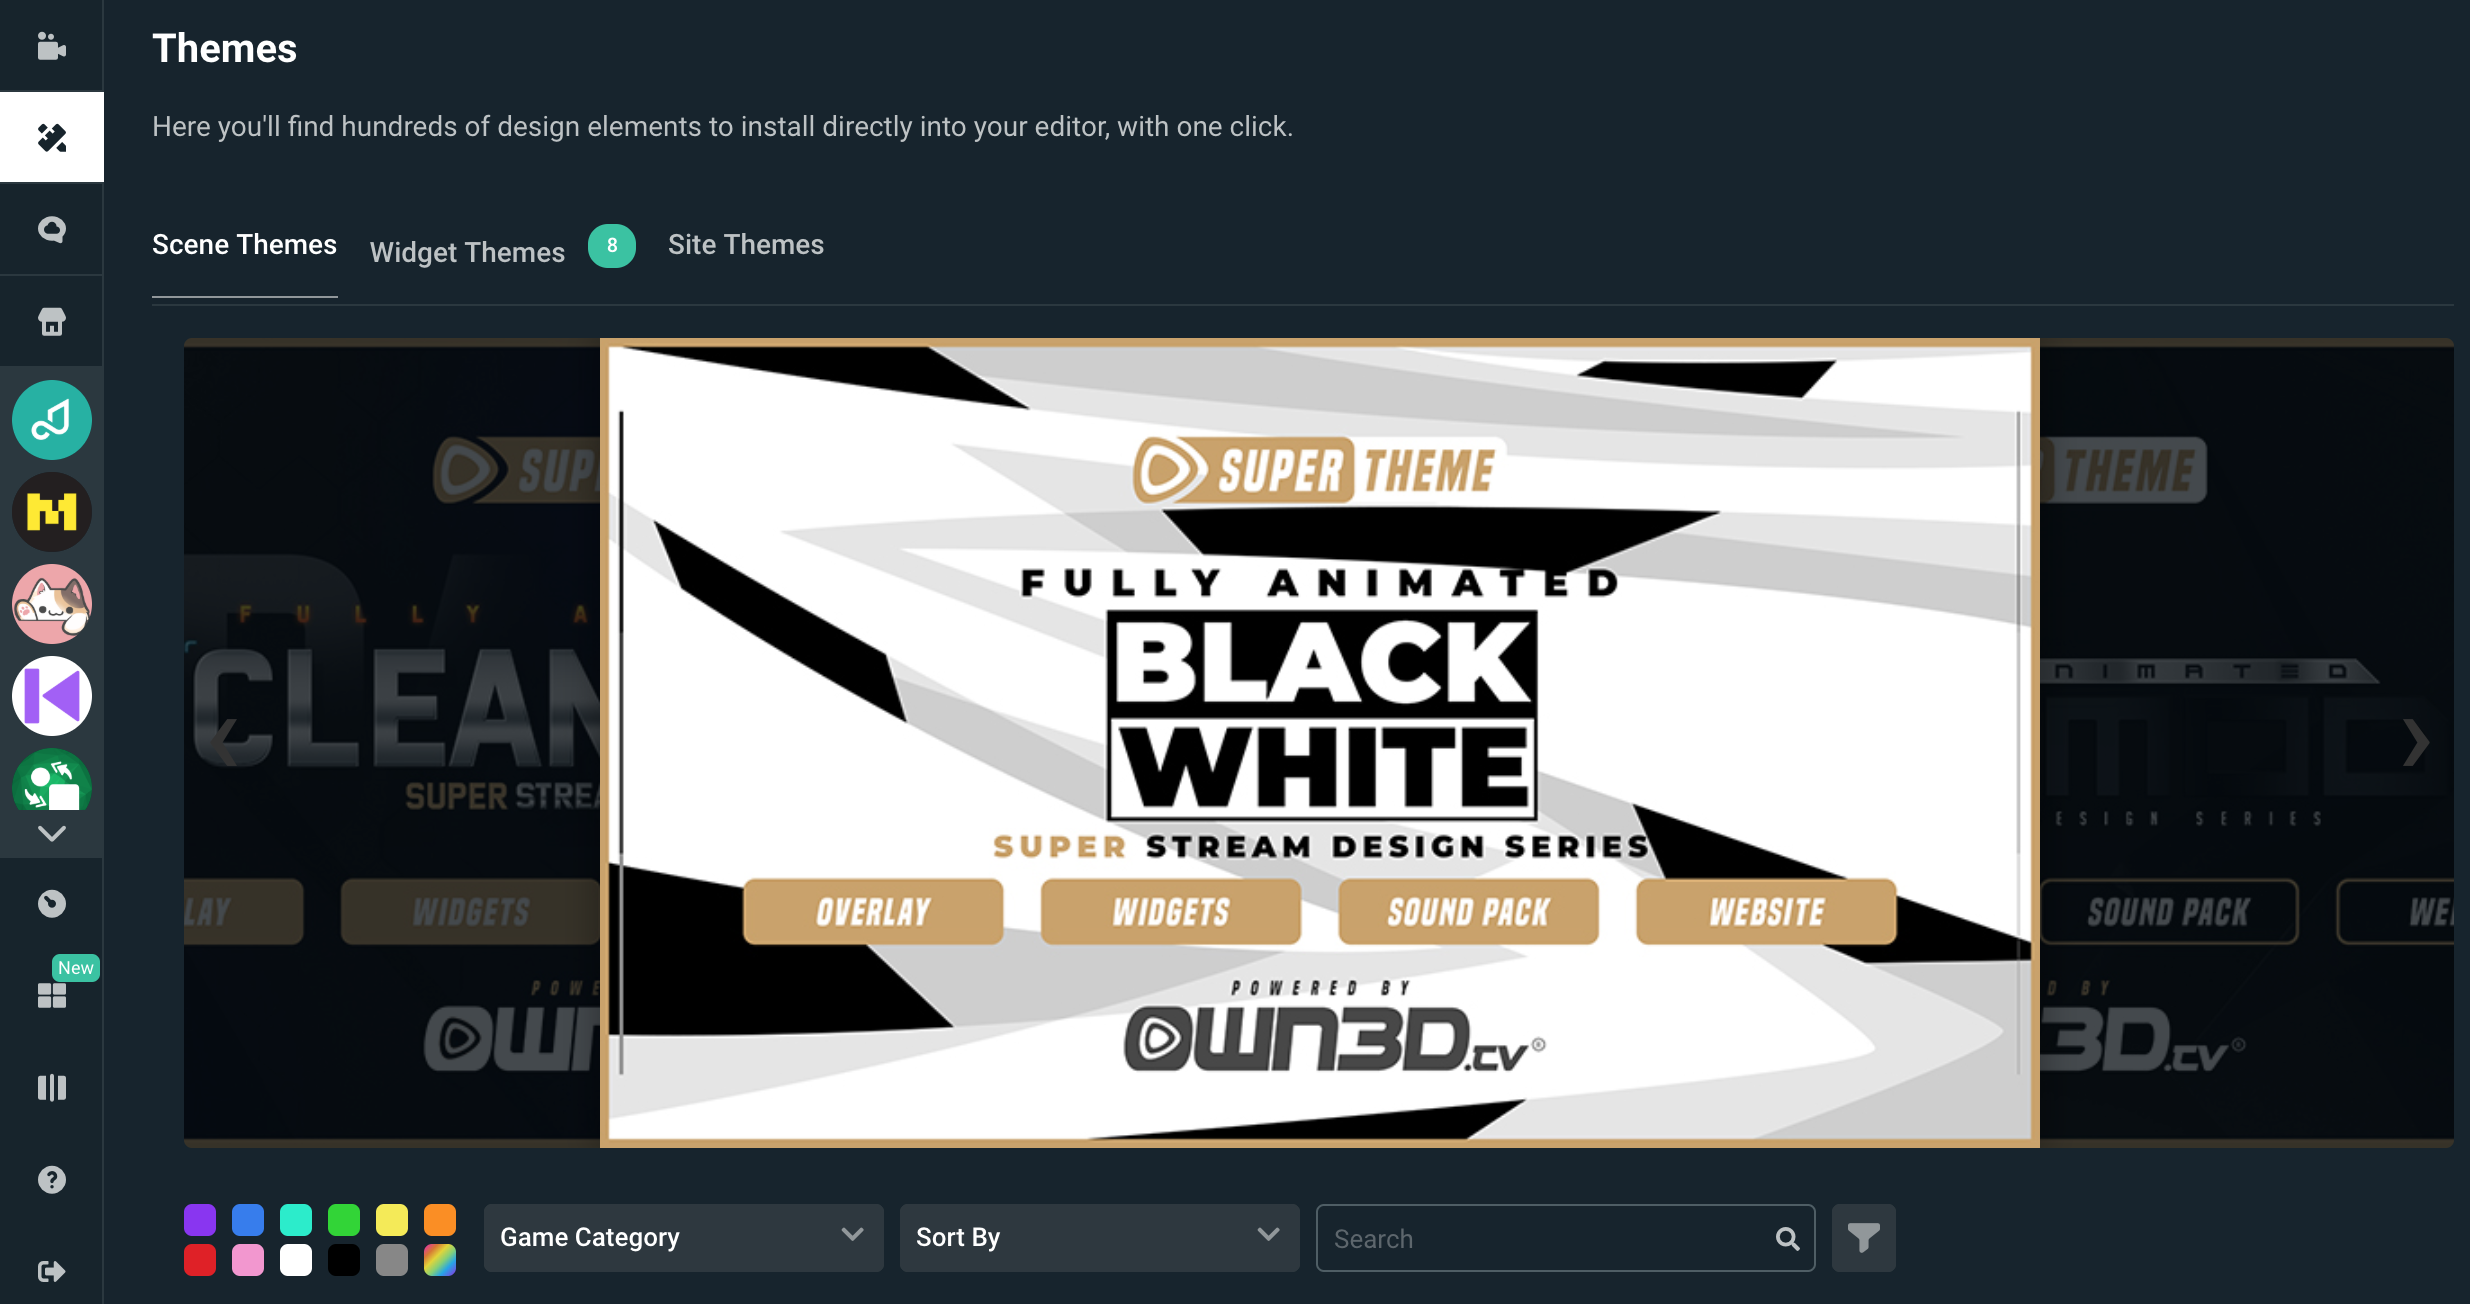
There are over 250 beautifully hand-crafted overlay themes available for free. When you choose a theme — everything is populated for you. A theme will come with a stream starting soon, a live scene, a be right back scene, and a stream ending scene. You’ll want to use your live scene when you are ready for your audience to see and hear you.
Add Your Sources
To add a source, click on the plus sign and choose the source you’d like to add. A source is something that outputs to the stream. A webcam is a source. One of the many widgets, such as a donation goal, can be a source. Capturing what’s on your screen is also a source.
If you selected a webcam during the onboarding process, you should see it automatically captured in your “live scene.” You will then need to add a source to capture your desktop or anything else you want to output to the stream.
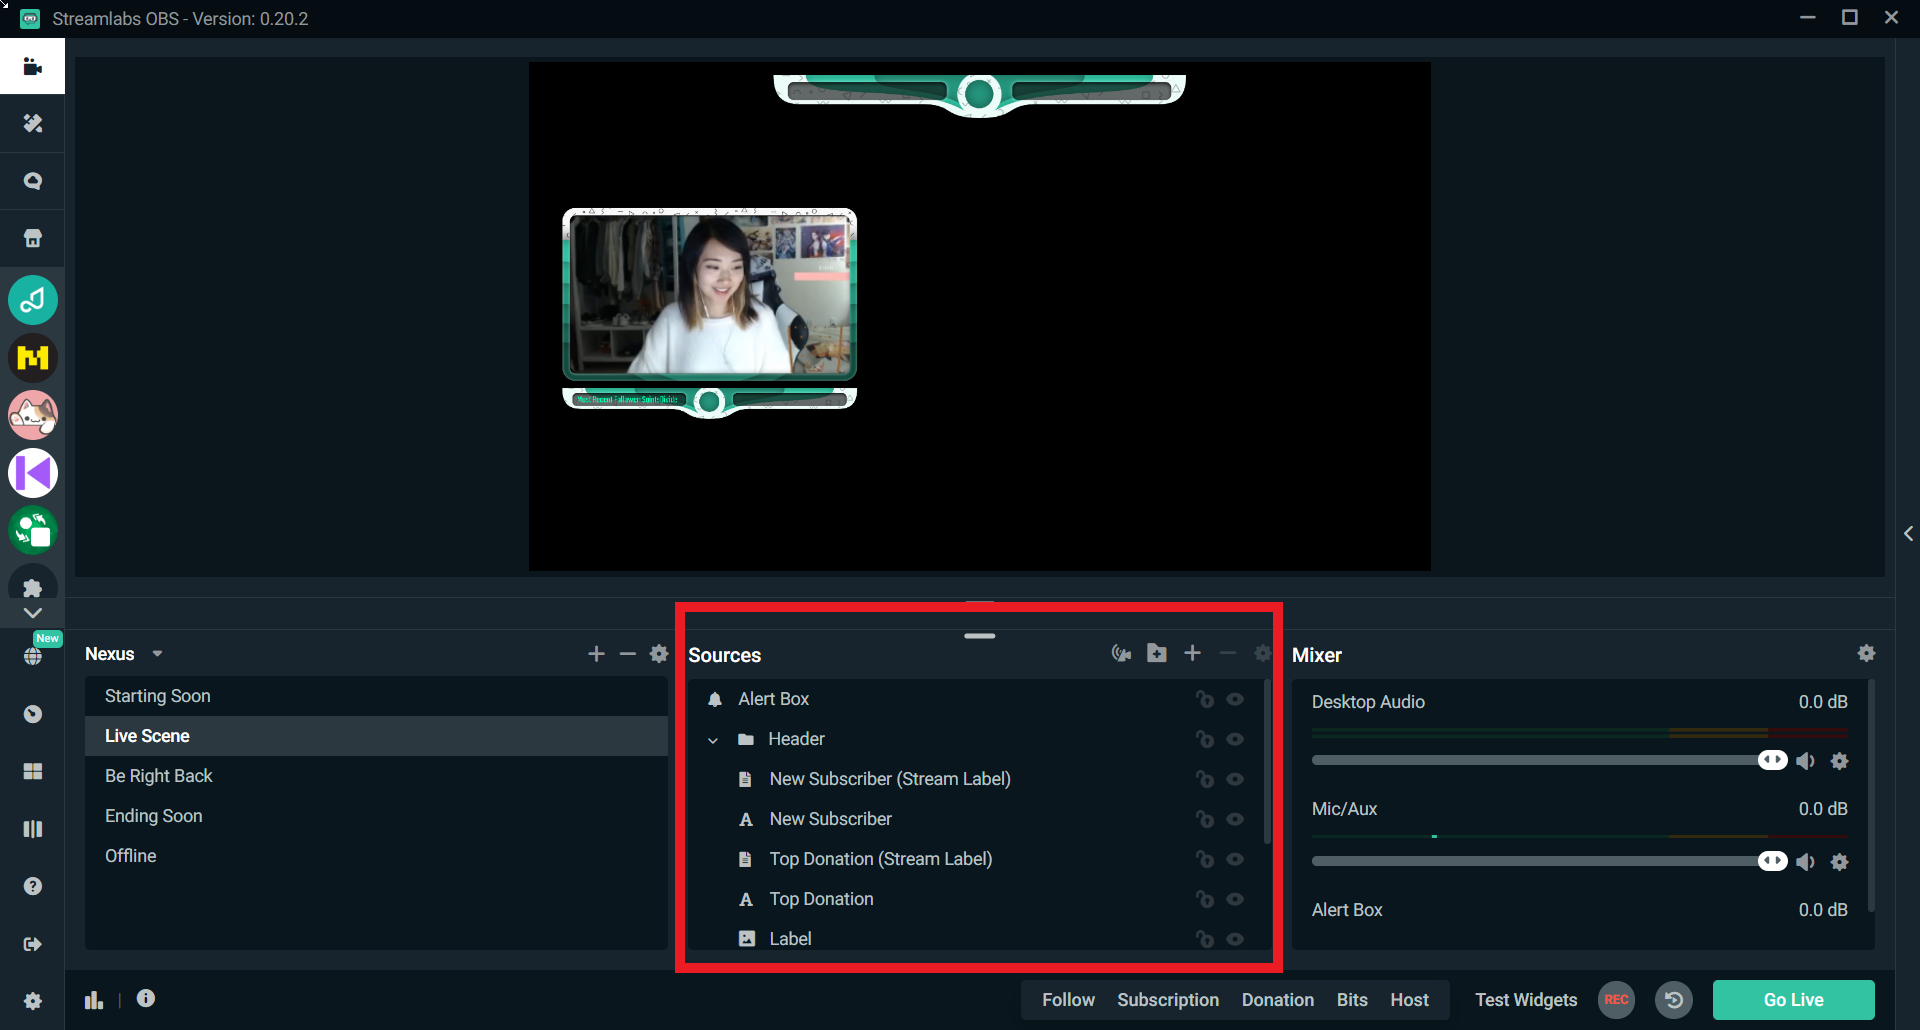
If you are playing a lot of video games we recommend choosing the “Game Capture” source. This will only display the game you are playing. If you enable the Automatic Game Capture functionality, Streamlabs Desktop will automatically detect which game you are playing. There are other options, like “Window Capture”, which will only display a specific window from your computer, or “Display Capture” which will display your entire screen.
Add an Alert Box
We highly recommend adding an “Alert Box” source. An Alert Box will display an alert on-screen whenever somebody follows you, subscribes or donates. There are many different alert types, but these are some of the most common.
Customize these alerts by visiting the Alert Box Dashboard on Streamlabs.com. From this page, you can change the image and sound that appear for the various different types of alerts.

Adding alerts is a perfect opportunity to acknowledge and thank your viewers for contributing to the stream. Seeing their name on the screen makes your supporter feel great because you recognize them and also encourages others to support you.
Capture Desktop Audio
Lastly, Unlike Windows, macOS does not have any system-level audio routing. This means that individual apps can’t access the audio signal from other apps out of the box. However, there are multiple software solutions out there that accomplish this. Visit our support page with more information to learn how to capture desktop audio.
All of the features
Live streamers familiar with Streamlabs’ products can expect to see everything they need to help turn their passion for streaming into a career. Major features include:
- Custom Donation Alerts: Tailor-make the look of on-screen alerts and encourage donations by customizing the layout, animation, message, text, image and more
- Engaging Widgets: Over a dozen engaging widgets designed to increase viewer participation and improve monetization
- Video Encoding Optimization: A machine learning system encodes video games, giving streamers the ability to reduce CPU usage by more than 20% while retaining the same video quality
- Selective Recording: Pick and choose the sources that appear in a recorded video of your live broadcast
- Cloudbot Moderation Tools: Protect from spam in the chat or add entertaining features like mini-games, polls, loyalty points and more
- Premium Overlay Themes: Over 250 free overlay themes made from the best designers in the business
- Integrated Chat: An integrated chat window within the software to help streamers keep track of all the viewer chatter on their channel
- Merch Store: Streamlabs merch store feature gives live streamers the ability to customize an assortment of different products with their own logos and sell them on stream at no cost to them.
More than 20,000,000 streamers already trust Streamlabs to deliver reliable, well designed and feature-rich software. With the availability of its broadcasting software on Mac, Streamlabs is driving the growth of the creator economy as millions of live streamers on either operating system now have access to the industry-leading broadcasting software.