In this article we will give you a walkthrough of how to add closed captions or add subtitles to your Vimeo videos. No worries it's much easier than you might think. In fact it requires only a few clicks and no manual subtitling work at all.
But before we start with the step by step guide let's take a look why adding subtitles matters and help you increasing your watch time, accessibility, and interaction with your video on Vimeo.
First of all you can think captions as SEO for your video. By adding subtitles to your video, Vimeo's engine can understand what your video is about. Your video will be more likely displayed when someone searches for something that your video addresses. Secondly you will improve on the accessibility. Think of deaf people or those who cannot hear well. Even people who don't speak your language as their first language benefit from subtitles.
What subtitle file formats does Vimeo support?
There is actually a wide possibility of subtitle formats that Vimeo supports. SubRip (.srt), WebVTT (.vtt), DXFP/TTML (.dxfp), Scenarist (.scc), SAMI (.sami). However we recommend an SRT file since this is the most common subtitle format and used by all the other platforms including LinkedIn, Facebook, YouTube, TikTok and so on.

Now that we've highlighted why subtitles and closed captions are important, let's look at how you can easily create an SRT file that you then upload to Vimeo together with your video.
Creating SRT files in 3 easy steps
First of all the good news! You don't need to download or install any program to create SRT files. We build Streamlabs Podcast Editor which is an online video editor that helps you with all subtitle related work. It runs in your browser so you can just go and signup here Streamlabs Podcast Editor Signup . Btw generating SRT files is for free though. Here you can learn more about subtitles.
Once you're registered you can start right away. Follow this three step tutorial to create your own SRT file automatically and without any hustle.
#1: Upload video
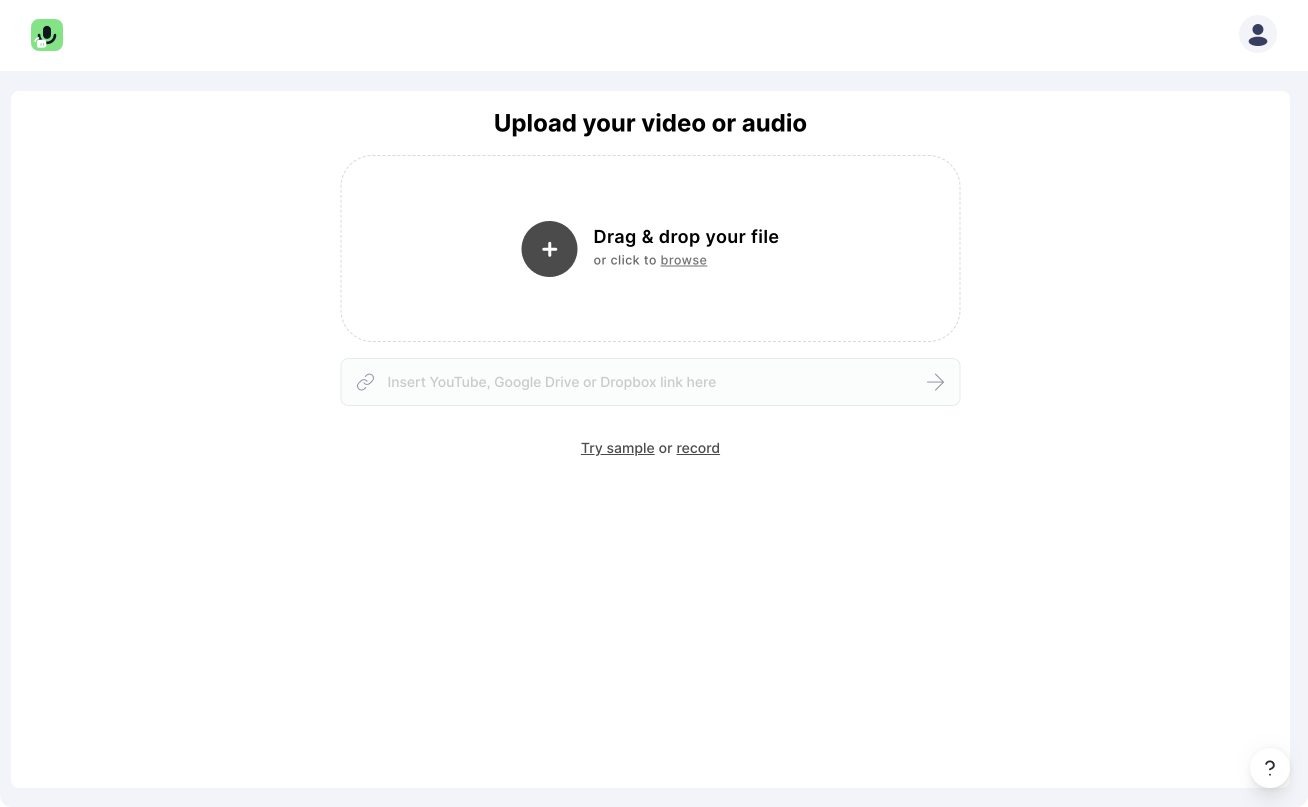
Start with uploading your video content. Simply drag and drop your video from your computer into Streamlabs Podcast Editor. Alternatively, you can of course upload videos from YouTube, Google Drive or Dropbox with a link. Note that you selected the languages of your video beforehand.
If you want to create a new video, we have built a webcam and screen recorder for you.
#2: Edit transcribed text
Streamlabs Podcast Editor automatically transcribes your video to text. Since AI transcribing is on a raise to get unbelievable accurate there might be still some words that the engine is mistaken and need some manual correction. However it will do 98% of the work to create an SRT file for you.
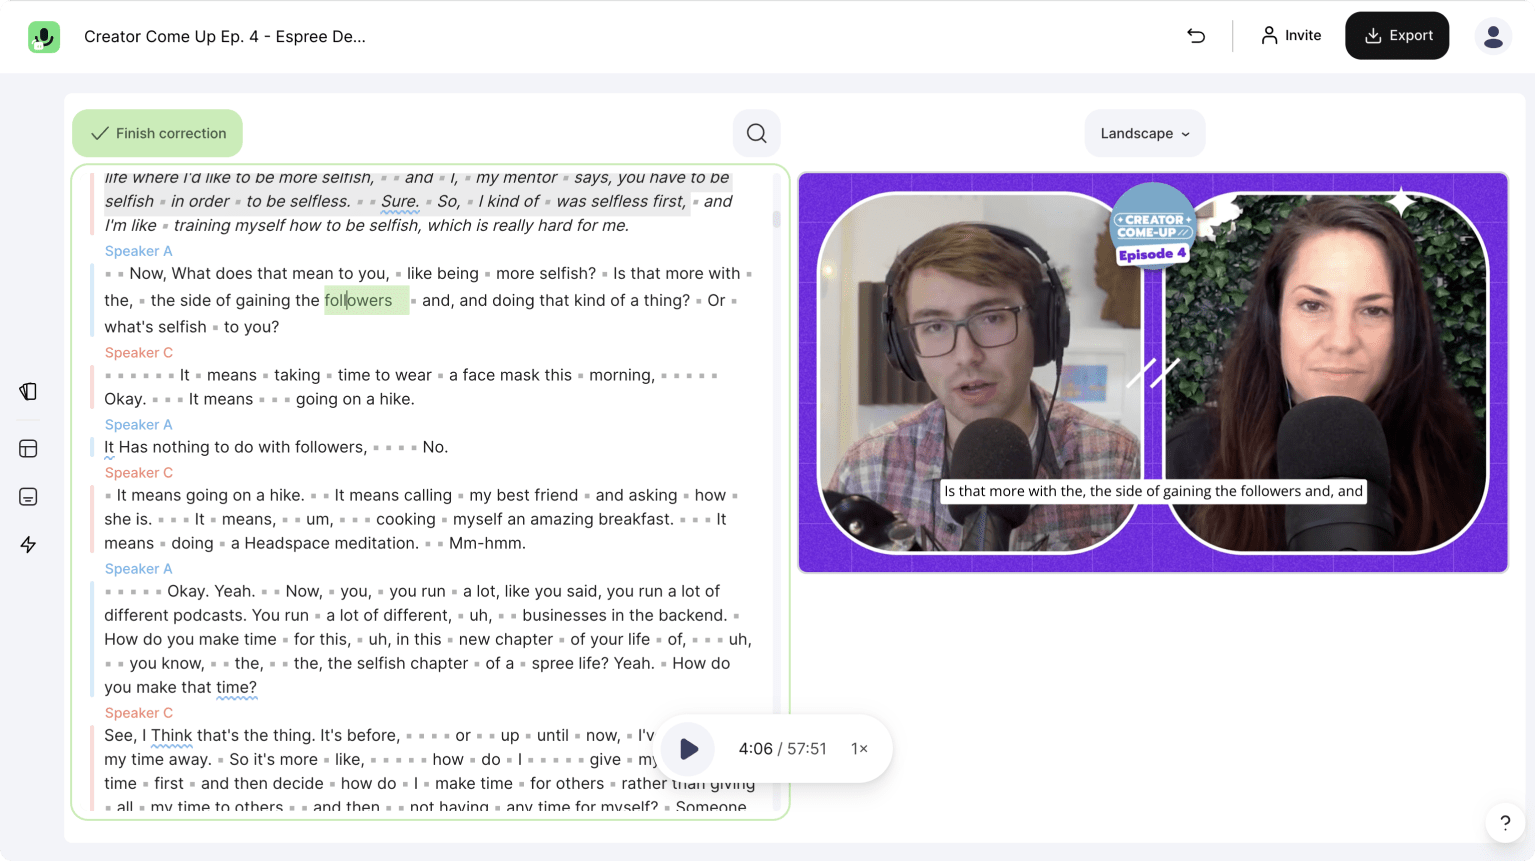
So you can go through the transcribed text and edit where some editing is necessary. By doing this you also correct the subtitles that you can export afterwards. Every change will be adopted to the specific SRT format. Pro tip: Use the arrow keys from your keyboard to navigate through the text.
#3: Export the SRT file
Once you are done with the correction of the text you can click on the "Export" button in the top right corner of the menu and choose "Subtitles" and then click on "Download .SRT file". Streamlabs Podcast Editor will generate the file in a few seconds for you.
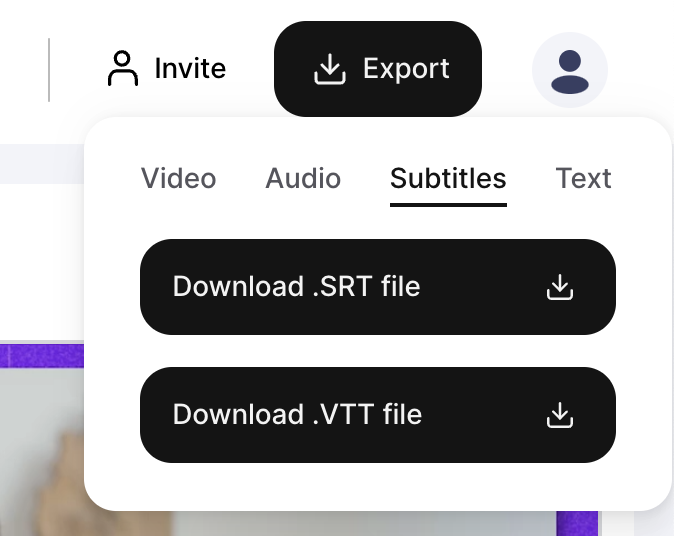
Btw. besides SRT files you can also download the subtitles as a VTT file, or the transcribed text as a .txt file.
Now you are ready to apply the SRT file to your video on Vimeo. So let's have a look on how that works.
Uploading SRT file to the Vimeo platform
It's super easy to upload your SRT file to your video. The only thing is that you need to know where to do so. But we got your back. Follow the screenshots and you are good to go.
#1 Navigate to the advanced settings
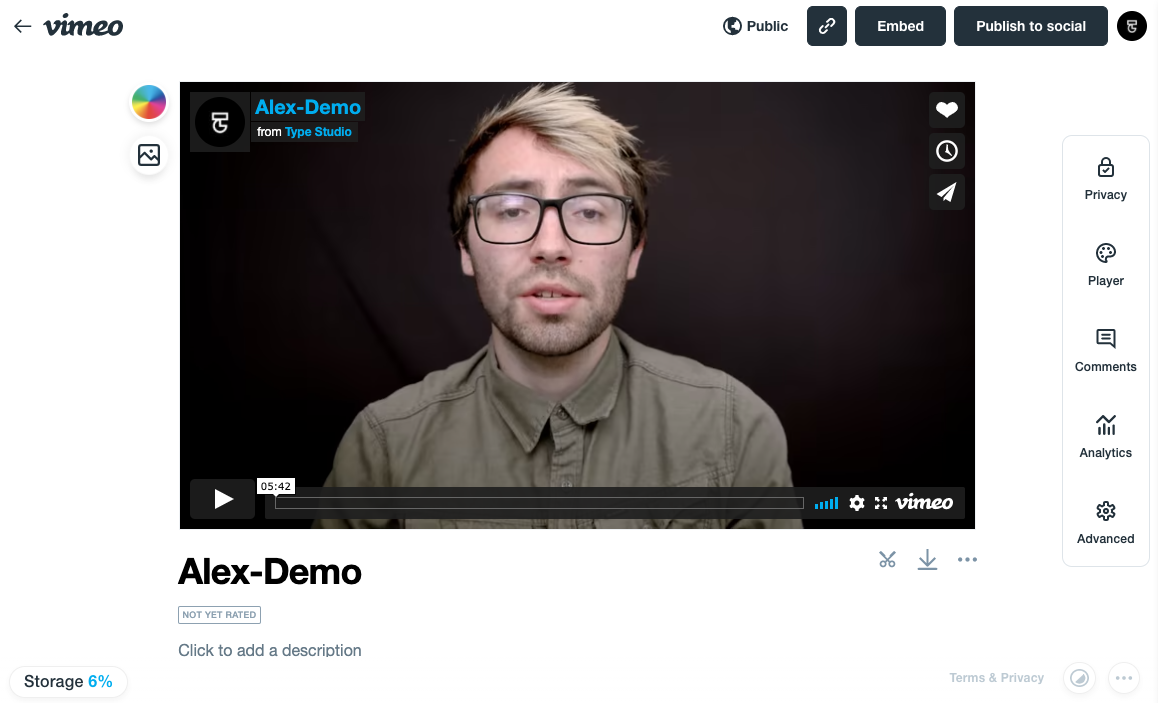
Once you uploaded your file you will get to your preview. Click on the "Advanced" menu in the right menu bar.
#2 Navigate to the subtitle settings
Now you will find a bunch of settings on the left. Here you have to go to the "Distribution" tab and then click on "Subtitles".
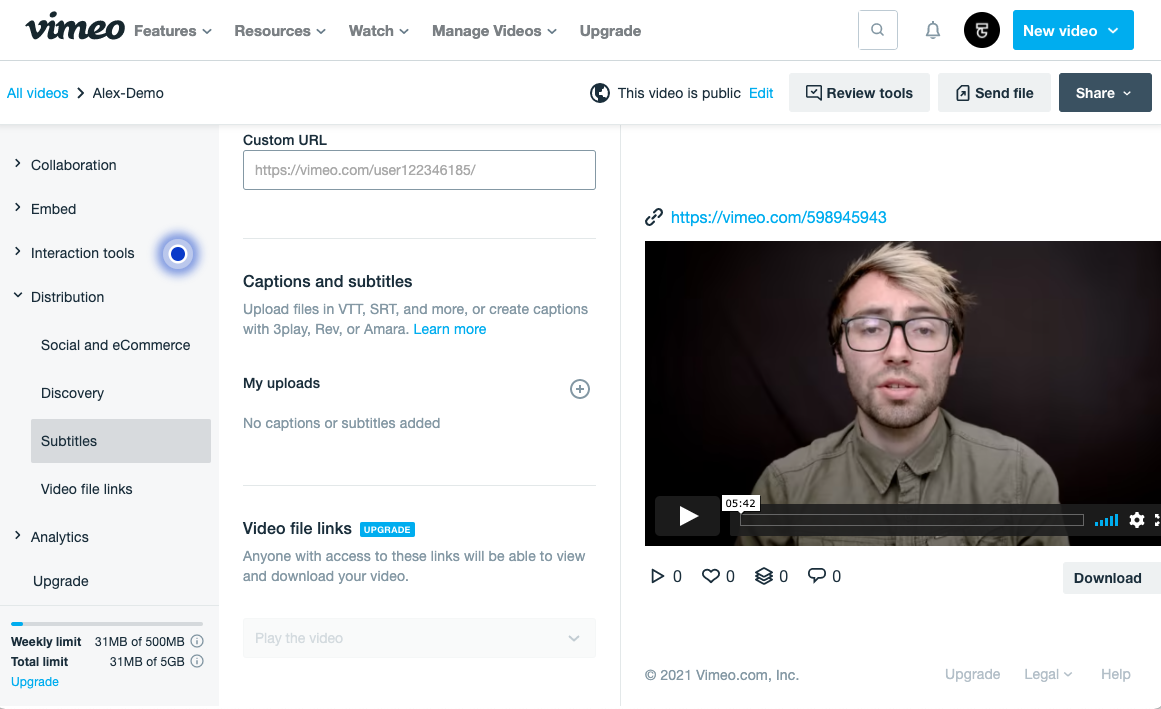
Next you have to click on the "+" symbol right next to "My uploads".
#3 Select language and subtitle style
In this case I select English as a language and the subtitle type "Captions and subtitles" which I alway recommend here. If your video is in a different language you have to chose of course the corresponding language.
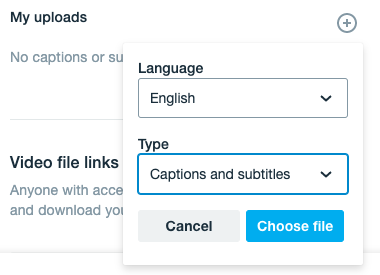
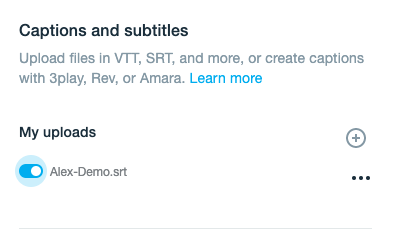
Click on "Choose file" and upload your SRT file. After that you only have to toggle them to be active for the video and your are done! But don't forget to save it!
A frequently asked question
What’s the difference between captions and subtitles?
We covered this topic in a separate article. We highly recommend you to check it out since there are some major differences between subtitles and close captions even though they look almost the same of the first glance.