In this tutorial we're going to cover how to automatically generate SRT files which you then can add to your videos on Facebook. If you don't already know what an SRT file is, then we recommend you first go through this article where we take a look behind the scenes and explain how and SRT file is structured and formatted.
Before we jump right into the step by step guide lets first clarify why subtitles are so important for your Facebook videos and how they can help increase your watch time and retention rate.
How subtitles improve your videos on Facebook?
In general creating videos for Facebook, LinkedIn, TikTok, or any other social media platform is a great opportunity to get your message out and to differ from all the picture and text posts that are usually filling up your newsfeed. Personal video content is an underrated medium. However, did you know that you could easily improve on your videos by adding subtitles to them? And that doesn't just apply to video platforms like YouTube or Vimeo. Think of captions as SEO for videos for! You not only improve it for your audience accessibility but also for Facebook since they can understand what your video is about.
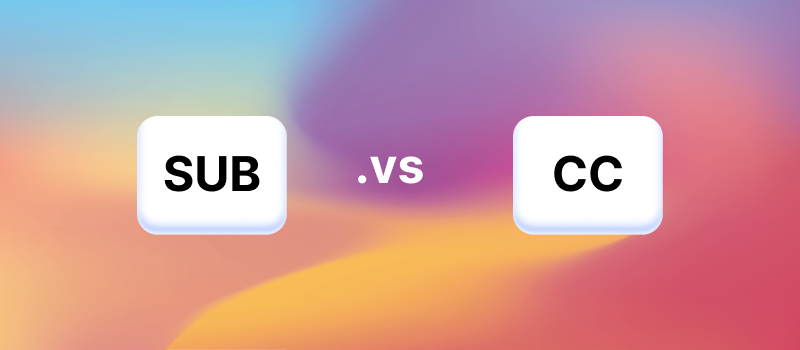
There are two different forms of subtitles which you both can create with our free editing software Streamlabs Podcast Editor. You can either create and SRT file which you upload along with your video to Facebook. We will cover this in a minute. Or you burn in the subtitles (SUB) to your video. The main difference is that if you create an SRT file your viewer can actively decide if they want to toggle the subtitles on or off. In fact these subtitles are called closed captions (CC) because they are not fixed attached to the video and you give the options to toggle them on/off.
Burned in subtitles on the other hand can't be removed from your video. They are always visible, regardless what video player they are shown with. A disadvantage could be that you cover important areas of your video. Also, the algorithms of platforms like Facebook can't understand burned-in subtitles since they are just shown as pixels accumulation in your video.
Now that we've got that straight, let's look at how to create a SRT file for your Facebook video.
How to generate an SRT file?
The good news is that you don't need to download or install any program to create SRT files. We build Streamlabs Podcast Editor which is an online video editor that helps you with all subtitle related work. It runs in the browser so you can just signup here Streamlabs Podcast Editor Signup . Btw generating SRT files is for free though.
Once you're registered you can start right away. Follow this three step tutorial to create your own SRT file automatically and without any hustle.
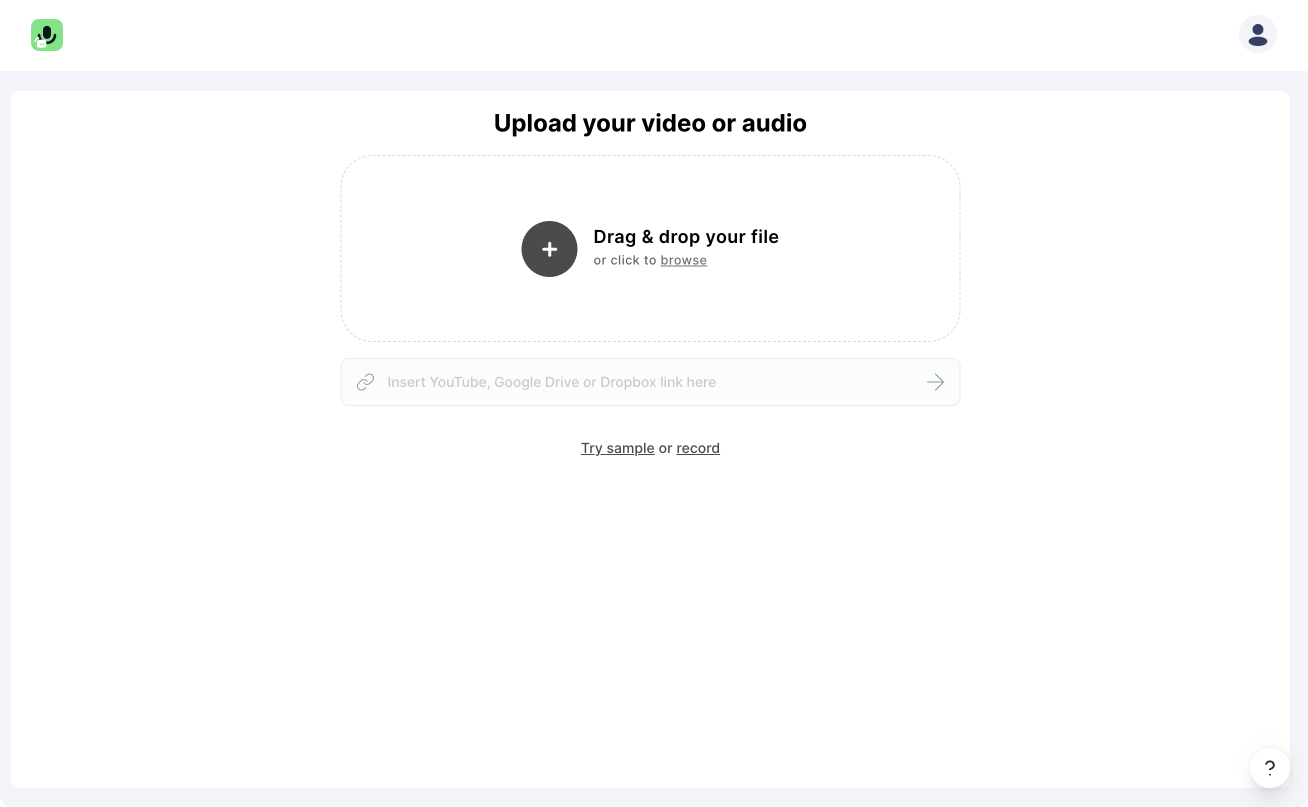
#1: Upload video
Start with uploading your video content. Simply drag and drop your video from your computer into Streamlabs Podcast Editor. Alternatively, you can of course upload videos from YouTube, Google Drive or Dropbox with a link. Note that you selected the languages of your video beforehand.
If you want to create a new video, we have built a webcam and screen recorder for you.
#2: Edit transcribed text
Streamlabs Podcast Editor automatically transcribes your video to text. Since AI transcribing is on a raise to get unbelievable accurate there might be still some words that the engine is mistaken and need some manual correction. However it will do 98% of the work to create an SRT file for you.
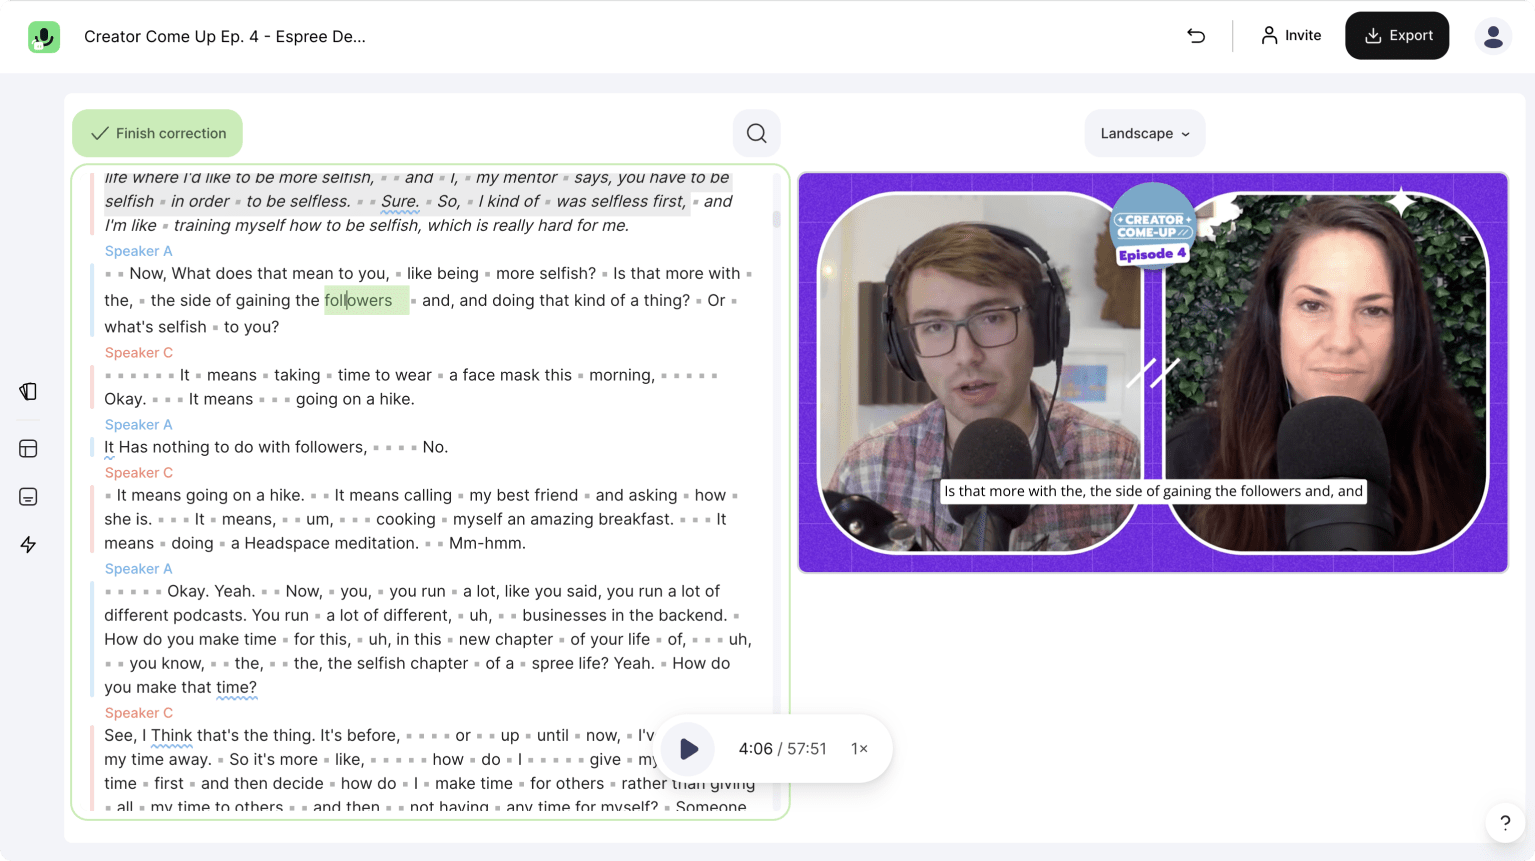
So you can go through the transcribed text and edit where some editing is necessary. By doing this you also correct the subtitles that you can export afterwards. Every change will be adopted to the specific SRT format. Pro tip: Use the arrow keys from your keyboard to navigate through the text.
#3: Export the SRT file
Once you are done with the correction of the text you can click on the "Export" button in the top right corner of the menu and choose "Subtitles" and then click on "Download .SRT file". Streamlabs Podcast Editor will generate the file in a few seconds for you.
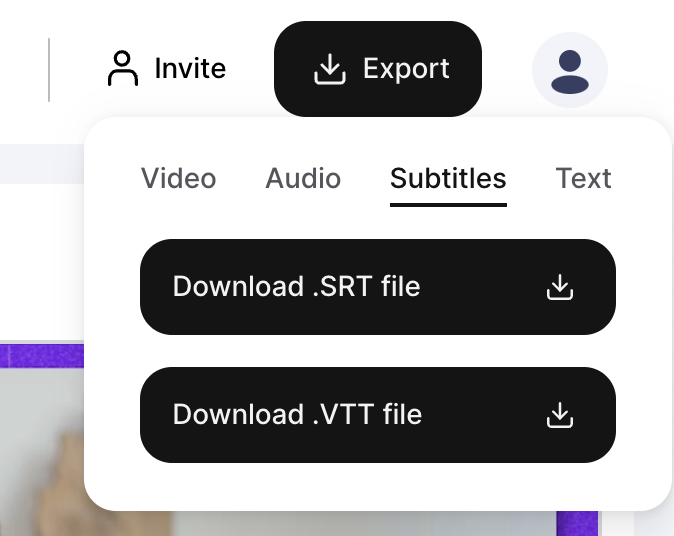
Btw. besides SRT files you can also download the subtitles as a VTT file, or a .txt file.
Now you are ready to apply the SRT file to your video on your personal or business Facebook page. So let's have a look on how that works.
Add the SRT file to your Facebook video
The next step is to add the SRT file to your Facebook video. So first login to your account and follow this septs:
#1 Select and upload your video
Click on "Video" and select the video file you want to upload and post on LinkedIn.

#2 Choose video options
Click on "Video Options" to upload your generated SRT files. Note that Facebook will generates their own subtitles for you with their speech to text software. However, these auto-generated captions are often inaccurate, and if your video isn't in English or only for English-speaking audiences, you can't rely on it! Also, bad subtitles can make your video look bad. That is why we recommend it if done professionally.
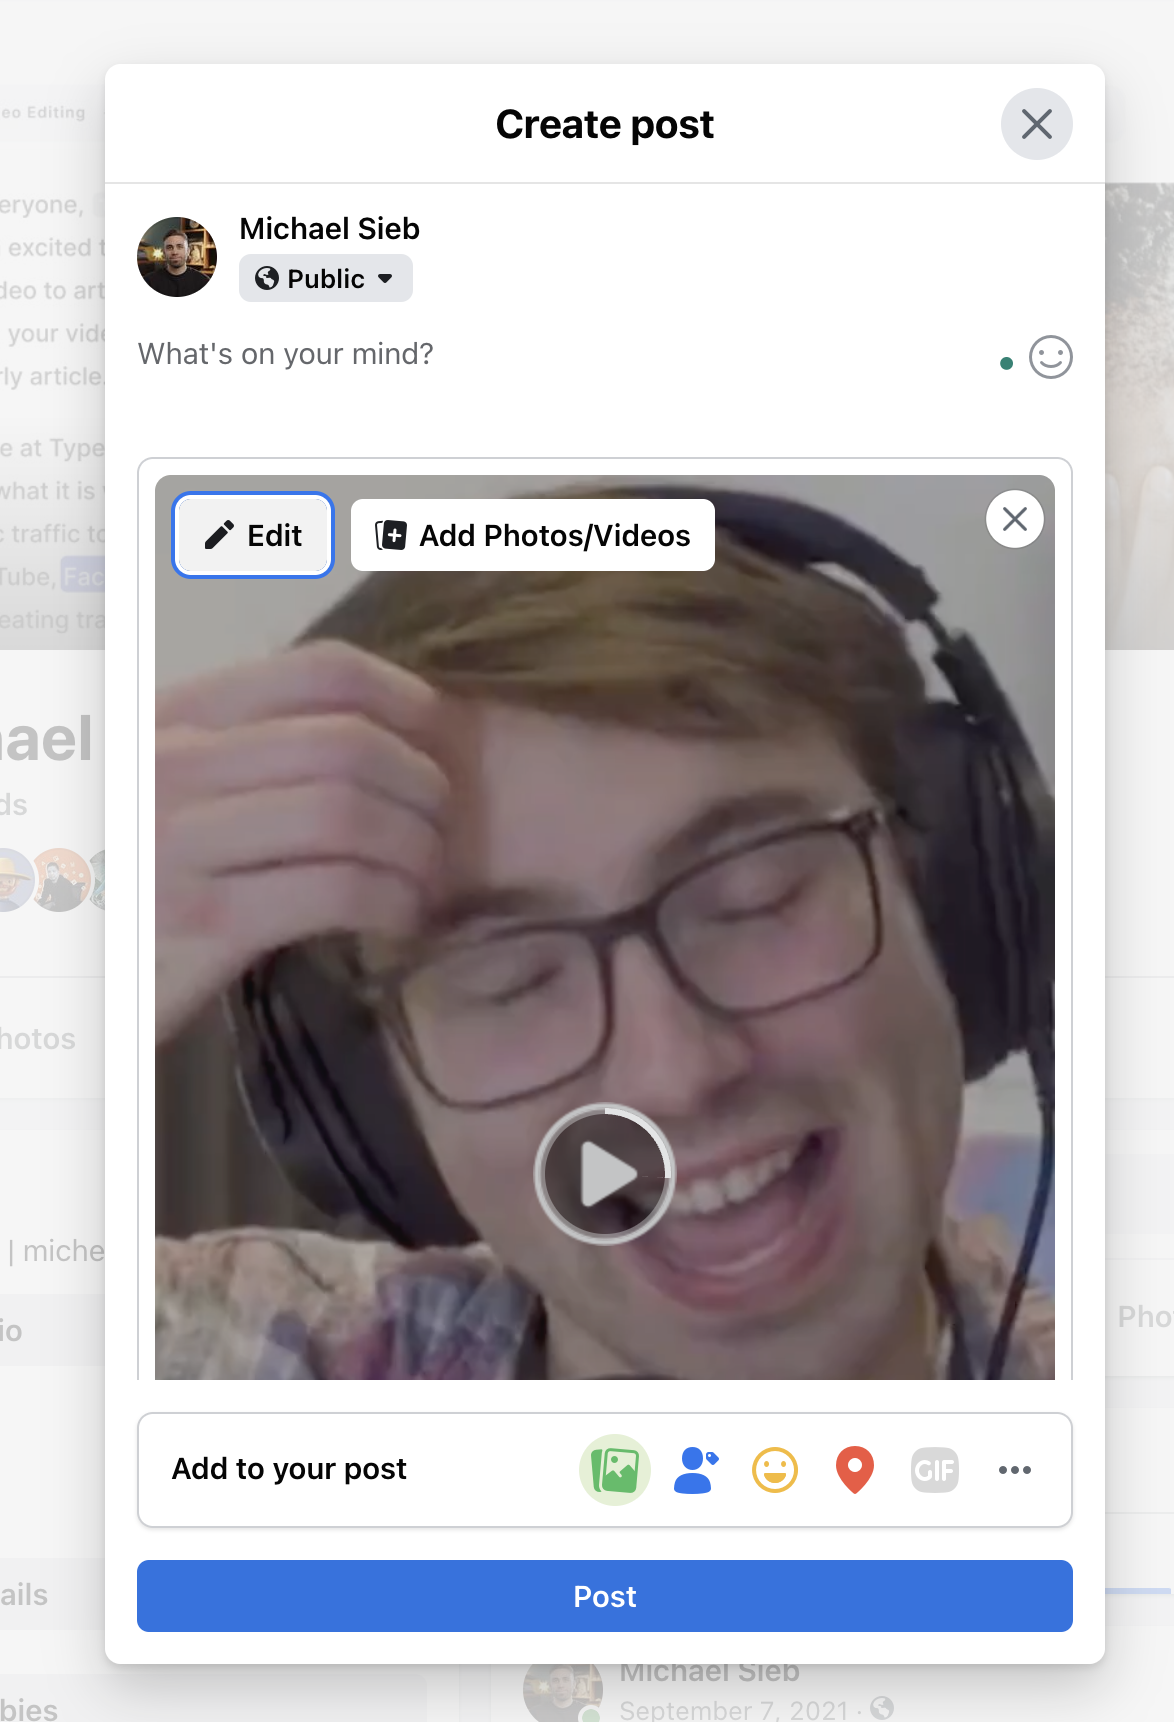
#3 Choose add captions and upload your SRT file
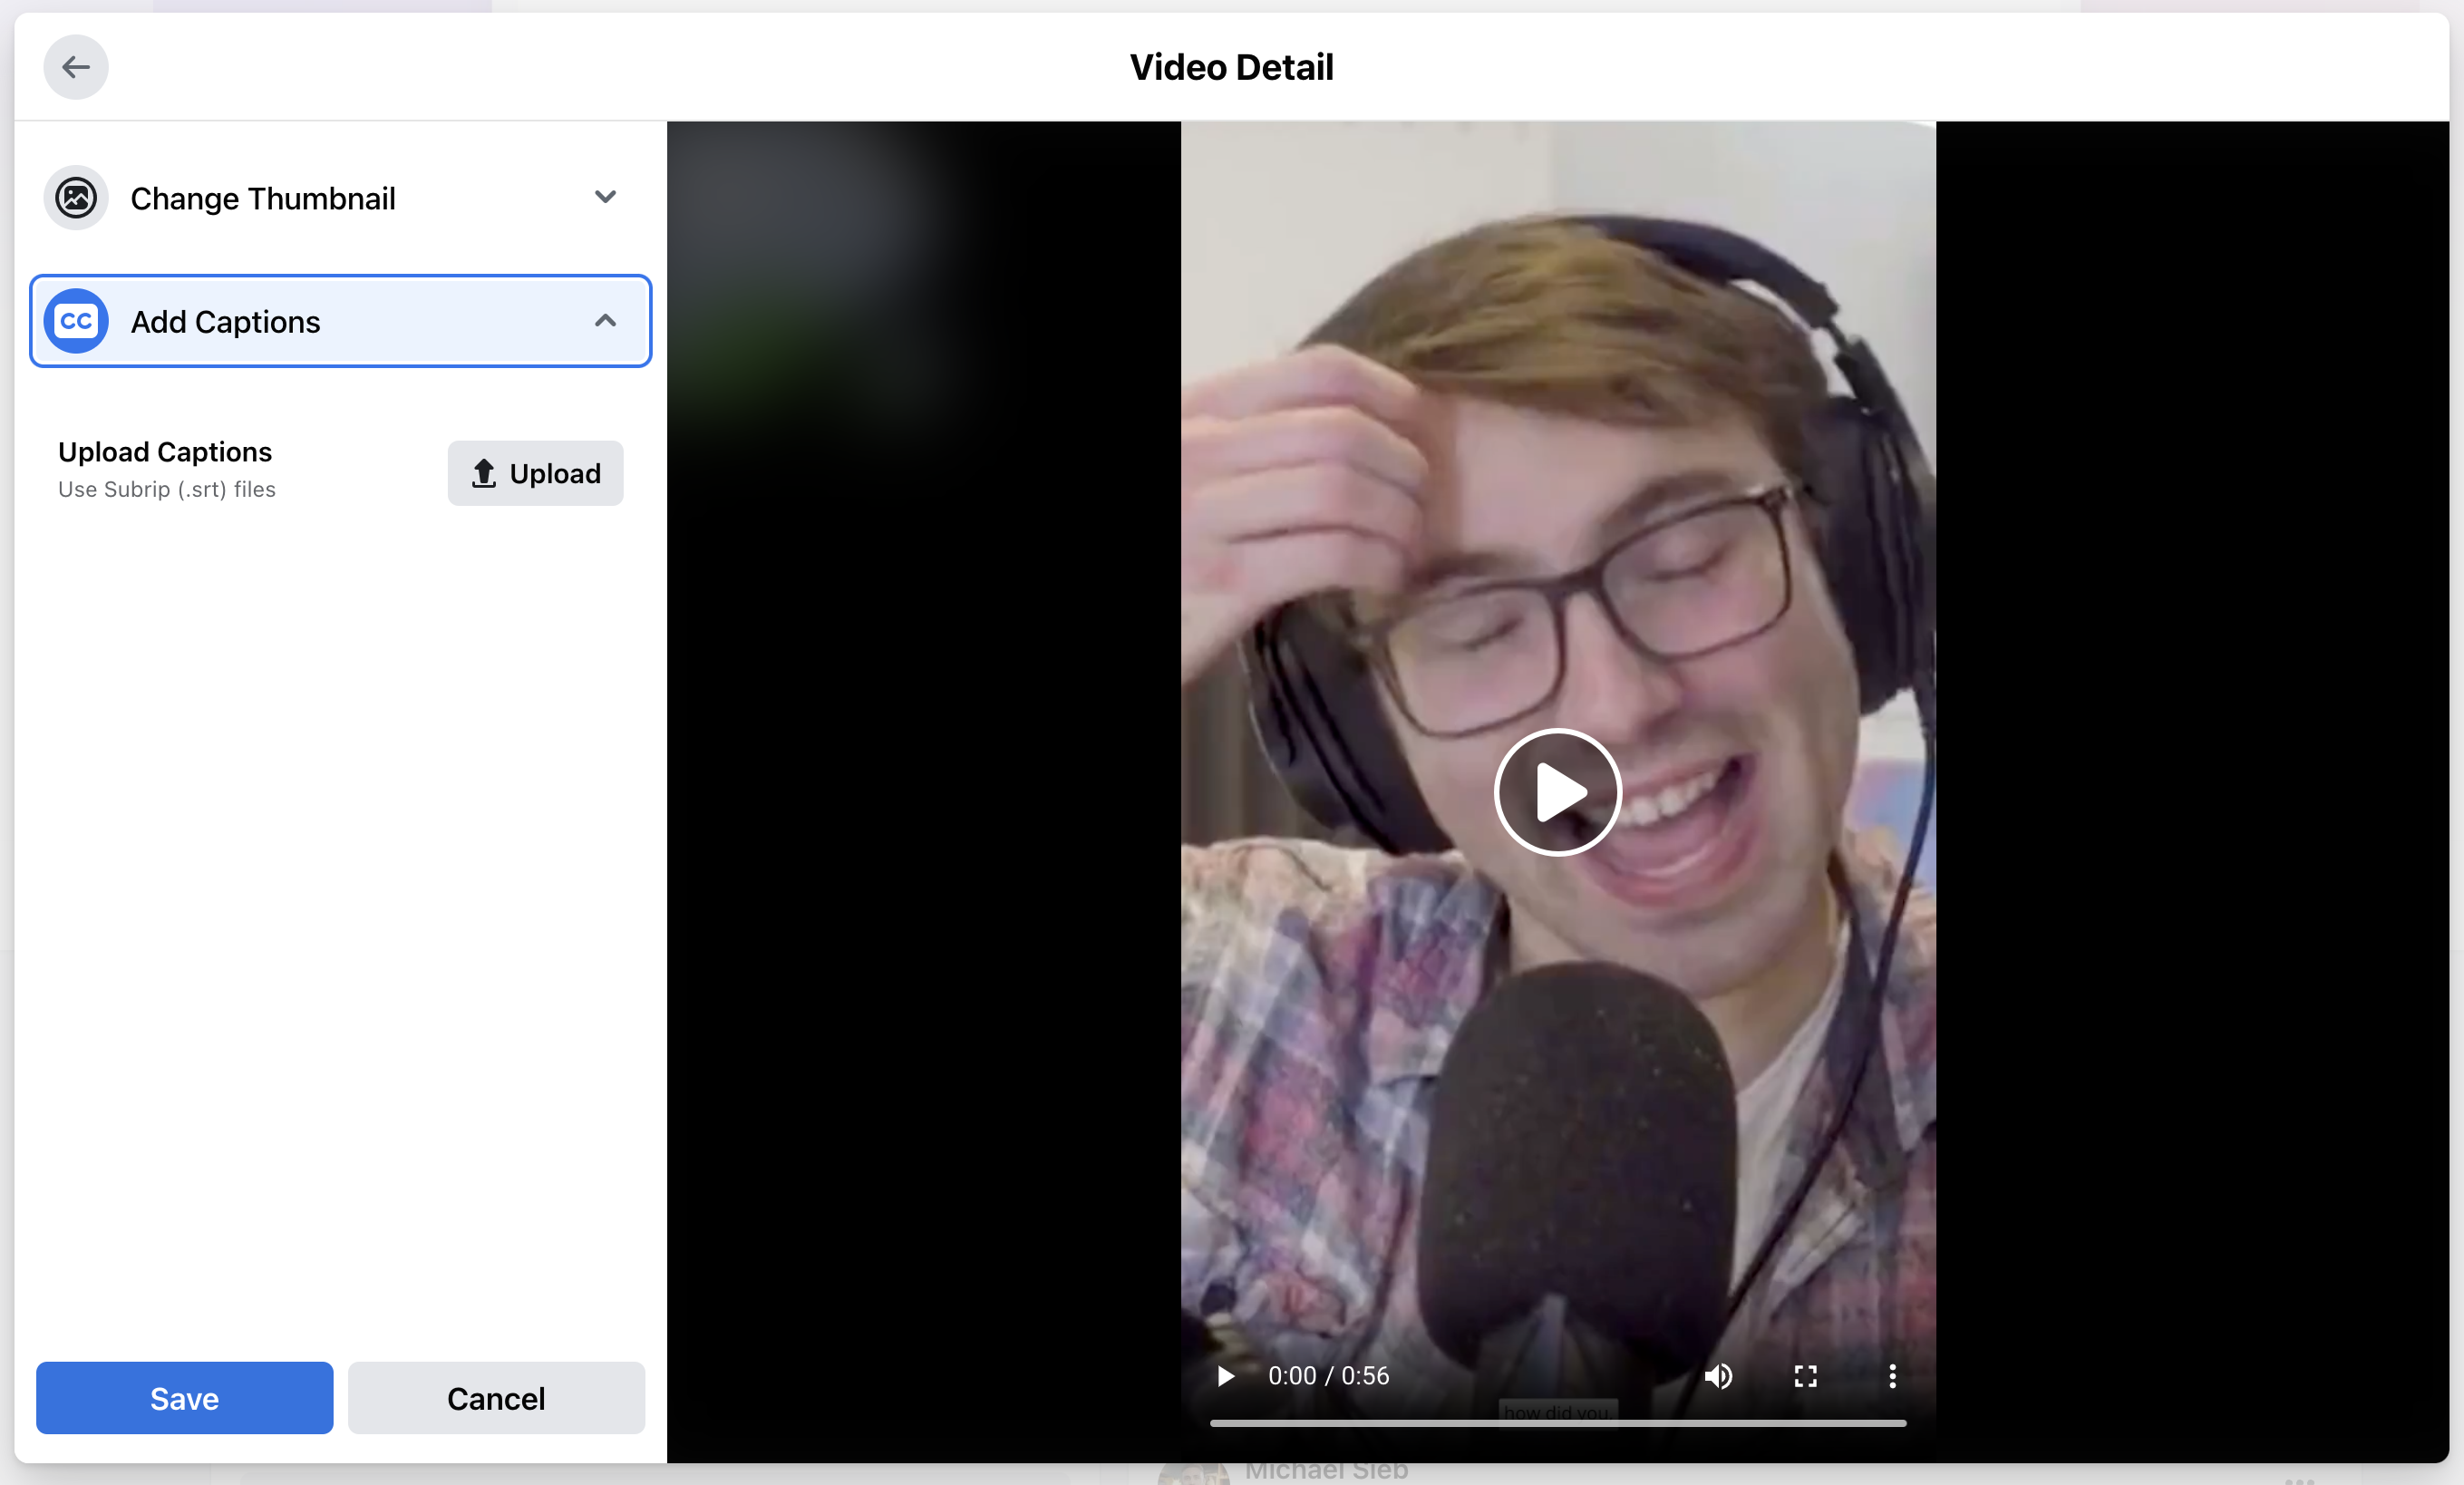
Now you can upload your SRT file that Streamlabs Podcast Editor generated for you. Make sure that the file name of the SRT file has the same name as your video. Facebook has recently had some problems with file names being different.
Pro tip: Also upload a Thumbnail in addition and give your video a proper title. It will also help you to attract initial attention for people scrolling through the newsfeed.
Well done, that's it! You added subtitles to your Facebook video. Now your video is ready to be posted and subtitles will be shown up as closed caption in the native Facebook style.
Side note
The subtitle style, such as the font size, position and color, is determined by Facebook itself. If you prefer to have the closed captions burned in your video, you can also add them directly to your video with Streamlabs Podcast Editor.