If you are an active Twitch streamer, your dream is likely to build your community and achieve future success. After all, you may also want to earn extra income with your powerful Twitch content on YouTube. But you may wonder, how do you achieve more success using your Twitch content? One effective way is by repurposing your streaming content—mainly reposting VODs (videos on demand or recorded versions of your live streams) on high-traffic platforms like YouTube, the best-ranked global site for video content.
What You Need to Know Before Exporting Twitch Streams to YouTube
Exporting your Twitch stream to YouTube starts with ensuring that you’ve enabled VODs on your account. Twitch provides a VOD that stores your past live streams or video recordings as archives. VODs are vital since they engage your audience and maintain your channel growth.
The primary use of VODs is to retain and attract regular viewers even when you are offline. It means your fans can still access and watch your VODs days later if they miss a live stream, provided you have enabled them. The VOD system also includes the highlights feature that creates short clips from your entire VOD broadcasts. You can also make them manually as desired using your Twitch channel.
How to Enable VODs on Your Twitch Account
If you are a new Twitch streamer, you must first enable the VOD feature from its default disabled status. A few reasons you should allow the VODs feature in your account include:
- You have the potential to reach more viewers on other platforms.
- You can attract and engage potential new followers as they search and watch your past videos.
- It allows you to create highlights or small clips from your VOD broadcasts or share and upload them to other social media platforms.
Steps for enabling VODs on your Twitch account:
- Log in to your Twitch account dashboard. Click your profile picture/avatar from the top-right corner to trigger a drop-down menu for additional options.
- Find and choose the Creator Dashboard.
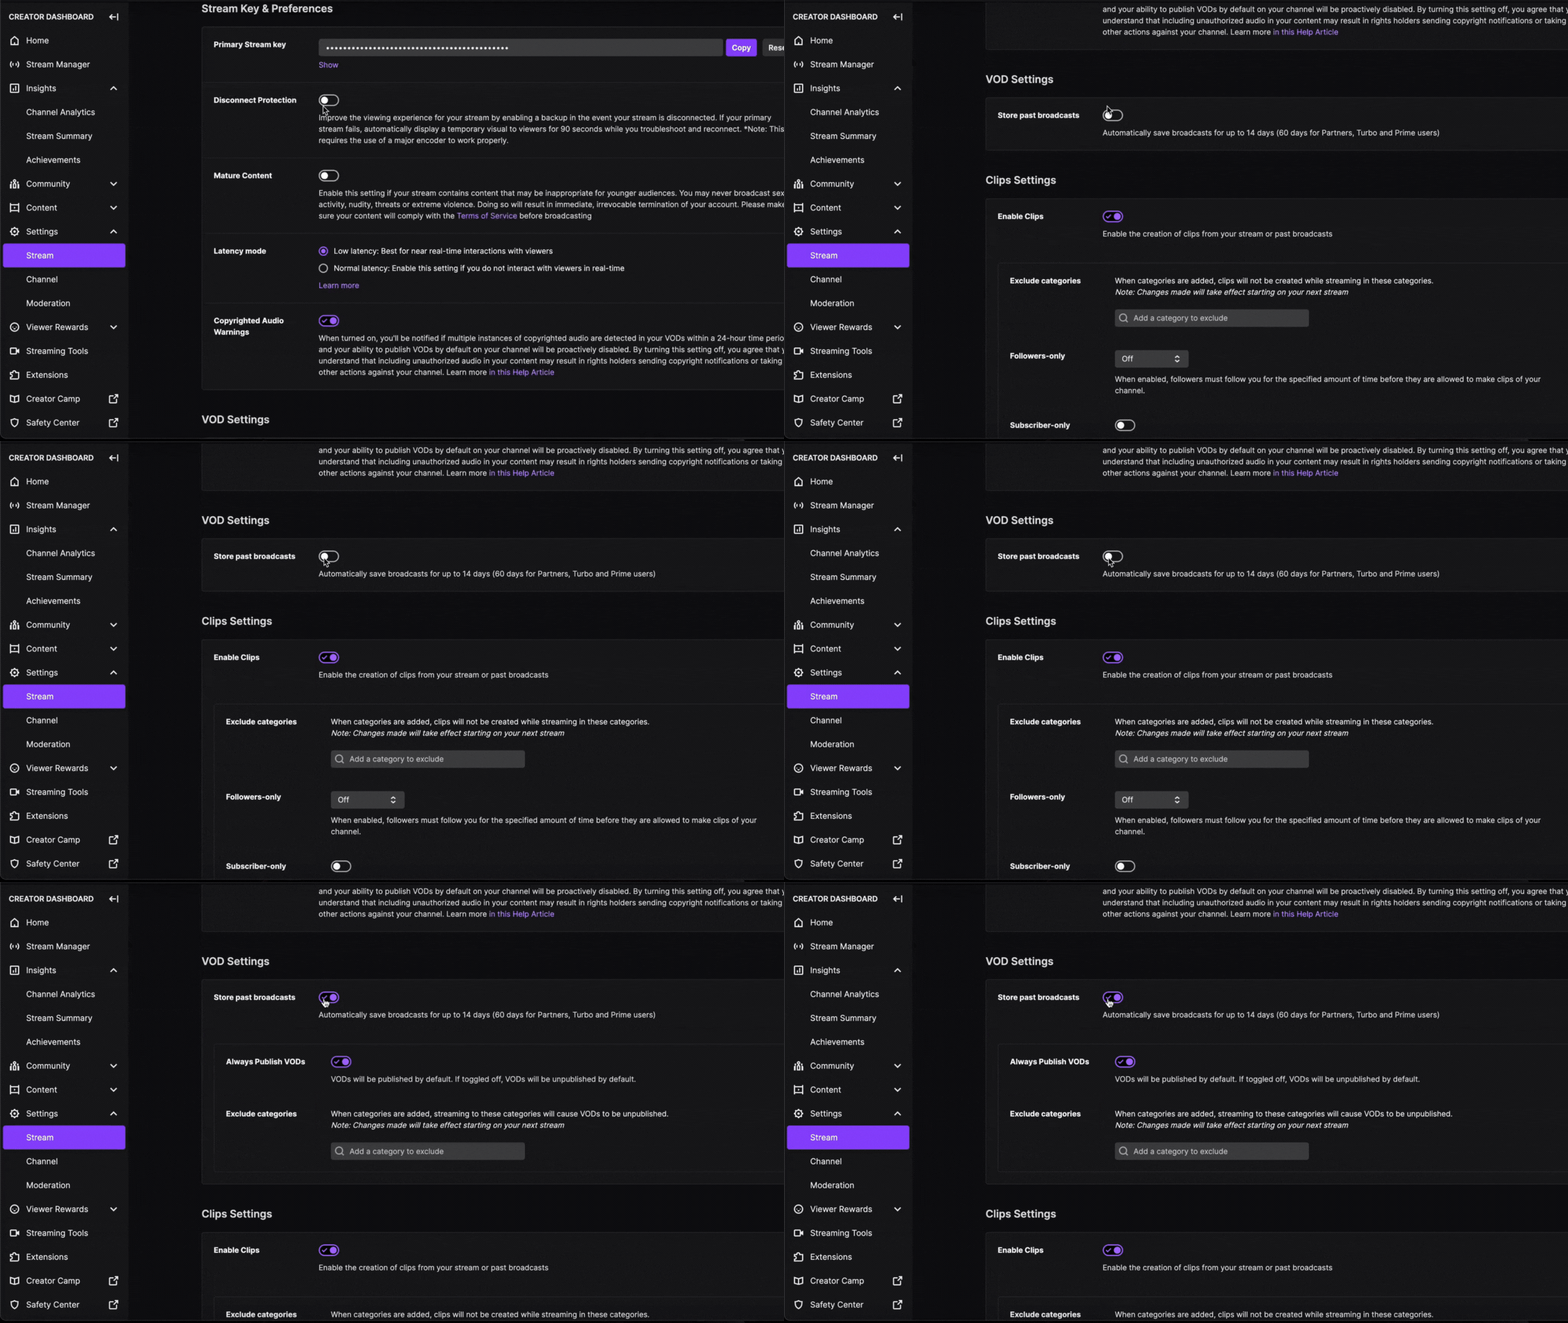
- Select and expand the Settings options from the left side of the screen, and then click Stream.
- Navigate to the Stream Key & Preference section, then find the Store Past Broadcast toggle to enable it.

That’s it. Twitch will automatically save your past live streams between 14 to 60 days. Most streamer’s VODs are available for up to 14 days, but Twitch Partners, Prime members and Turbo users broadcasts are saved for 60 days..
How to Export Your Twitch VODs to YouTube
After enabling the VOD functionality, you can use the export Twitch to YouTube feature to upload the full stream or export highlights directly to your YouTube channel. One advantage of this feature is it has easy and user-friendly functions to transfer your best content from Twitch to YouTube.

- First, ensure you have logged in to your Twitch account using your linked YouTube account.
- Next, go to your screen’s top right corner and click the little arrow next to your profile picture/avatar.
- From the drop-down menu, select Video Producer to display a list of all your past Twitch videos and highlights.
- Select the video you want to export. Then, click the three vertical dots on the video’s right side. You will notice a drop-down list of various actions you can do with the selected video. Choose the Export option.
- A dialogue window pops up, requesting you to fill in a few details. These include the video’s title, tags, description, and the other information needed to upload your video. You also have other additional options, such as making your video appear in public or private mode.
- Once you complete filling all the requested fields and options, the last step is to click Start Export. That’s it. Your video will immediately appear on your YouTube channel after the exporting process ends.
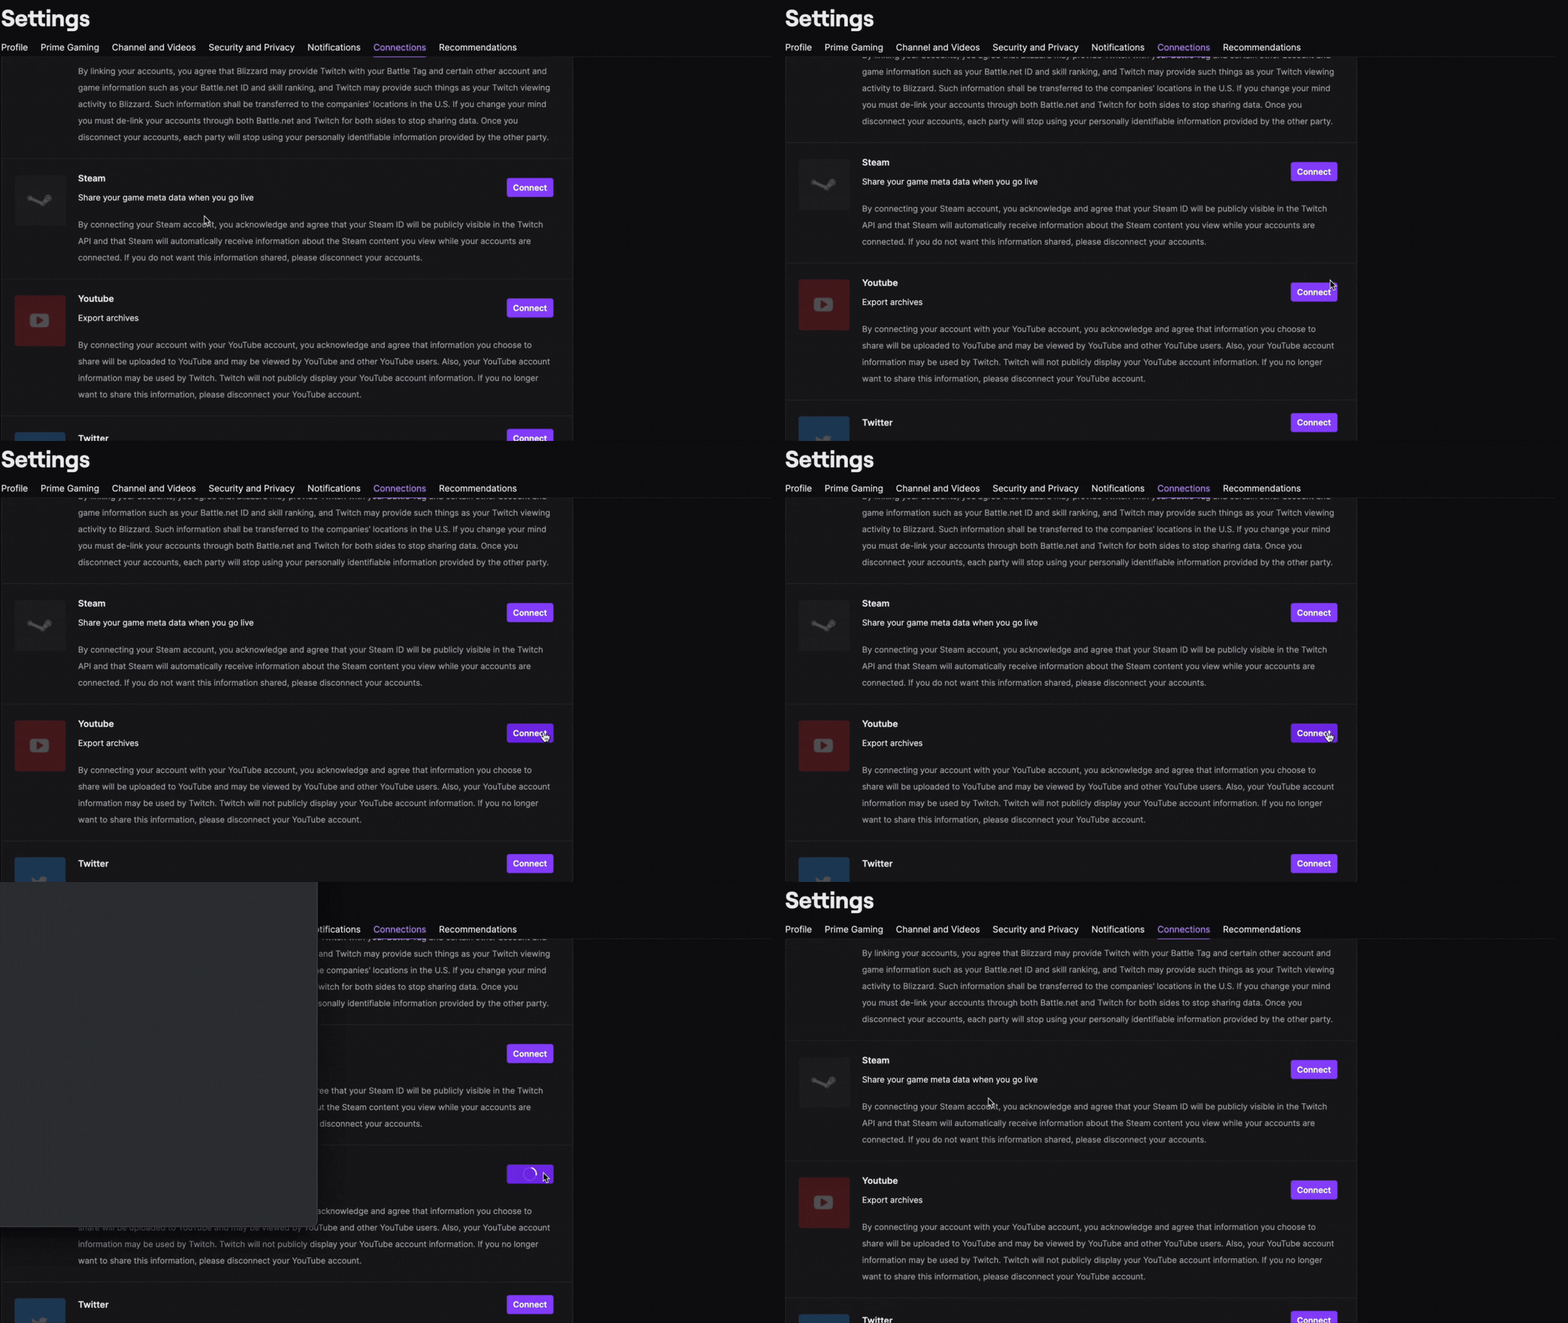
Note: If you haven’t linked your Google and Twitch accounts, your logged-in Twitch account will alert you to do so. You will notice on-screen login prompts to “sign in to your YouTube account” or “allow Twitch restricted access to your YouTube channel. You will also need to give your Twitch account permission to link to your YouTube account. Just click the Allow prompt to export your videos directly on YouTube.
Exporting your Twitch stream to YouTube is a straightforward process. If you are a Twitch streamer and want your videos to get more viewers, you need to start exporting your videos from Twitch to YouTube today. Alternatively, if you have VOD footage that could use a bit of editing, you can download it, edit with Video Editor and publish straight to YouTube!