This guide will help you install Streamlabs Desktop and start live streaming in a matter of minutes.
First, download Streamlabs Desktop.
Next login with your live streaming platform of choice.

Auto Optimizer
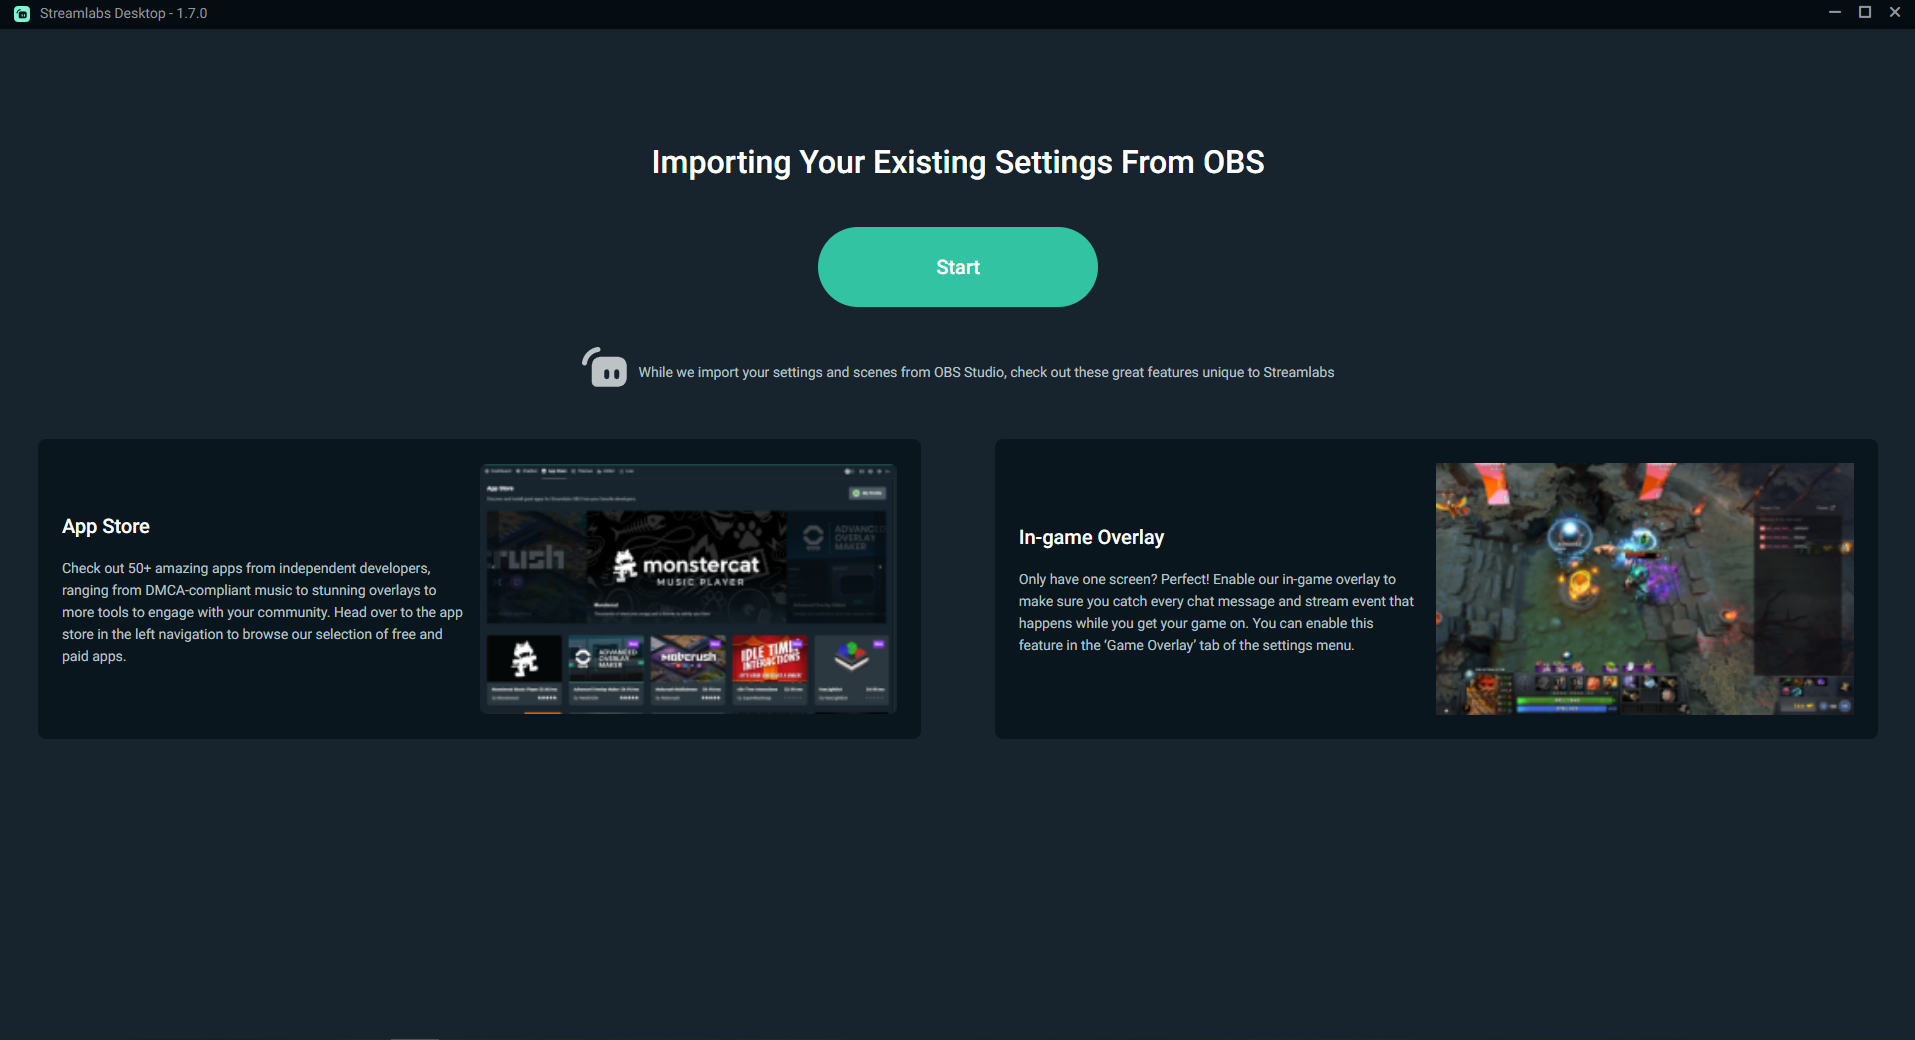
Use the Auto Optimizer to analyze your internet speed and computer hardware to get the best settings for your setup. If you are coming from different broadcast software, the import settings function in Streamlabs Desktop lets you transfer your settings in less than a minute.

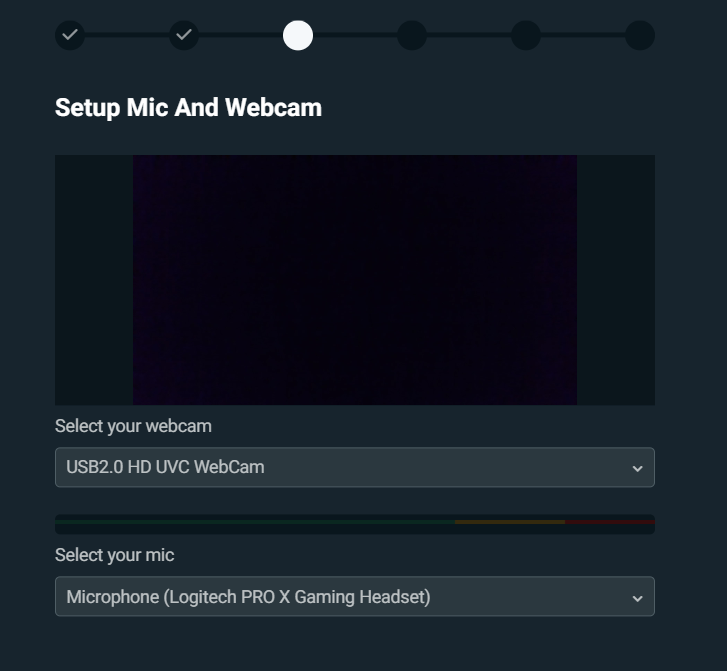
Add Your Microphone and Webcam
If you have a webcam and a microphone, Streamlabs Desktop will automatically detect it. Later you can change your mic through the audio mixer or change your webcam by right-clicking on your video capture source and opening properties.
Sharing your face and talking to your audience will make for a more fun experience for your fans.

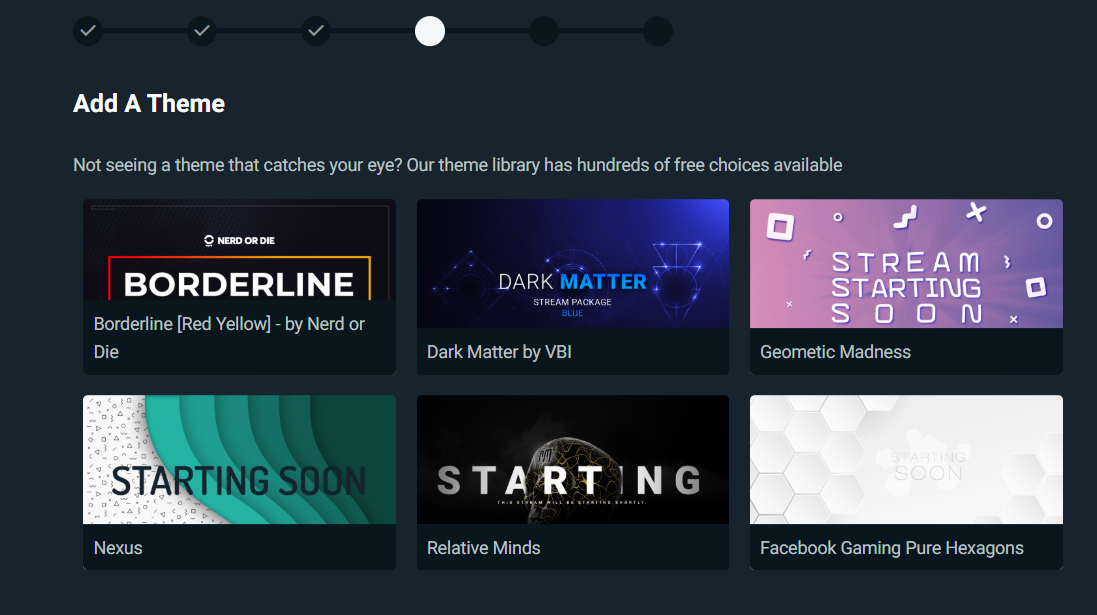
Overlay Themes
Next, choose a theme for your live stream. During the on-boarding process, you’ll be able to choose from many different themes. Theme overlay packages make your stream stand out and add a personal touch. There are over 250 free themes and many premium themes made by top designers in the industry.
Your stream now looks polished with one click!

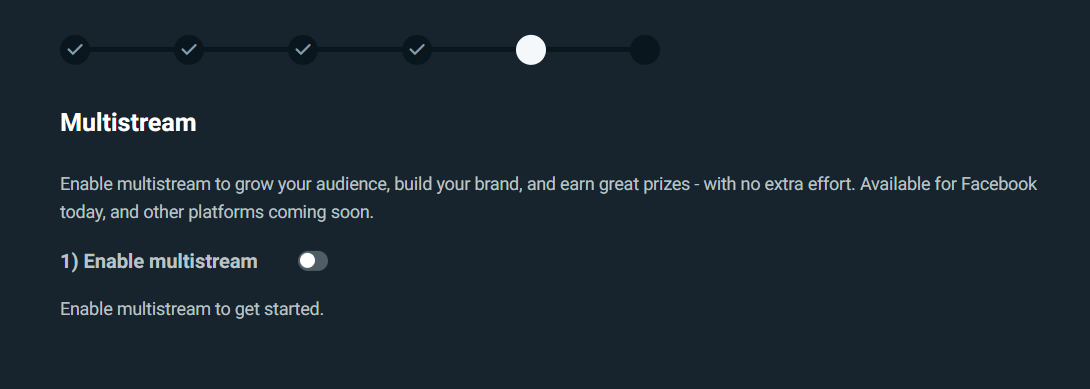
Streamlabs also offers multistream support to help live streamers build their brand by reaching fans across multiple platforms.

Now that you’ve completed the onboarding process, you’re ready to press the go-live button and start streaming!
Check out the tutorials below to help guide you through the Streamlabs Desktop set up process:
- (Part 4) How to Customize Your Stream
- (Part 5) Create Your Free Custom Merch Store in Less Than One Min
- (Part 6) Live Stream From Your Phone in Seconds
Questions? You can reach us at:
Download Streamlabs Desktop here. If you have any questions or comments, please let us know. Remember to follow us on Twitter, Facebook, Instagram, and YouTube.