There are a couple of benefits to using a green screen; they are portable, flexible, non-intrusive and they can add a level of professionalism to your stream that some viewers appreciate. They aren’t for everybody, and by no means is it required, but we want to provide this guide to help you set up your green screen if it is right for you.
Supplies
Setting up a green screen is mainly done through software, however, you do need a couple of supplies to get you started.
- You’re going to need a green screen (duh). You can get a fancy pullout or popup green screen, or you can get a simple green screen backdrop that you can order from Amazon. Even a simple green cloth from your local art store will work just as well.
- Now you need lighting. You need to have even lighting across the whole screen to make yourself look good and clean. Be warned: sometimes only having light in the front isn’t sufficient.
Placing your green screen
- Set your green screen up as far away from you as possible reduce the amount of spill on your clothing. More about this later, when we go into the software.
- Evenly light your green screen so Streamlabs Desktop has an easy time keying or pulling the green out so you look nice and crisp.
Adjusting Filters in Streamlabs Desktop
Now that we have everything set up, we have to key and pull it out.
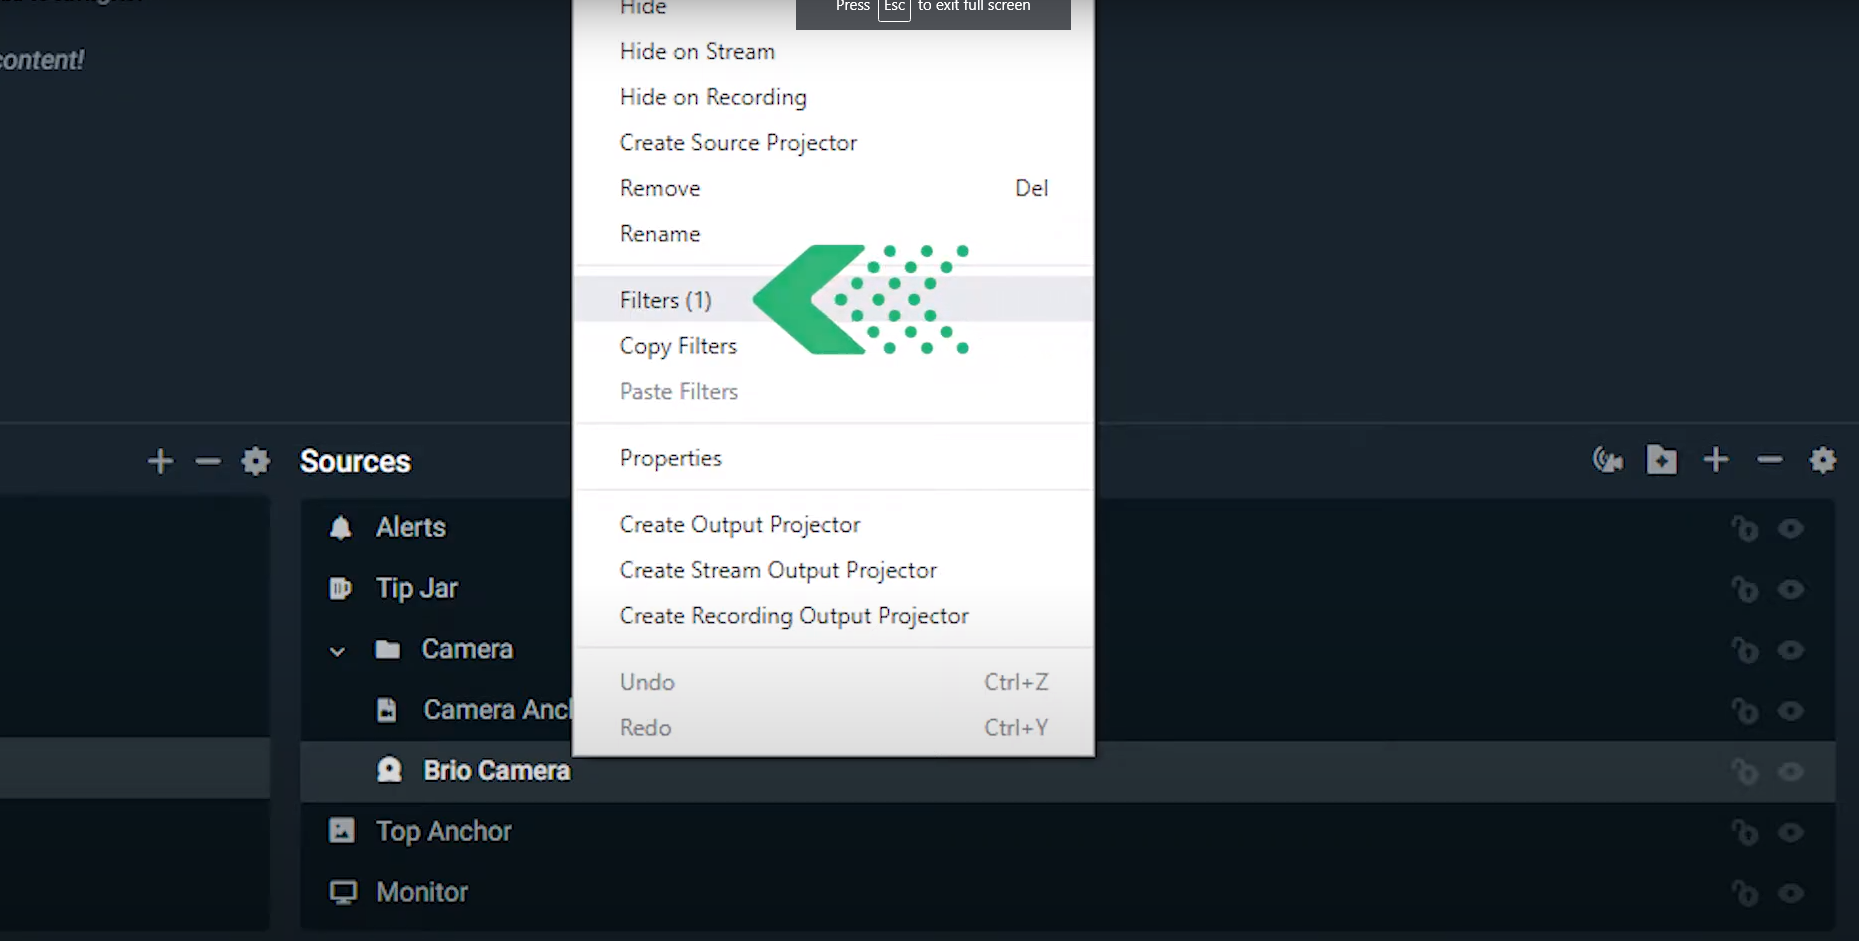
- Open up Streamlabs Desktop, go to your camera source, right-click on it and go to filters.

2. From there, you will see chroma key as a filter type. You’re going to see a many different settings that you’re going to have to play around with to find what works for you. There is no one correct answer for these settings as everybody’s lighting situations different, hair is different, skin color is different, and background is different, which is why you’re going to have to play around with it until you refine it down.
Chroma Key Settings
- Similarity: This setting tells our software how similar the green pixels and the background are. If you have everything evenly lit there is going to be a big difference between you and the background. In this case, you can set your similarity down and you’re going to have a better time getting a cleaner image. The more right you go on the slider, the more it’s going to broaden the range for it to pull out pixels. This means it might start grabbing anything from your skin, your hair, or even your clothes or the chair that you’re sitting on.
- Smoothness: This defines how smooth the pixels are that are being pulled out. The farther to your left, the more jagged edges it’s going to have. The farther to the right, the smoother everything’s going to be, but it’s going to start pulling you out. Again, you got to play with what’s going to be best for you in your situation.
- Key color spill reduction: This setting essentially reduces the amount of green that’s bouncing off your green screen back on your hair, skin and chair.
- Opacity: This setting essentially is how solid or how transparent you are going to be.
- Contrast, Brightness, Gamma: The last three sliders are contrast, brightness, and gamma and these provide overall changes to the image source that’s going to be displayed. Fine-tune these settings to adjust for different light and dark situations. Again, you will want to play around with all of these sliders so that you get the best image quality that you possibly can. Once you find tuned all of your green screen settings, all you have to do is essentially crop out what you don’t want, resize your image to an easy spot within your display window, and you are ready to go!