Now that you have started live streaming and sharing your experiences with the world at large, we want you to know that screen sharing might be one of the easiest and most powerful features to use during your broadcasts.
Want to know how? We’ll break it down for you in this blog.
How to Livestream with Talk Studio
The first step to sharing your screen on a livestream is signing up for a Talk Studio account. Besides using your email address, the option for social signup using your existing YouTube, Twitch, Facebook, Twitter, or LinkedIn account is available too.
Once inside, Talk Studio will ask you to allow access to your webcam and microphone. Enable both of those options; you'll need them to livestream.
Once ready, click on the Go Live button and choose the streaming destination you want to stream to. Congratulations, you're an official Talk Studio live streamer!

Start Screensharing
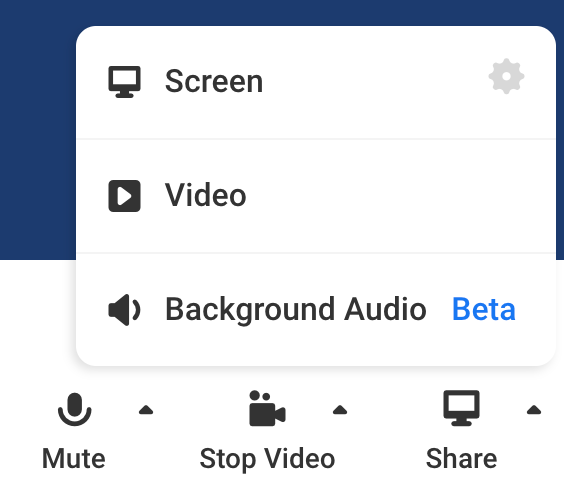
1. Click the up-arrow next to the Share button
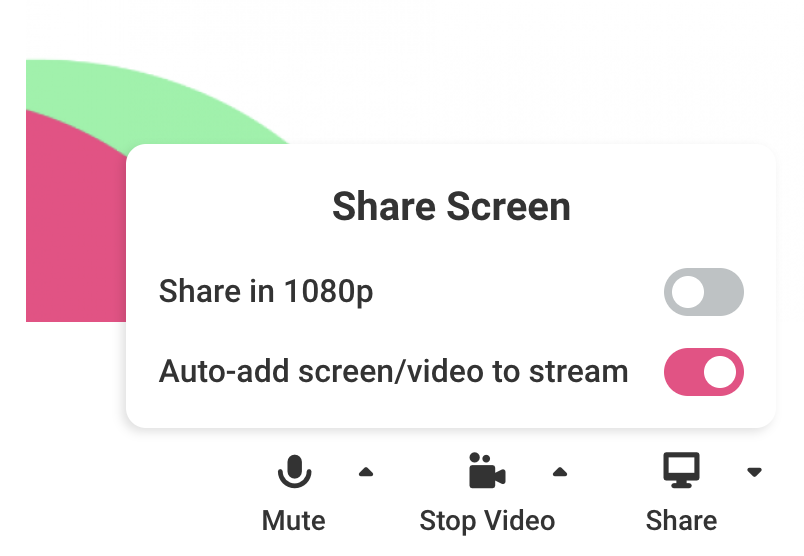
- Screenshare in 1080p (Available for Pro users)
- Auto-add Screen/Video to stream - Your screenshare will be added to main canvas automatically instead of having to do so manually
2. Click the Share button (Shift + S). Selec to share your screen, video, or background Audio.
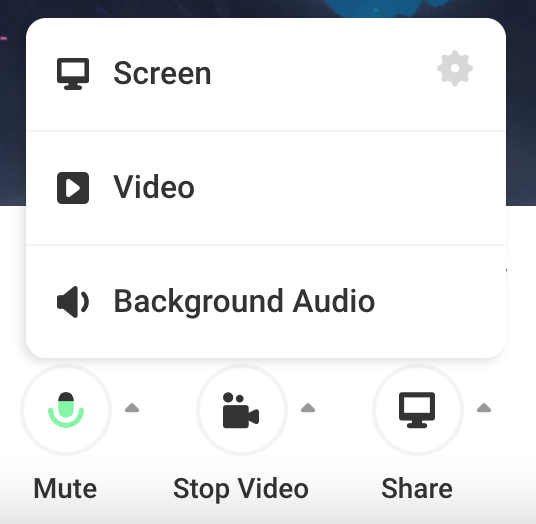
If you're sharing a Video, MP4 formats accepted only.
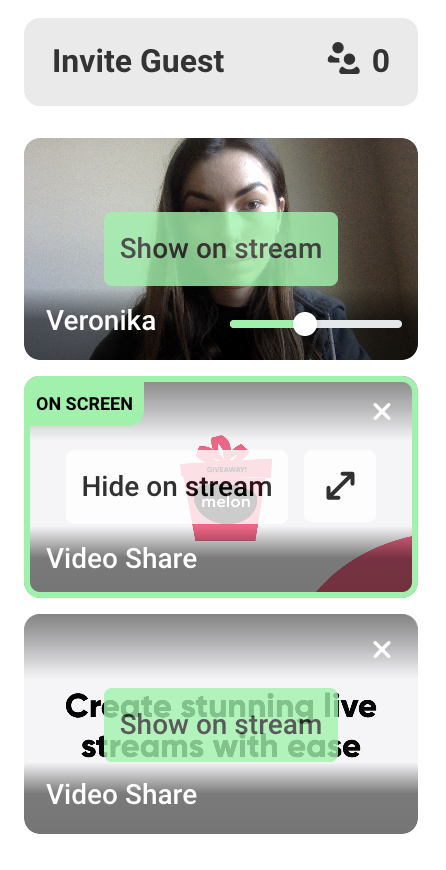
While you cannot put - screen and video - on the main canvas together, you can add several videos from your left navbar and then switch between each during your stream.
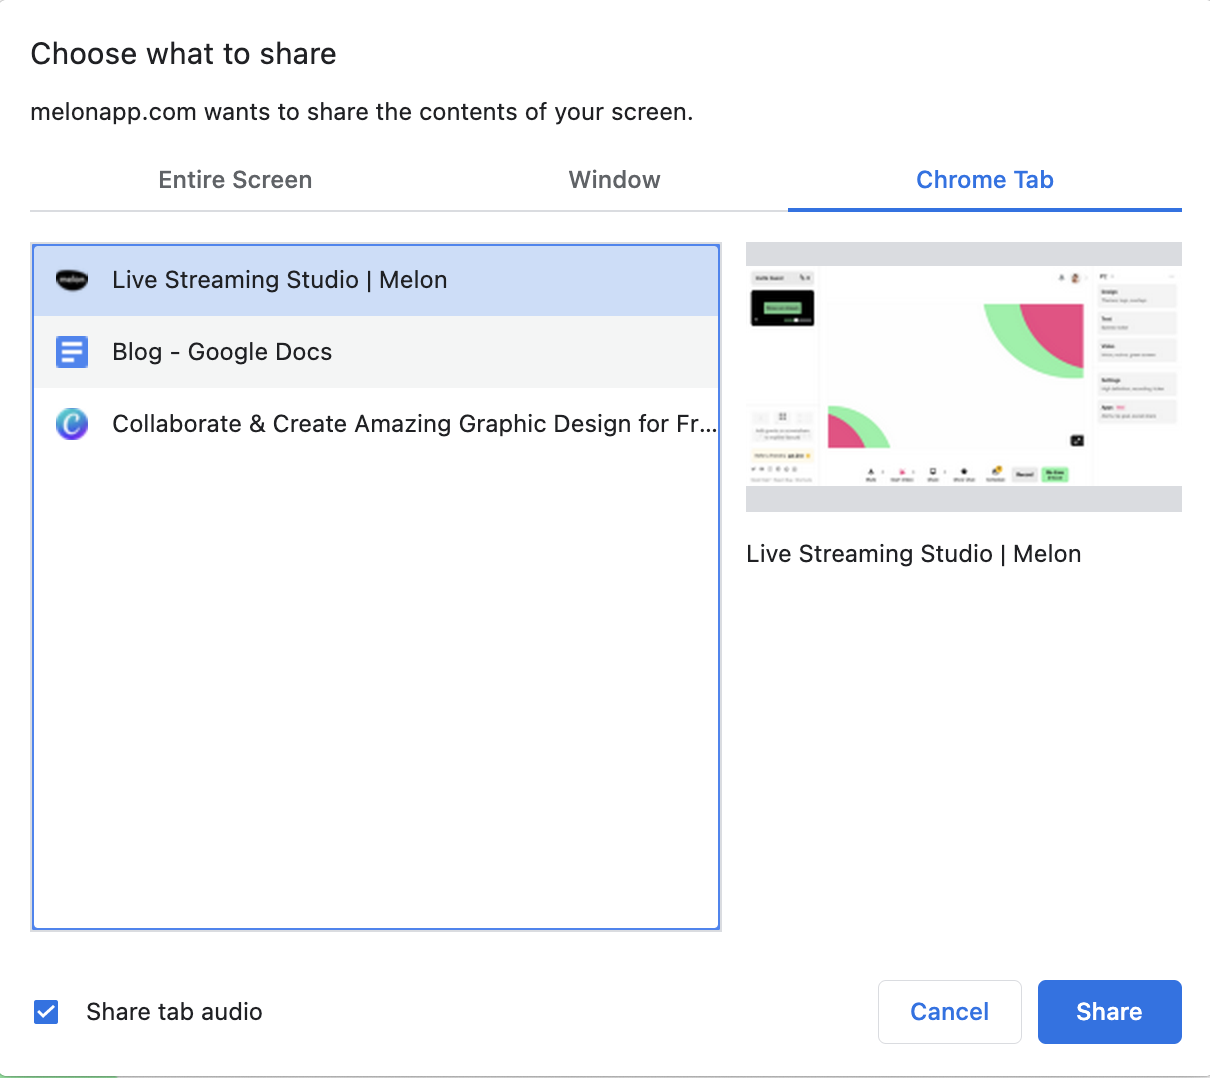
If you're sharing a tab or window that has audio you'd like to share as well, please check the box to Share tab audio.
Audio support for screen sharing
While we’d like you to get the most out of using Talk Studio, there are certain OS restrictions that don’t support audio sharing on some devices. We created a table to show you what is supported:

Add Background Audio to Your Livestream
Please note: Some social platforms may enforce copyrighted music such as Facebook or YouTube. Please ensure you own the music you want to play or you're playing royalty-free music.
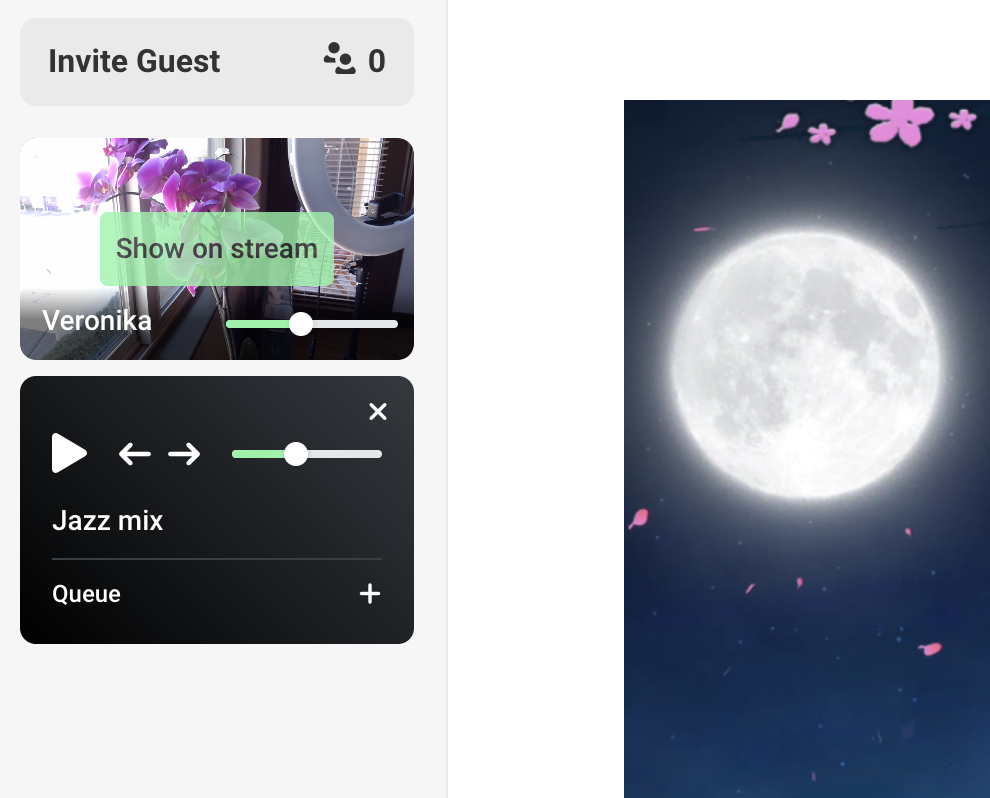
From your Talk Studio, click Share > Background Audio. Select one or multiple tracks from your computer and click Open. You will see a small media player to the left of your studio. Click Queue to see your tracks in a playlist. (MP3 or WAV files accepted only)
Layouts in screen sharing mode
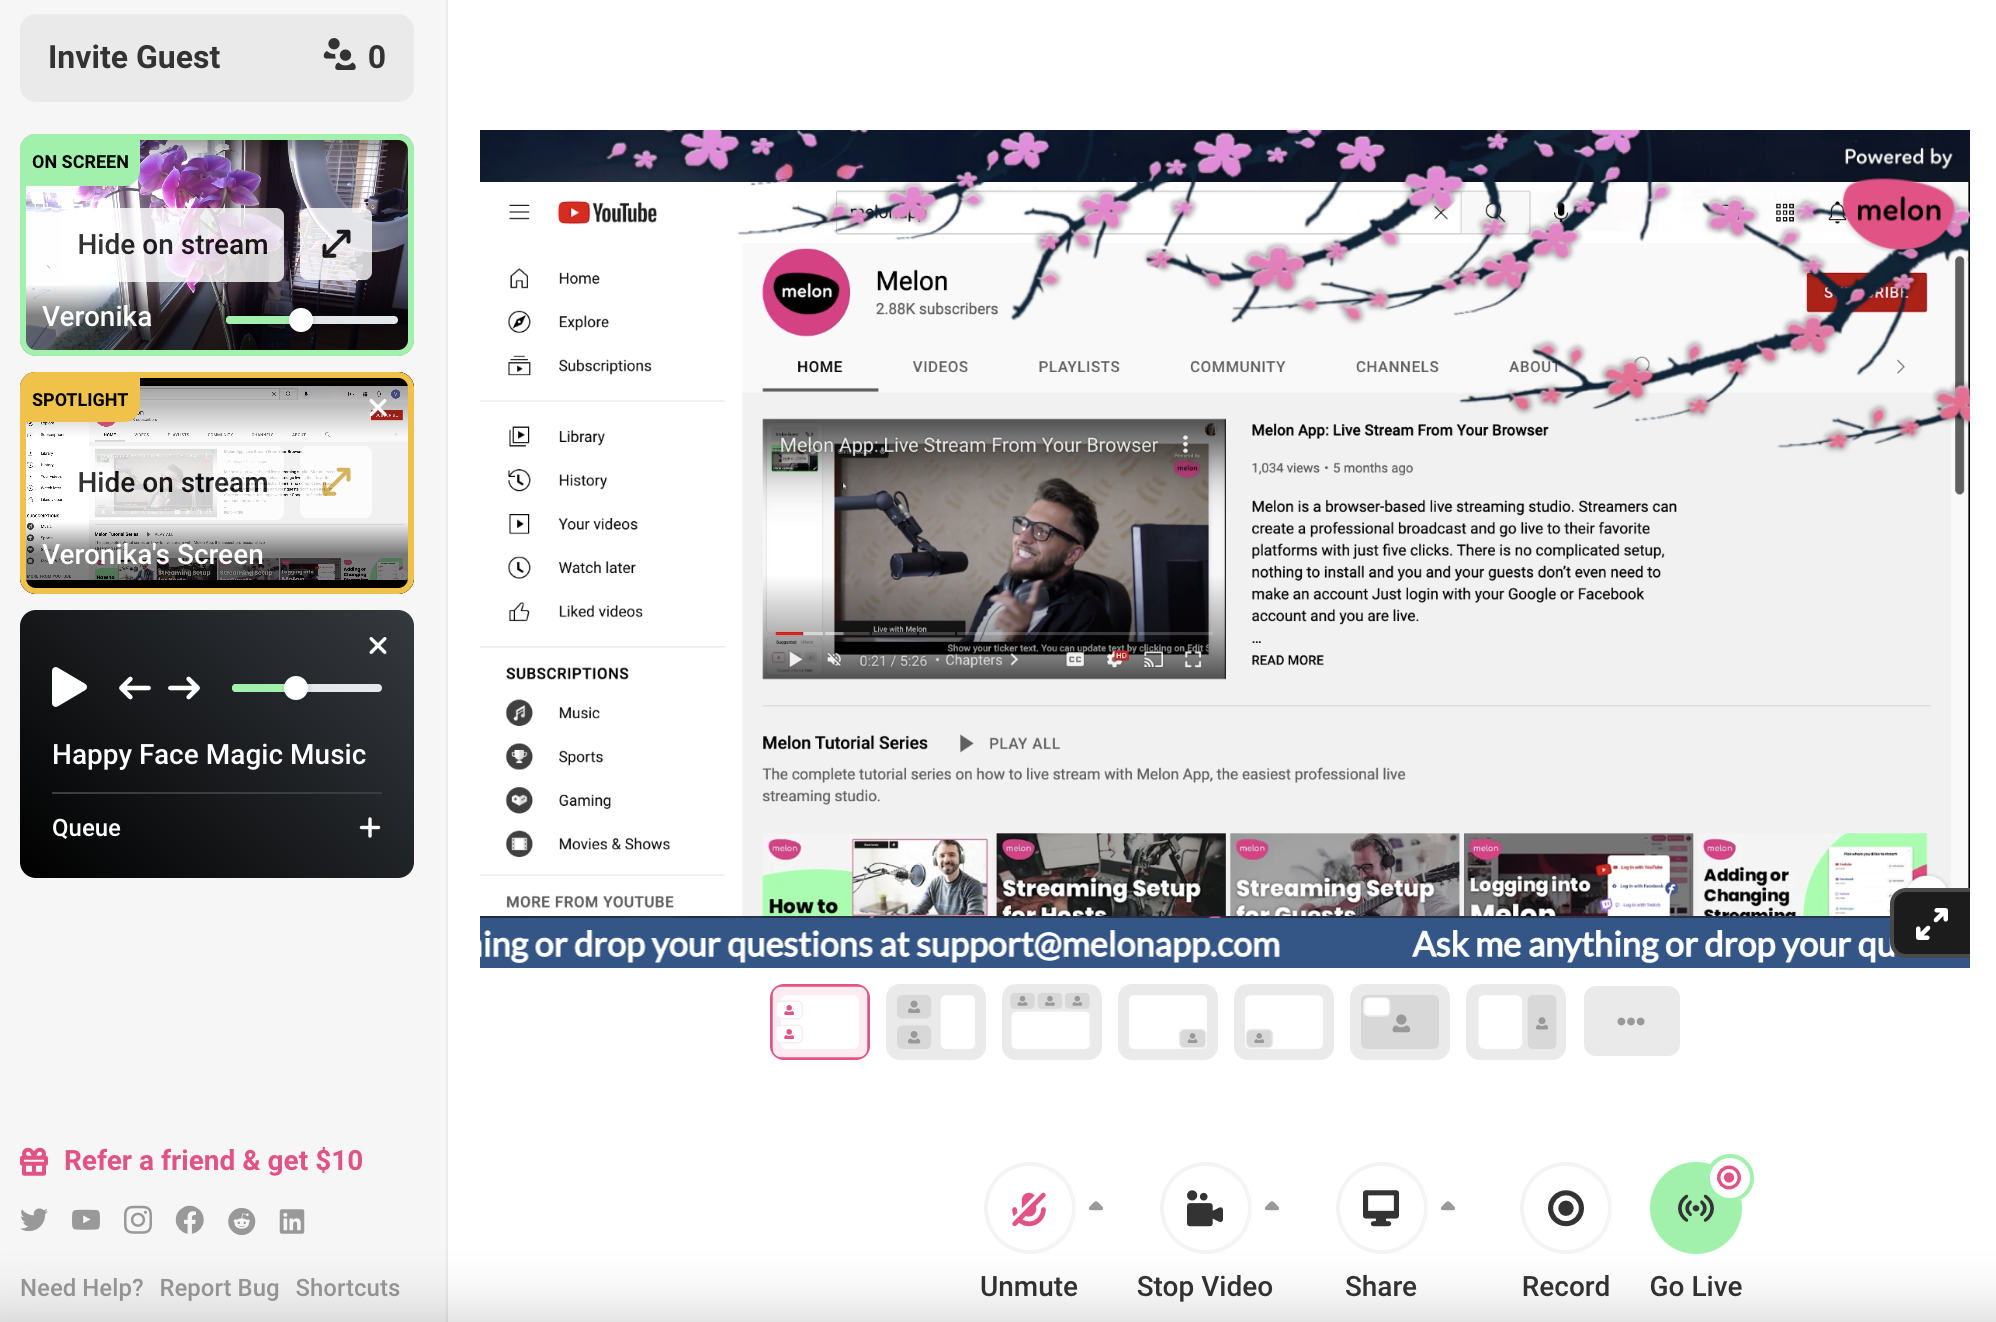
Put the Spotlight icon on by clicking the double-arrow icon next to your screen share. Viewers will still hear you while screensharing from your main canvas.
Bottom Line
Screen sharing is a powerful feature that lets you interact with your audience better and make the room feel more intimate. Whether it’s a casual conversation, business meeting, or a live show, you can find different methods to share content with your guests and impress your audience.
As always, if you have any questions don’t hesitate to send them our way at, [email protected]
Happy streaming!
The Talk Studio team 🍉