If you want to take full control of your live broadcast, creating your own livestream overlays is a necessity. In this guide, we’ll show you how to design your own overlays and graphics with Canva for your Talk Studio broadcast. And if you are looking to learn more about other options besides canva - check out this blog.
What graphics do you need for your broadcast?
Here are all of the available areas to add graphics & branding to your broadcast in Talk Studio:
- Background: This graphic goes behind the video feed of you and your guests.
- Logo: Your logo displayed on your broadcast that can be moved anywhere on screen.
- Green Screen Background: If you use a Green Screen, you can select a background image to be shown behind your video feed.
How to create your live stream overlays in Canva.
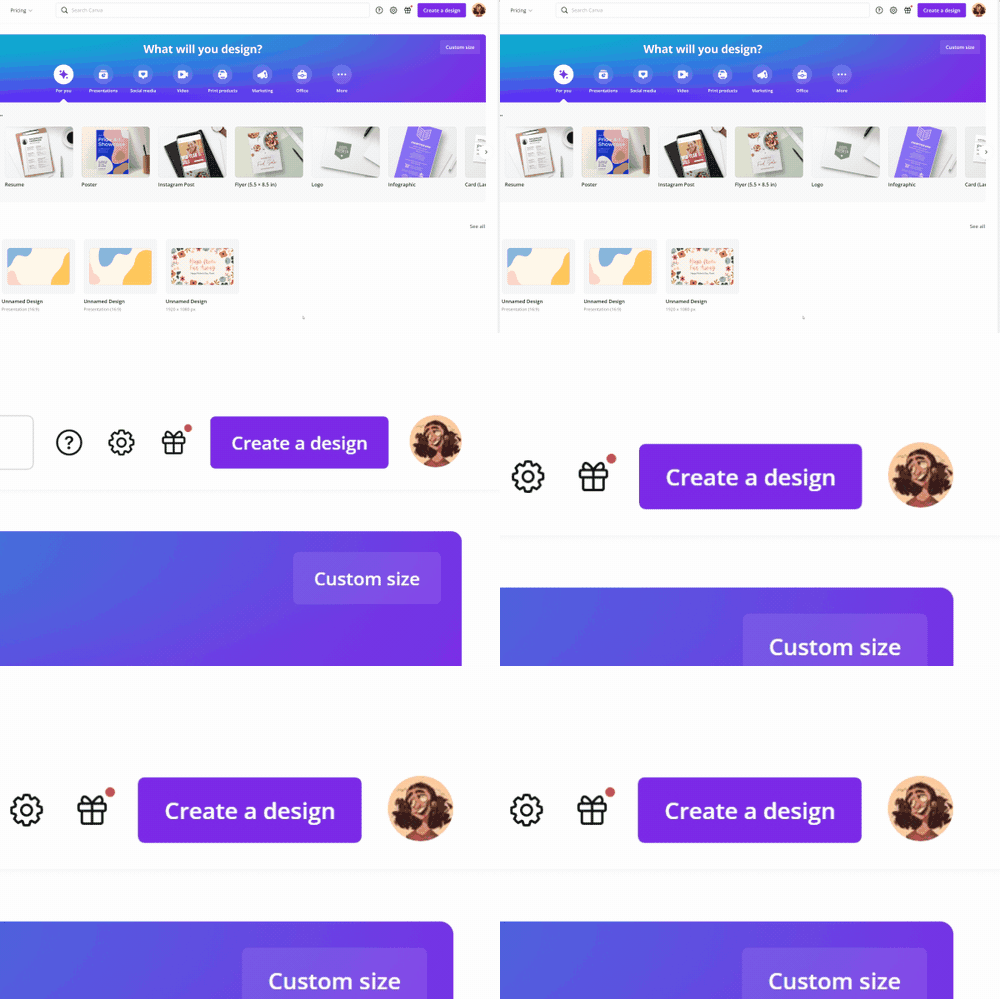
With a large variety of Templates, Canva makes it easy to create your live stream overlays. Sign Up to create an account then click Create a design to get started.
Background
Get started by creating the Background graphic for your broadcast. Click Create a design and select Presentation to start designing. Select a Template by clicking on the Templates icon near the top-left of the page.

Remember, this graphic goes behind you and your guests so it’s best to remove any text from the Template since it may be covered up. To remove an element from the Template, simply left click on it and press the Delete key or the Trash icon in the top-right of the page.

You can click on the shapes and drag them around to reposition them, or click on the Elements tab on the right side of the page to browse additional shapes and graphics. Additionally, you can click on the Uploads tab to add your own images or logos to the Background.
Viola! Now you have a nice Background graphic for your graphic. To download it, click the File button near the top-left of the page and select Download from the dropdown.
Logo
If you don’t have a logo yet, Canva makes it easy to design one yourself. Start by clicking Create a design from the Canva homepage and select Logo from the dropdown. On the left side you’ll see the Templates window where you can select from a variety of pre-made Logos.
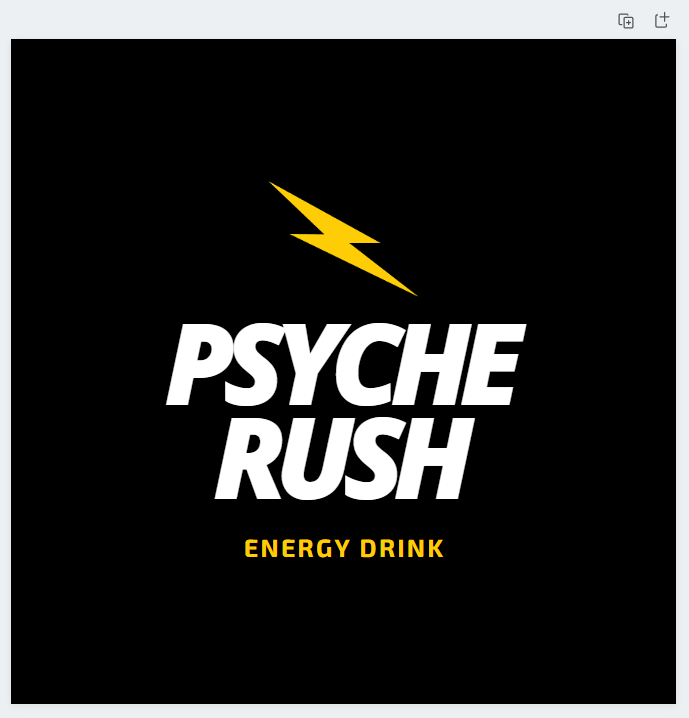
Double click on the text and type in your name or brand. You can click on any text or shape to change its color or add effects.
If you prefer to start from scratch with a blank canvas, you could delete everything with the Delete key or go to File > Create new design and select Logo again. From there, use the Elements tab on the left side of the screen to add your desired shapes and graphics. Once your logo is perfect, go to File > Download.
Green Screen Background
The Green Screen Background is similar to the Background graphic, except this goes behind your Webcam if you are using a Green Screen as part of your broadcast setup. You can set this up similar to the Background graphic by clicking Create a design and selecting Presentation.
Adding your graphics to Talk Studio
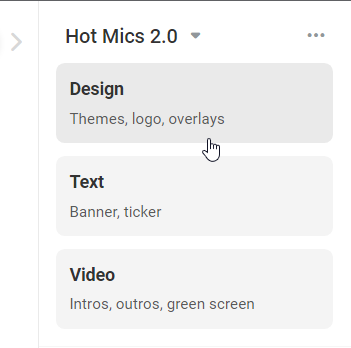
Now that you have designed and downloaded your graphics from Canva, it’s time to add them to your Talk Studio broadcast. From your Talk Studio click Menu > Design > Edit Current Theme.
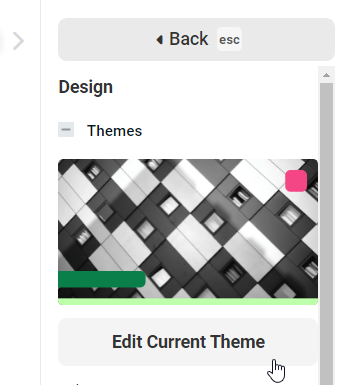
Scroll down to the Background section and upload your new Background image. Additionally, you can style your Banner and Guests’ names with the Style, Brand, and Fonts settings on this page. Press Back then click on Design and scroll down to the Logo section and upload your Logo. You can reposition your logo by clicking and dragging it around in the video area.
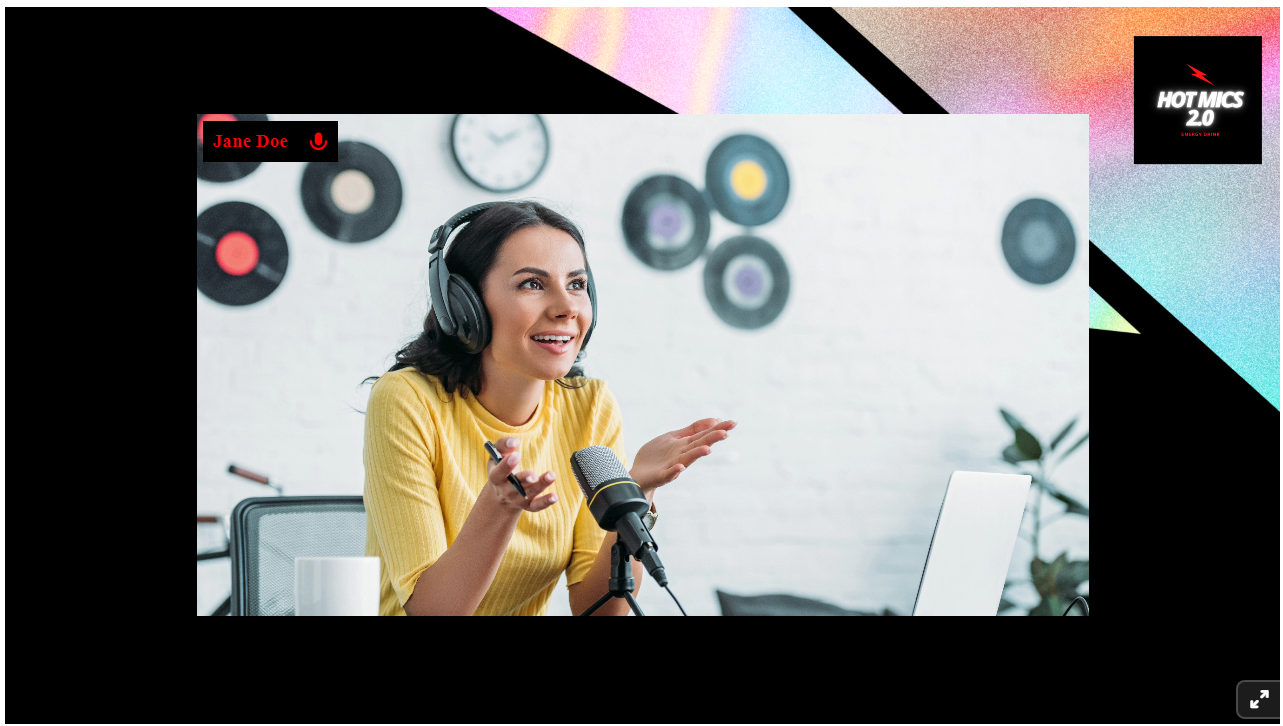
Viola! You’re all set with custom livestream overlays for your Talk Studio broadcast.
Happy streaming!