Founded in 2014, Streamlabs has become one of the leading providers of tools for content creators. One of our most widely used tools, Streamlabs Desktop, is a popular broadcasting software that many content creators use to stream and record their gameplay and videos. It has many features to help you grow your audience and make more money on streaming sites like YouTube, Twitch, and Facebook.
With so many features available, sometimes it can be overwhelming to know where to start. This blog post will share some of my favorite tips and tricks that have helped me stream more efficiently with Streamlabs Desktop!
How to Use Layout Editor in Streamlabs Desktop
Layout Editor is an exclusive feature available on Streamlabs Desktop. You can use it to completely personalize your Streamlabs Desktop editor, choosing which components you see and how much information you want when you stream.

How to Use Studio Mode in Streamlabs Desktop
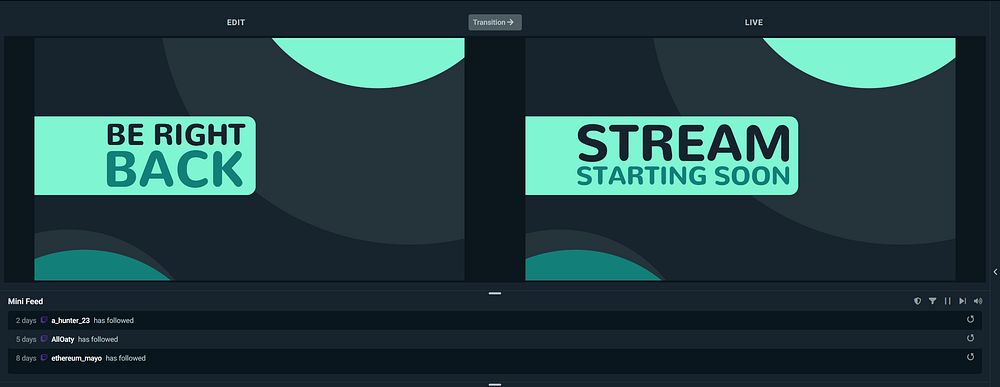
Studio Mode essentially allows you to customize a scene while you are live before your viewers can see it. When you click on Studio mode, two screens will appear. On the left side, you will see the scene you can adjust. On the right side, you will see the screen your viewers see.

Entering studio mode can be useful if want to change or adjust the sources in a specific scene without letting your viewers see. Studio Mode allows you to make adjustments seamlessly on the fly without disrupting the flow of your stream.
To enter Studio Mode, click on Editor on the top left-hand corner of Streamlabs Desktop. Then, choose Studio Mode. pic 1.png)
How to Nudge Sources in Streamlabs Desktop
This tip is super simple but can be extremely effective in improving your overall quality of life when using broadcasting software.
If you’re struggling to align a source in the perfect position, nudging it can help you make precise adjustments. To nudge a source, simply click on the source you want to adjust and press the arrow keys to move it one pixel at a time.
If you have an overlay that specifically designates where certain sources should appear, like a recent follower Stream Label, nudging your source makes it super simple to perfectly align your source.
How to Crop a Source in Streamlabs Desktop
Cropping your source is another very simple tip, but can greatly improve your experience using broadcast software like Streamlabs Desktop. Cropping an asset is extremely useful if you want to adjust sources like your webcam.
To crop a source, hold down the alt key before clicking on it, and then drag the points to the desired position.
 gif 1.gif)
If you have any questions or comments, please let us know by contacting us.