The need for live streaming classrooms and online education has never been more crucial than it is today. The COVID-19 pandemic has proven that online education is now more important than ever before. Distant learning has become the norm for many educators, but creating an environment that encourages students to remain engaged throughout online class has remained problematic.
The good news is that you don’t need any fancy equipment to create a high-quality online learning environment. Streamlabs Desktop comes with several tools that can turn a boring online lecture into a carefully curated and organized production. In this article, we’ll talk about how to connect Zoom to Streamlabs Desktop and some of the best features you can use to enhance online teaching.
What Is Streamlabs Desktop?
Streamlabs Desktop is a live streaming software. It allows you to capture your audio, webcam, and the content on your screen, which can then be combined and sent to video conferencing software like Zoom. With Streamlabs Desktop you can add unique overlay themes, images, text, browser sources and so much more to create an engaging online learning environment. We’ll teach you all about these features and how to add them later in the article. For now, let’s talk about how to connect Streamlabs Desktop to Zoom.
Visit our website to download Streamlabs Desktop for Windows or Mac
How to Connect Streamlabs Desktop to Zoom
Streamlabs Desktop comes with a feature called “Virtual Camera.” When it is enabled, it allows Zoom to detect software like Streamlabs Desktop.
You can then tell Zoom that instead of capturing just your webcam, you want it to capture everything in Streamlabs Desktop instead.
To install Virtual Camera:
- Open Streamlabs Desktop
- Click Settings
- Click on Virtual Webcam
- Click on Install Virtual Webcam

Now, you need to make sure that Zoom captures Streamlabs Desktop:
- Open Zoom
- Click on the arrow next to the video icon. You should see Streamlabs Desktop Virtual Camera as a video camera option.

Now, Zoom will display whatever scenes/sources Streamlabs Desktop is capturing. What are scenes and sources? We’re glad you asked. Keep reading below to learn some Streamlabs Desktop basics.
What are Scenes and Sources?
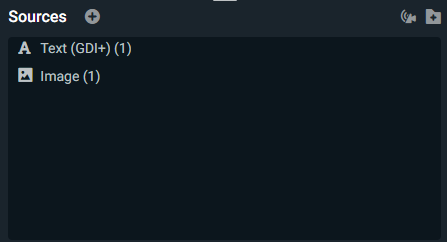
A source is something that outputs to the stream. A webcam is a source. Capturing your display is a source. A simple message with text can be a source. You can even capture a specific window in your browser.
To add a source, click on the plus sign and choose the source you’d like to add.

In the live streaming world, scenes help break up the action for your viewers. If you need to take a break, you may pull up a specific “Be Right Back” scene to let your viewers know you’ll be gone for a few minutes. If you are playing a video game but decide you’d like to chat with your viewers for a few minutes, you may switch to a scene that focuses explicitly on your camera.
As a teacher, your scenes may be specific to each lesson plan. Or you can have a “Good Morning” scene as students enter the classroom, welcoming them with the agenda for the day on display. What scenes/sources you display are up to you. There is no right or wrong way to do it.
Use Cases from Actual Teachers
If you’re looking for inspiration, we’ve talked with several teachers that gave us an in-depth look at how they use Streamlabs Desktop.
Cinthia Paez, an English and AP Computer Science Principles teacher in Las Vegas, NV, says, “ Streamlabs has helped me create engaging virtual classes by manipulating video. I specifically use multi-camera views in one screen and free layouts to turn my class from the monotone Peanuts teacher to something students enjoy watching and learning from. All of this would not have been possible without the recent release of the virtual camera. I simply enable it, and the full features of Streamlabs are available to me in the virtual classroom.
I will be using the Remote Control feature to get further into hybrid learning (1/2 of the students physically attend class and the other 1/2 attend class virtually). I will not have to be at my computer to switch scenes and keep up the teaching pace.
Stephanie May, English and Theatre Arts teacher in Granite Bay, California, says, “I like the ability to display different camera views on one screen. I can display myself, what’s on my projector screen, and my class all in one Zoom screen. Transitioning through different views is a lot smoother by using scenes in Streamlabs Desktop than directly in Zoom. When students enter the meeting, I can display a welcome message with their opening instructions until it’s time to begin our lesson for the day. I also like the ability to embed other resources like the agenda for the class, daily objectives, or encouraging memes. Having this level of customization allows me to make Zoom more effective and engaging for my students in Distance Learning.
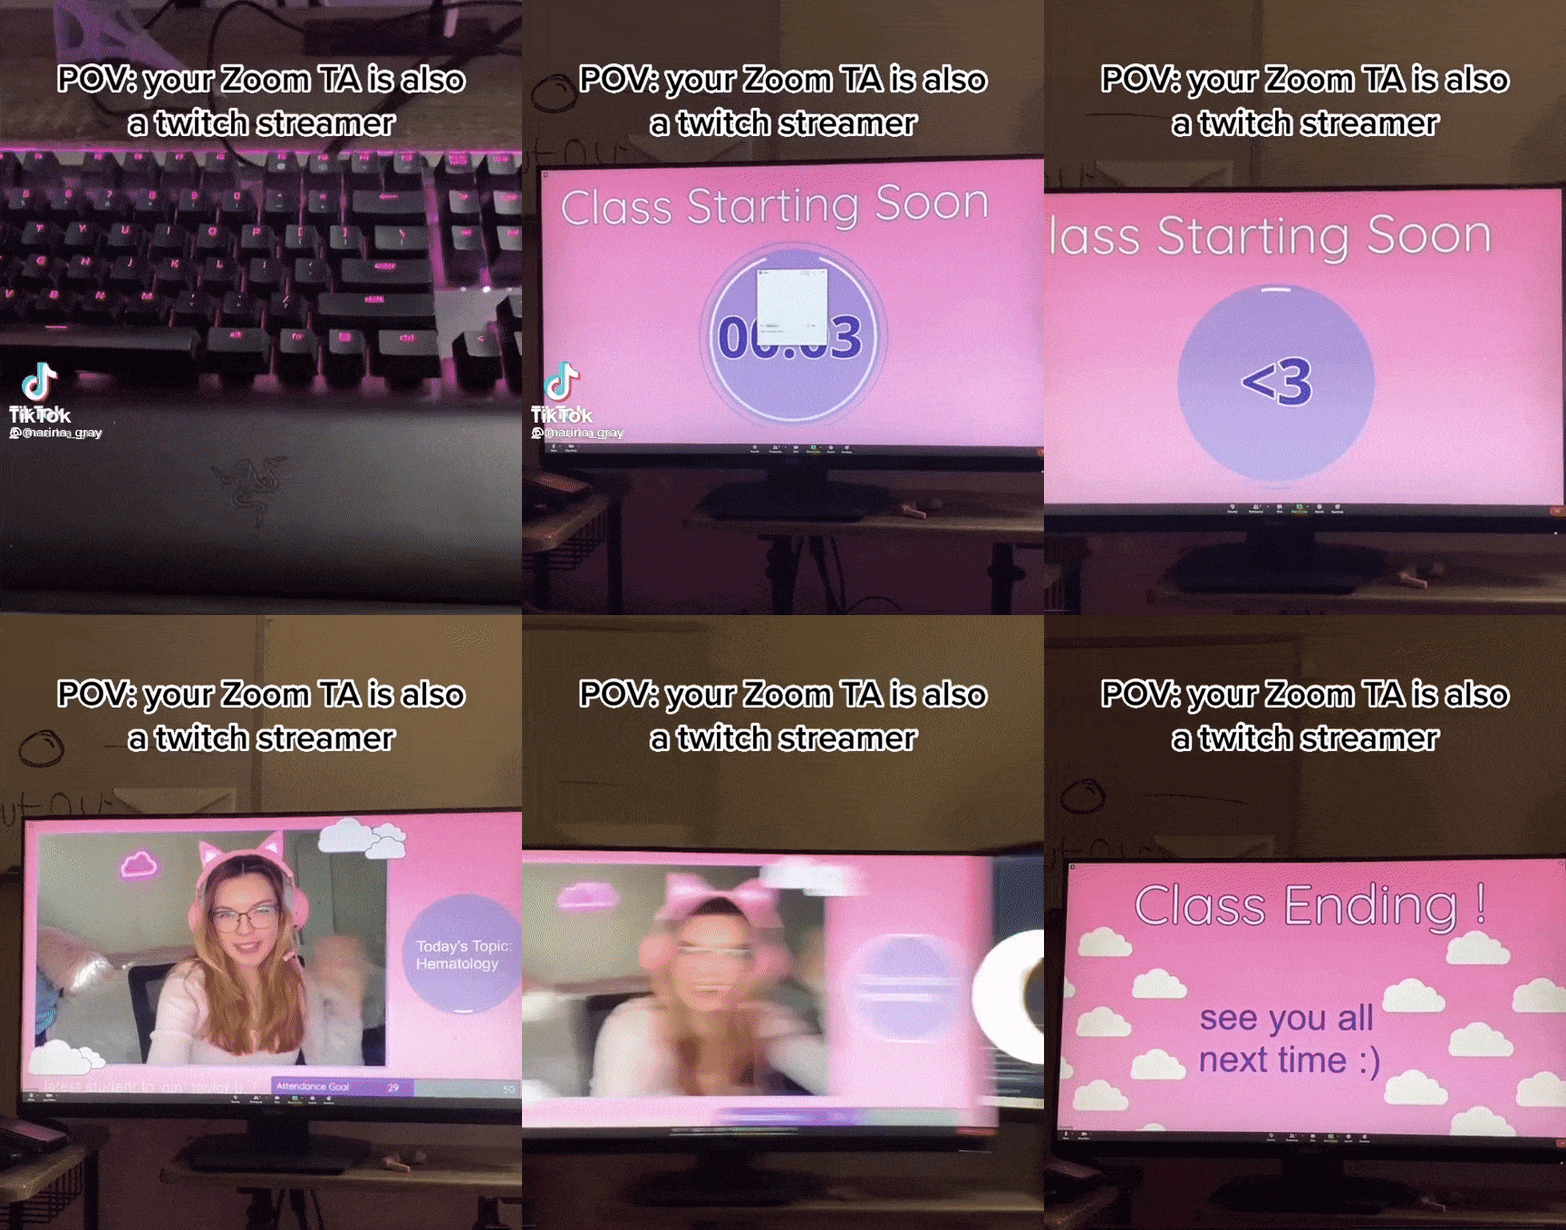
Twitch streamer Marinathegray, is also a TA and uses Streamlabs Desktop when she teaches. Check out the video to get an awesome visual representation of how she’s configured Streamlabs Desktop.

Free Layouts
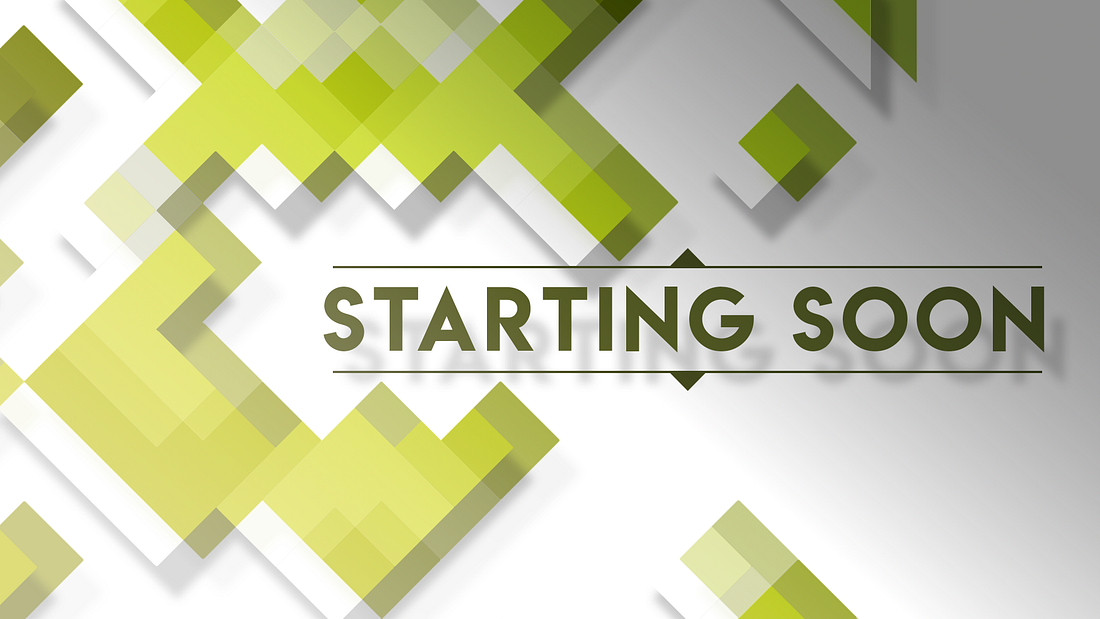
Streamlabs works with dozens of professional designers to create unique overlay themes. When you download an overlay theme, they will come pre-populated with specific scenes, like a “starting soon”, “online” or “be right back” scene. This is a handy way to give your online classroom and professional look to it.

To download a theme, visit our overlay library and search for the keyword “free”.
We hope this article gives you the basic fundamentals needed to take your online class to the next level. Remember, the best way to get familiar with Streamlabs Desktop is to play around with it yourself and find what works for you.
If you have any questions or comments, please let us know by contacting us.