Non-gaming categories across platforms like Twitch continue to rise in popularity. According to the latest Streamlabs and Stream Hatchet live streaming industry report, “Just Chatting” now accounts for 12% of all content watched on Twitch in Q1 2021.
With the rise of IRL content, it is no longer necessary to need the latest gaming computer to become a successful streamer. That said, many people do not know there are open-source software tools like Streamlabs Desktop that make streaming on a Mac possible.
Today, we are going to show you how to set Streamlabs Desktop on a Mac and start streaming to Twitch.
Getting Started
First, you’ll want to visit our website to download our free broadcasting and recording software, Streamlabs Desktop. While you are there, it is a good idea to log in to the dashboard. The Streamlabs dashboard is your command center. From here you customize your alerts, browse thousands of stream overlays, customize your widgets, add chatbot commands, and much more.
After you have downloaded Streamlabs Desktop, the onboarding process will provide you with the essential components you’ll need to start streaming right away. Here is what you can expect:
Onboarding:
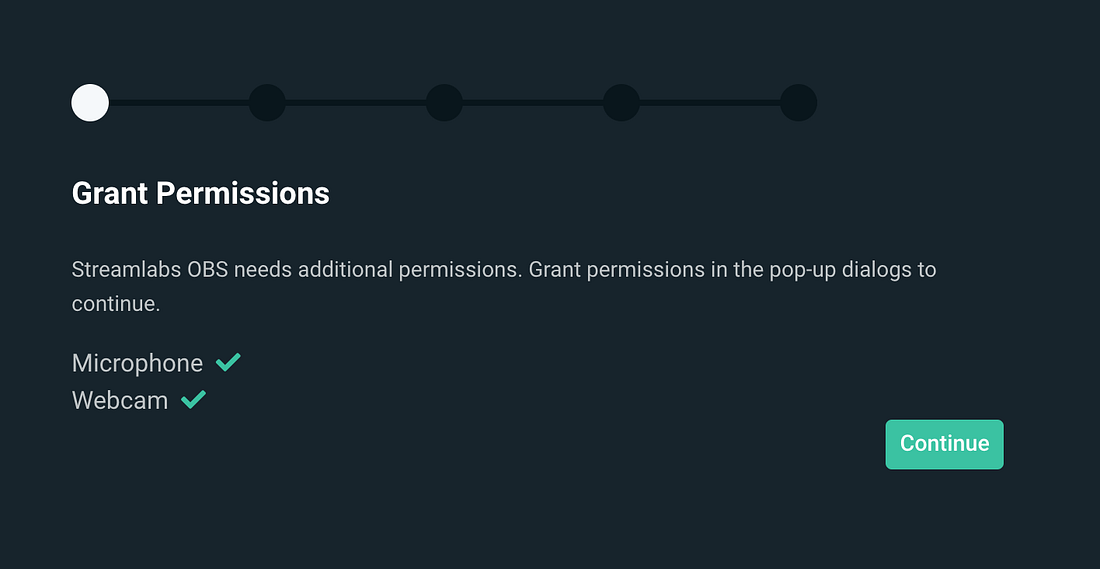
Step 1: Grant Permissions
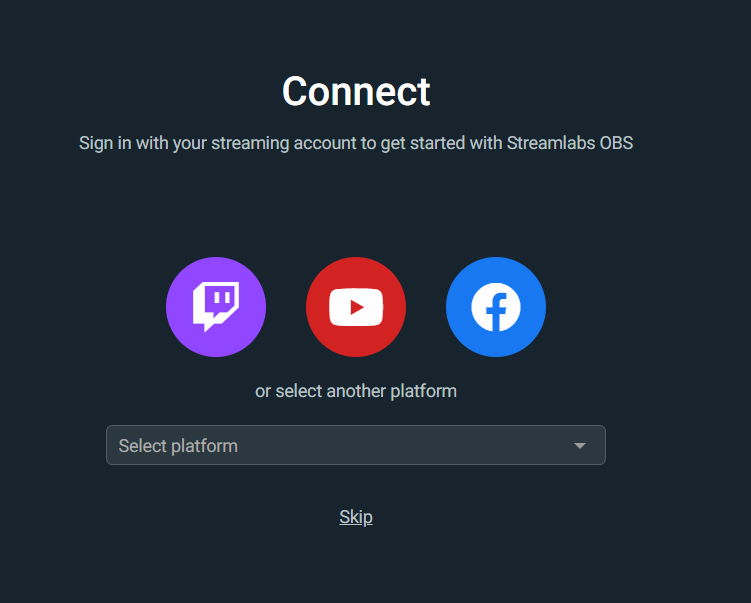
Step 2: Connect Account
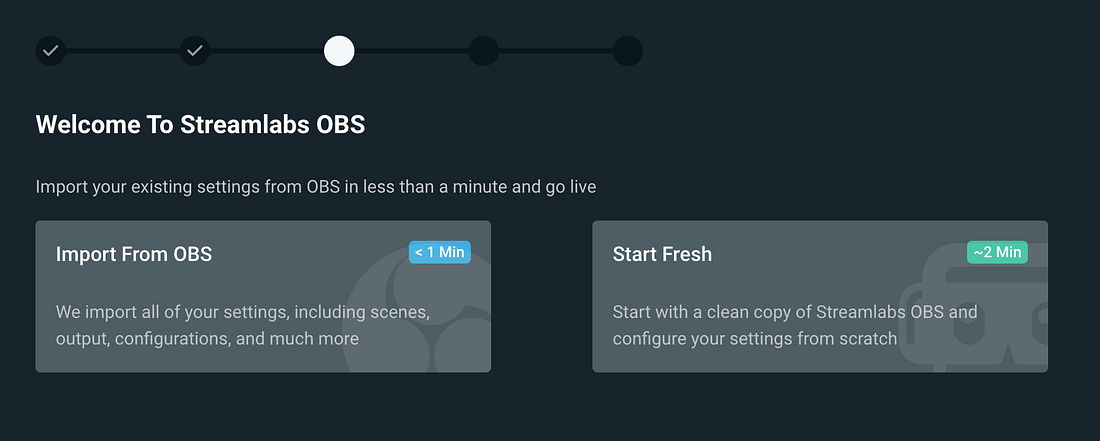
Step 3: Import Settings: After logging in, the import settings function in Streamlabs Desktop allows you to transfer settings from other broadcasting software in less than a minute. You can also start fresh, and configure settings manually.
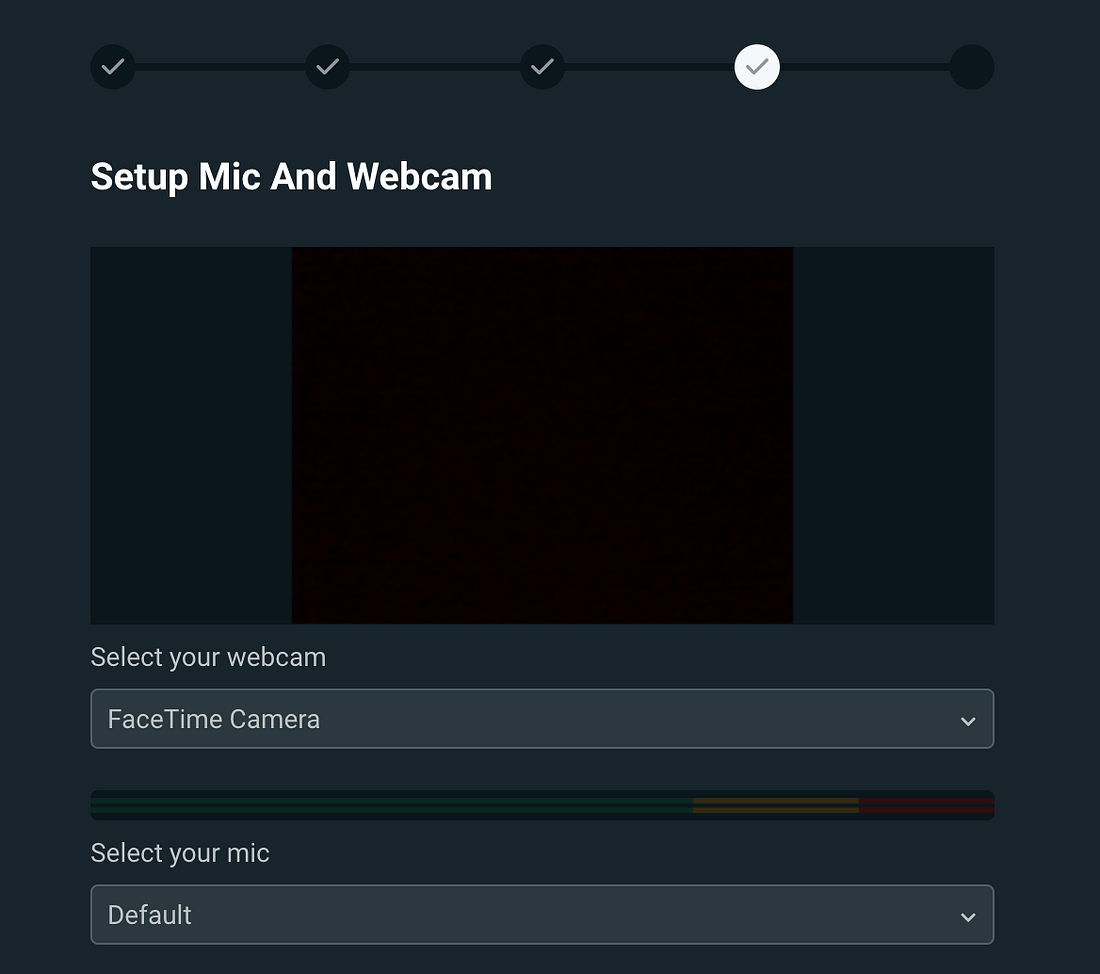
Step 4: Add Your Microphone and Webcam: If you already have a webcam and a microphone connected to your computer, Streamlabs Desktop will automatically detect it so you can choose which device you’d like to use. You can also change these devices later on.
Step 5: Optimize: If you are streaming to Twitch, Streamlabs’ Auto Optimizer will analyze your internet speed and computer hardware to get the best settings possible.

Overlay Themes
Now that you’ve finished the onboarding process we recommend adding a theme to add a professional look and feel to your stream.
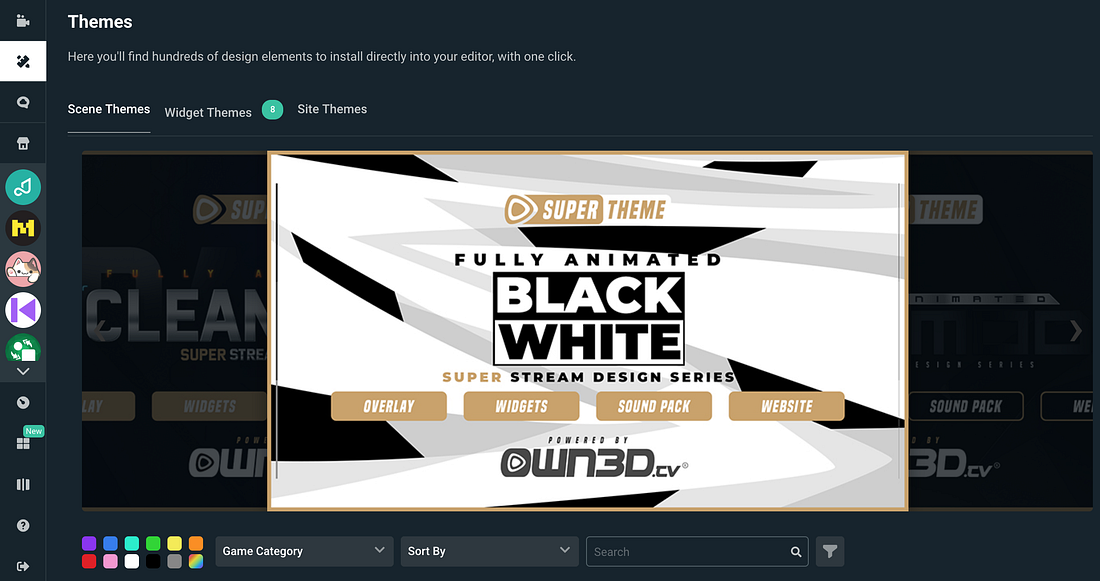
There are over 250 beautifully hand-crafted overlay themes available for free. When you choose a theme — everything is populated for you. A theme will come with a stream starting soon, a live scene, a be right back scene, and a stream ending scene. You’ll want to use your live scene when you are ready for your audience to see and hear you.
Add Your Sources
To add a source, click on the plus sign and choose the source you’d like to add. A source is something that outputs to the stream. A webcam is a source. One of the many widgets, such as a donation goal, can be a source. Capturing what’s on your screen is also a source.
If you selected a webcam during the onboarding process, you should see it automatically captured in your “live scene.” You will then need to add a source to capture your desktop screen or anything else you want to output to the stream.
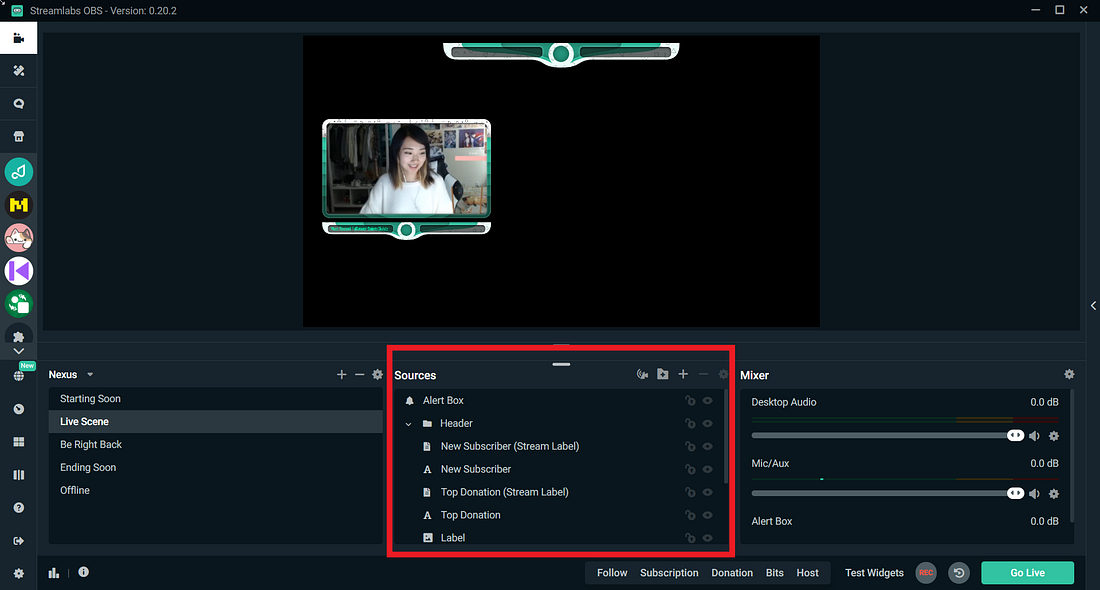
Sources output a variety of things to your live-stream
If you are playing a lot of video games we recommend choosing the “Game Capture” source. This will only display the game you are playing. If you enable the Automatic Game Capture functionality, Streamlabs Desktop will automatically detect which game you are playing. There are other options, like “Window Capture”, which will only display a specific window from your computer, or “Display Capture” which will display your entire screen.
Add an Alert Box
We highly recommend adding an “Alert Box” source. An Alert Box will display an alert on-screen whenever somebody follows you, subscribes or donates.
Customize these alerts by visiting the Alert Box Dashboard on Streamlabs.com. From this page, you can change the image and sound that appear for the various different types of alerts.
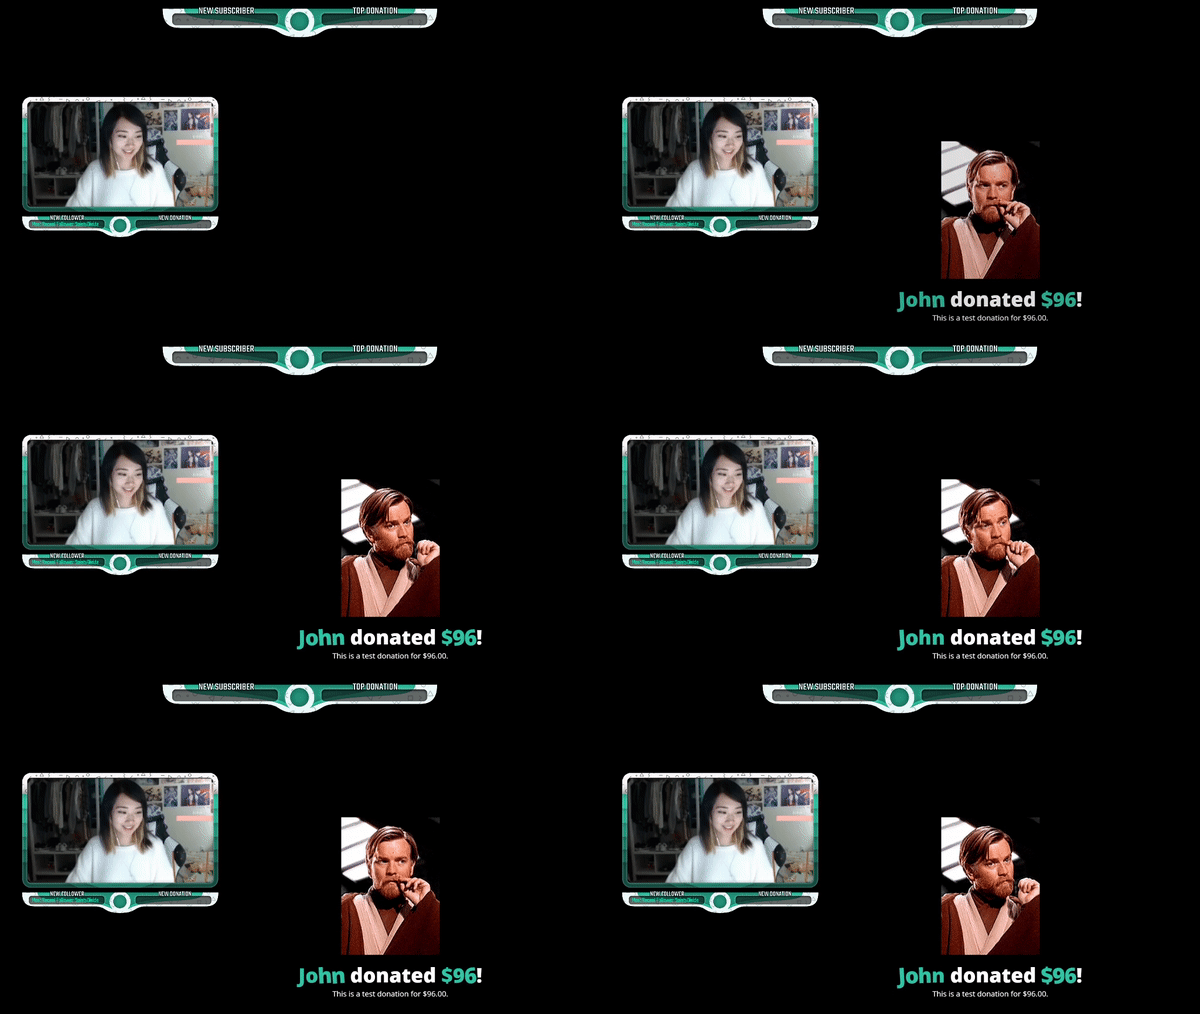
Adding alerts is a perfect opportunity to acknowledge and thank your viewers for contributing to the stream. Seeing their name on the screen makes your supporter feel great because you recognize them and also encourages others to support you.
Capturing Desktop Audio in Streamlabs Desktop for Mac
With the release of Streamlabs Desktop for Mac, a common question is “Why can’t I capture desktop audio?”. Unlike Windows, macOS does not have any system-level audio routing. This means that individual apps can’t access audio signals from other apps out of the box. However, there are third-party solutions that can accomplish this.
As of macOS 11 Big Sur, we recommend BlackHole by Existential Audio. This guide will cover how to install and set up BlackHole for use with Streamlabs Desktop.
Step 1: Download and Install BlackHole.
Click here for BlackHole’s Github page, where you can find instructions on how to download the installer. Once you have the .pkg file downloaded, open it and you should see this:
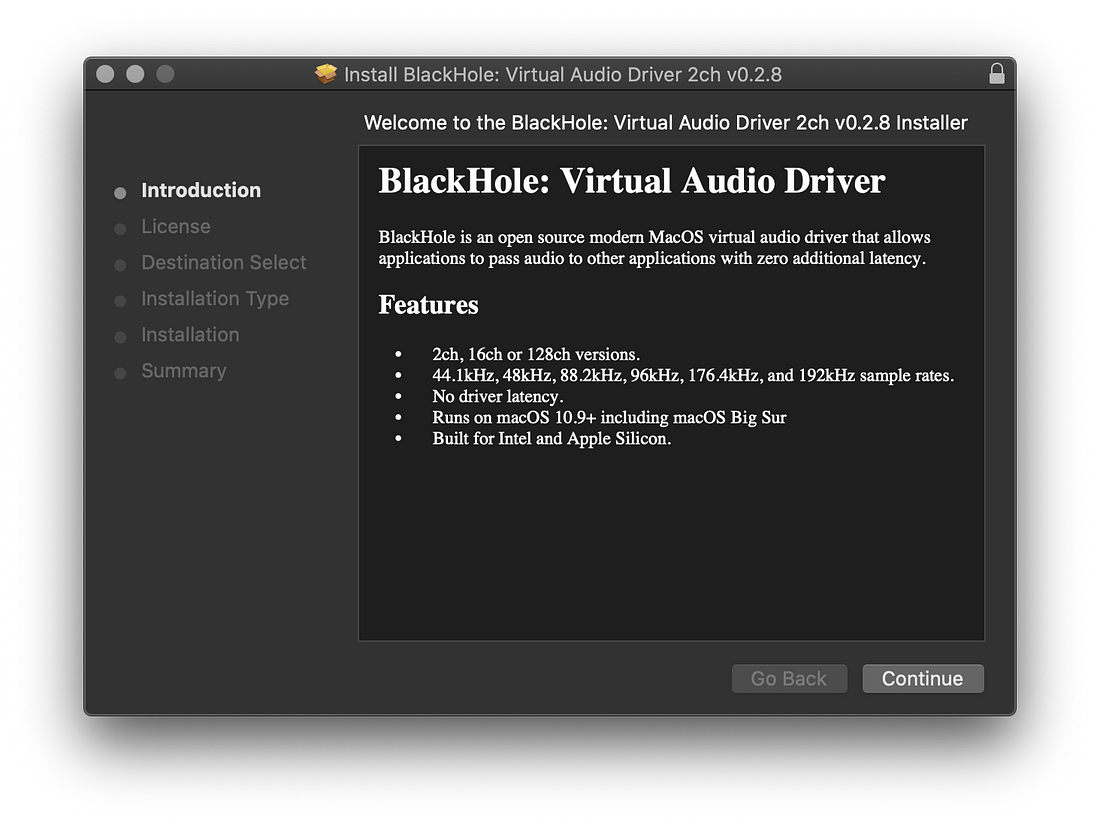
Follow the instructions to finish installing, entering your password when prompted.
Step 2: Setting up a Multi-Output device.
There are several different ways to utilize the features that BlackHole offers, however for the scope of this article and Streamlabs Desktop, in particular, we’ll only cover setting up a Multi-Output device so that you can capture and monitor desktop audio.
- Open the “Audio MIDI Setup” utility
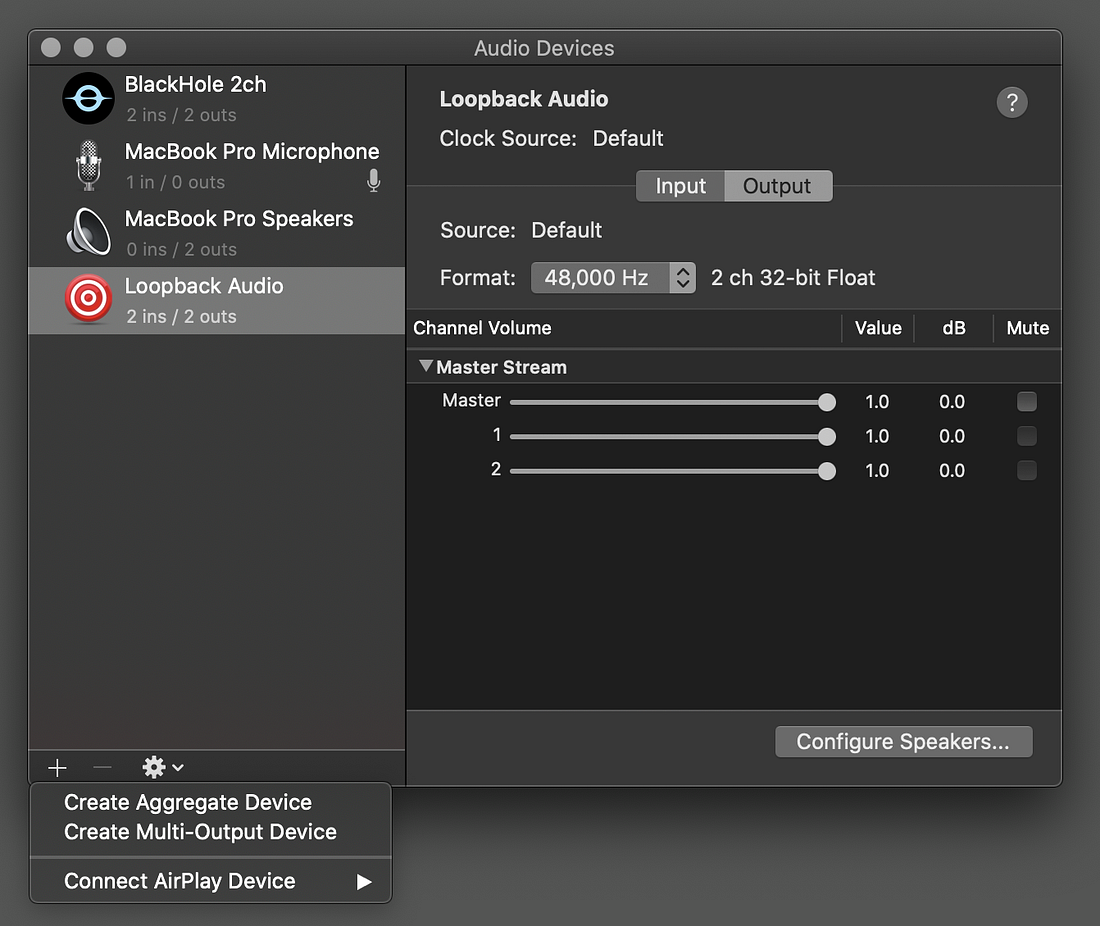
- Click the Plus (+) button in the bottom left corner and click Create Multi-Output Device
3. Check the box next to BlackHole, the Built-in Output, and any other devices you want to use for monitoring. Important: the built-in output needs to be ABOVE BlackHole in the list. If it’s not, uncheck and re-check the box under “Use” to alter the order.
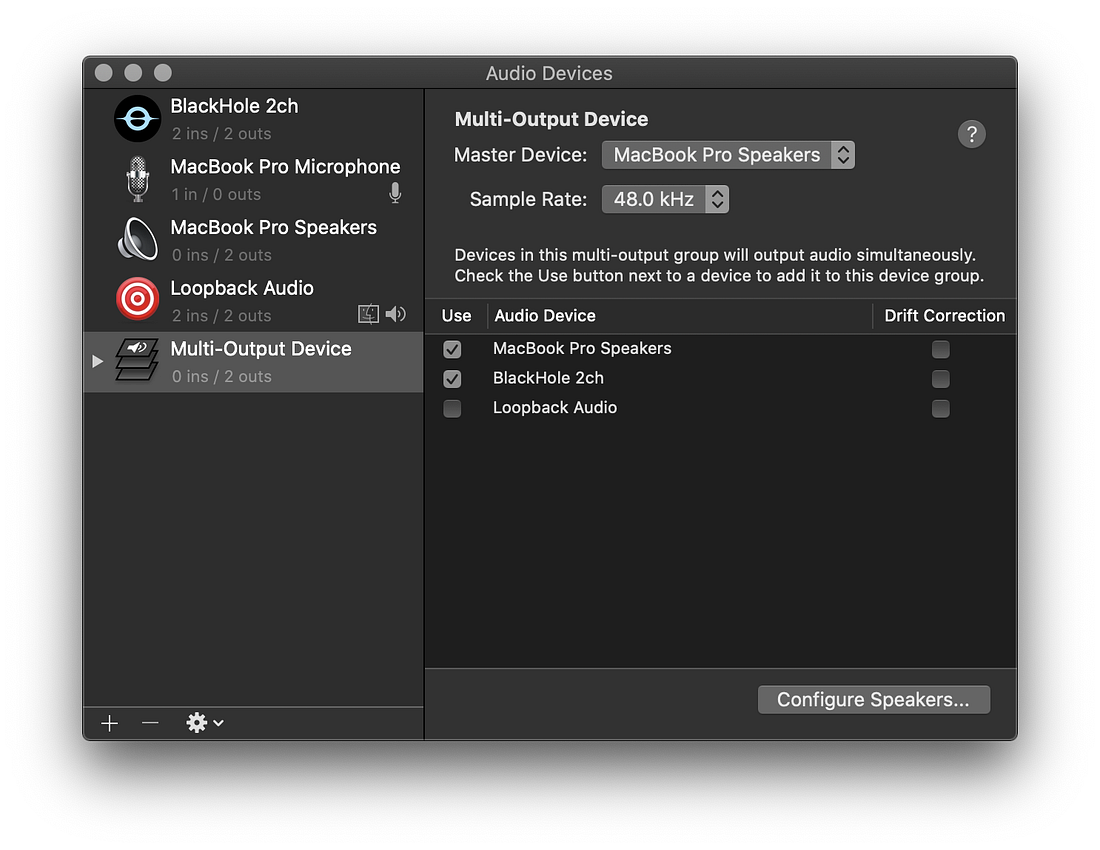
4. Right-click on the Multi-Output Device and select “Use This Device For Sound Output”. Now it’s set as your default output device! All desktop audio will now be output to both your built-in device as well as the virtual BlackHole device.
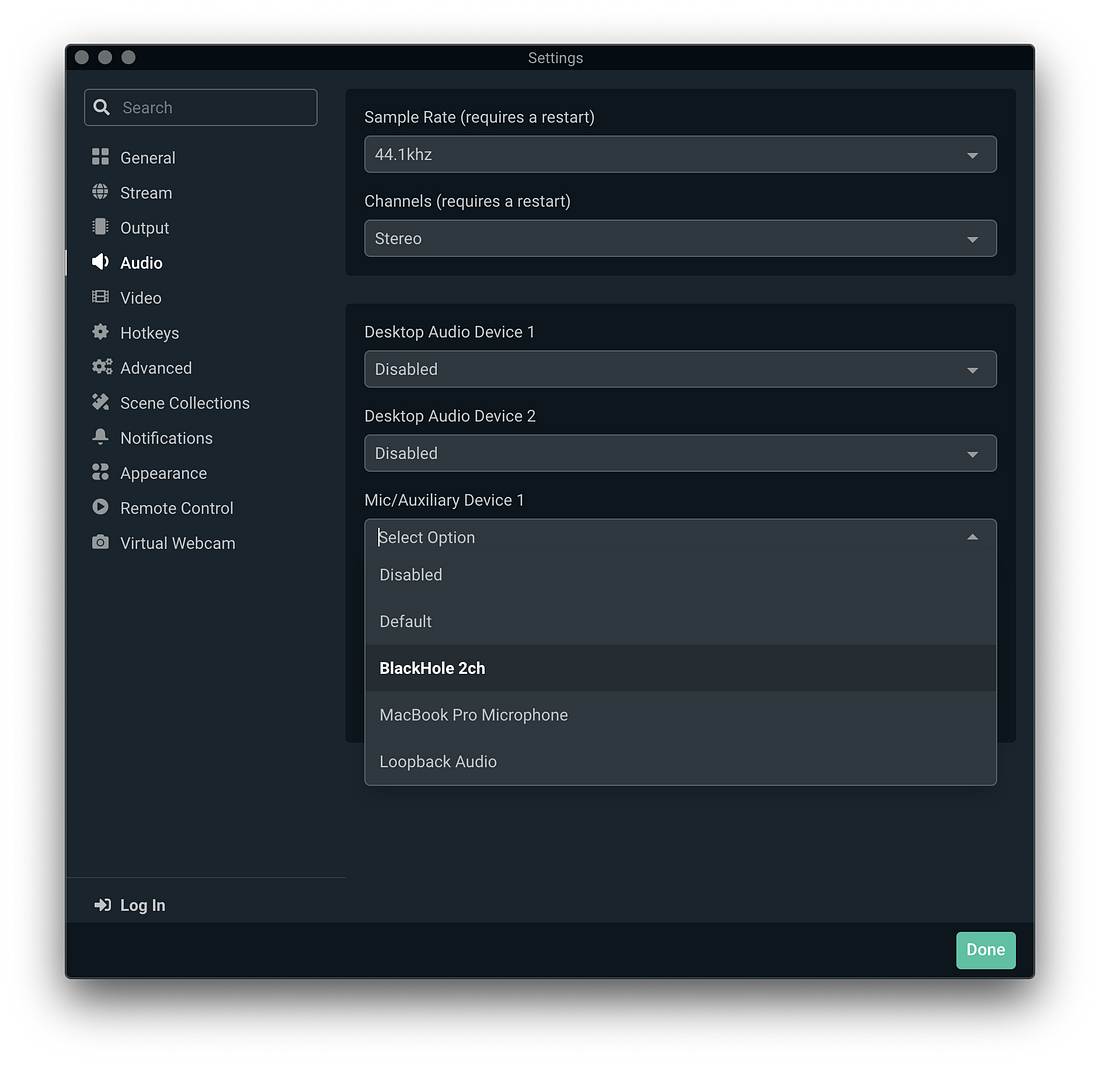
Now open Streamlabs Desktop and make sure that BlackHole is selected as one of your Mic/Auxiliary devices in Settings > Audio.
You’re done!
How to Go Live to Twitch
After you’ve set up your stream, added your sources, and captured your audio, you can press the Go Live button.
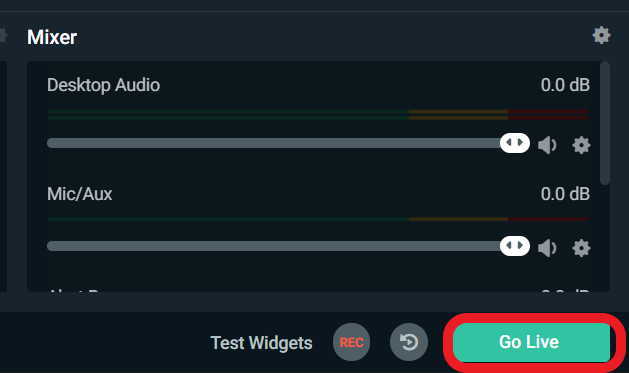
If you have mutlistream enabled, you can choose which platform you’d like to go live to. You can also input the name of your stream title, select the category and add tags.
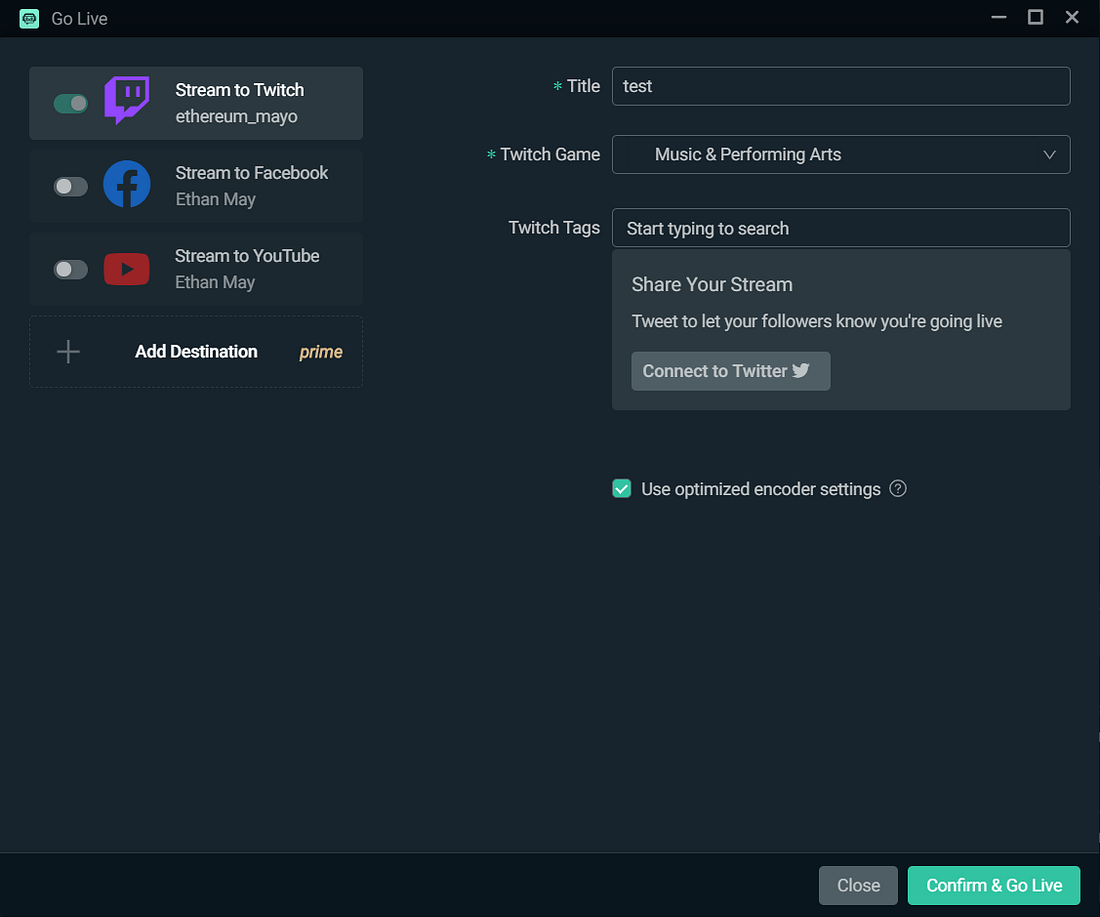
Now, press Confirm & Go Live, and your broadcast will begin on Twitch.
If you have any questions or comments, please let us know. Remember to follow us on Twitter, Facebook, Instagram, and YouTube.
You can download Streamlabs Desktop here.