Today, we will show you how to use Virtual Webcam to display your scenes from Streamlabs Desktop in video conferencing software like Zoom.
Most video conferencing software is limited in the information you can show on the screen. It is usually restricted to capturing your whole screen or your webcam. As working from home continues to become the new normal, and video conferencing become more prevalent, software like Streamlabs Desktop gives you greater creative control in how you display information on the screen.

With Streamlabs Desktop, you can add custom images to the screen, or add your logo in the corner. If you have a green screen, you can seamlessly insert yourself into the presentation, and you can even add intermission scenes if you or your audience need to take a break.
To install:
- Open Streamlabs Desktop
- Click Settings
- Click on Virtual Webcam
- Click on Install Virtual Webcam
To use:
Virtual Camera works in most video conferencing applications. In this case, we’ll use Zoom as an example
- In Streamlabs Desktop, click on Start Virtual Webcam
- Open Zoom
- Your scene in Streamlabs Desktop should automatically appear in Zoom.
- In case it is not, click on the arrow next to the video icon, you should see Streamlabs Desktop as a video camera option.
Optimize Video Camera Settings
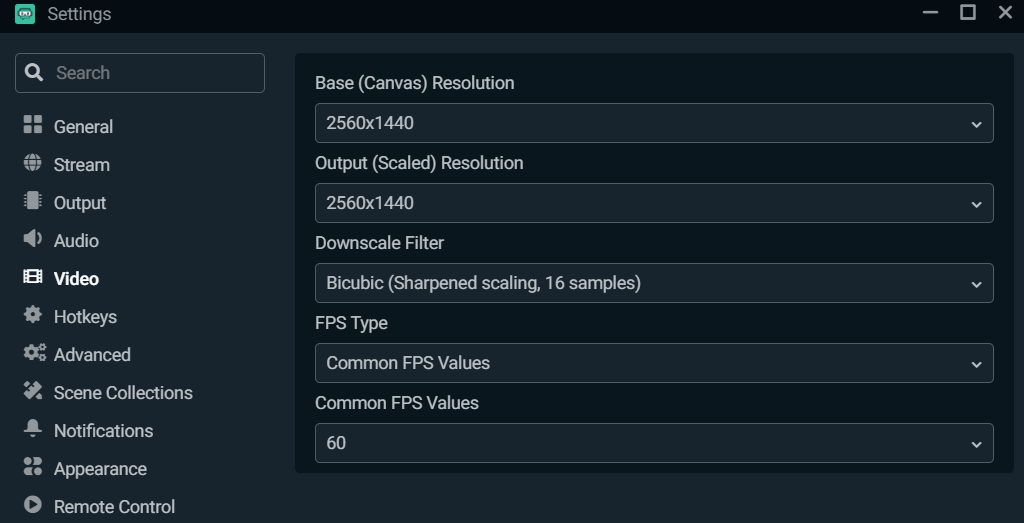
To ensure your video looks as crisp and clear as possible on your conferencing software, you can adjust the resolution output in Streamlabs Desktop. Navigate to the settings in Streamlabs Desktop > Video > Base Canvas Resolution. Make sure your resolution here is the highest it can go, which should match your computer's native resolution.

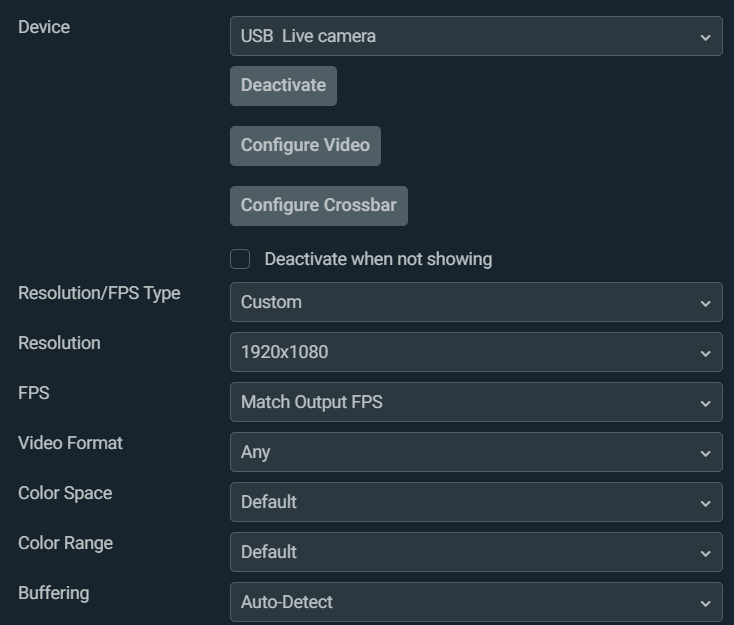
You can also adjust your webcam settings within Streamlabs Desktop by right-clicking on your webcam source and clicking on properties

That is how you can use Streamlabs Desktop in video conferencing software like Zoom. If you have any questions or comments, please let us know. Remember to follow us on Twitter, Facebook, Instagram, and YouTube.
You can download Streamlabs Desktop here.
Read more from Streamlabs: